3-3
Manual Verification
Step 1. Initialization
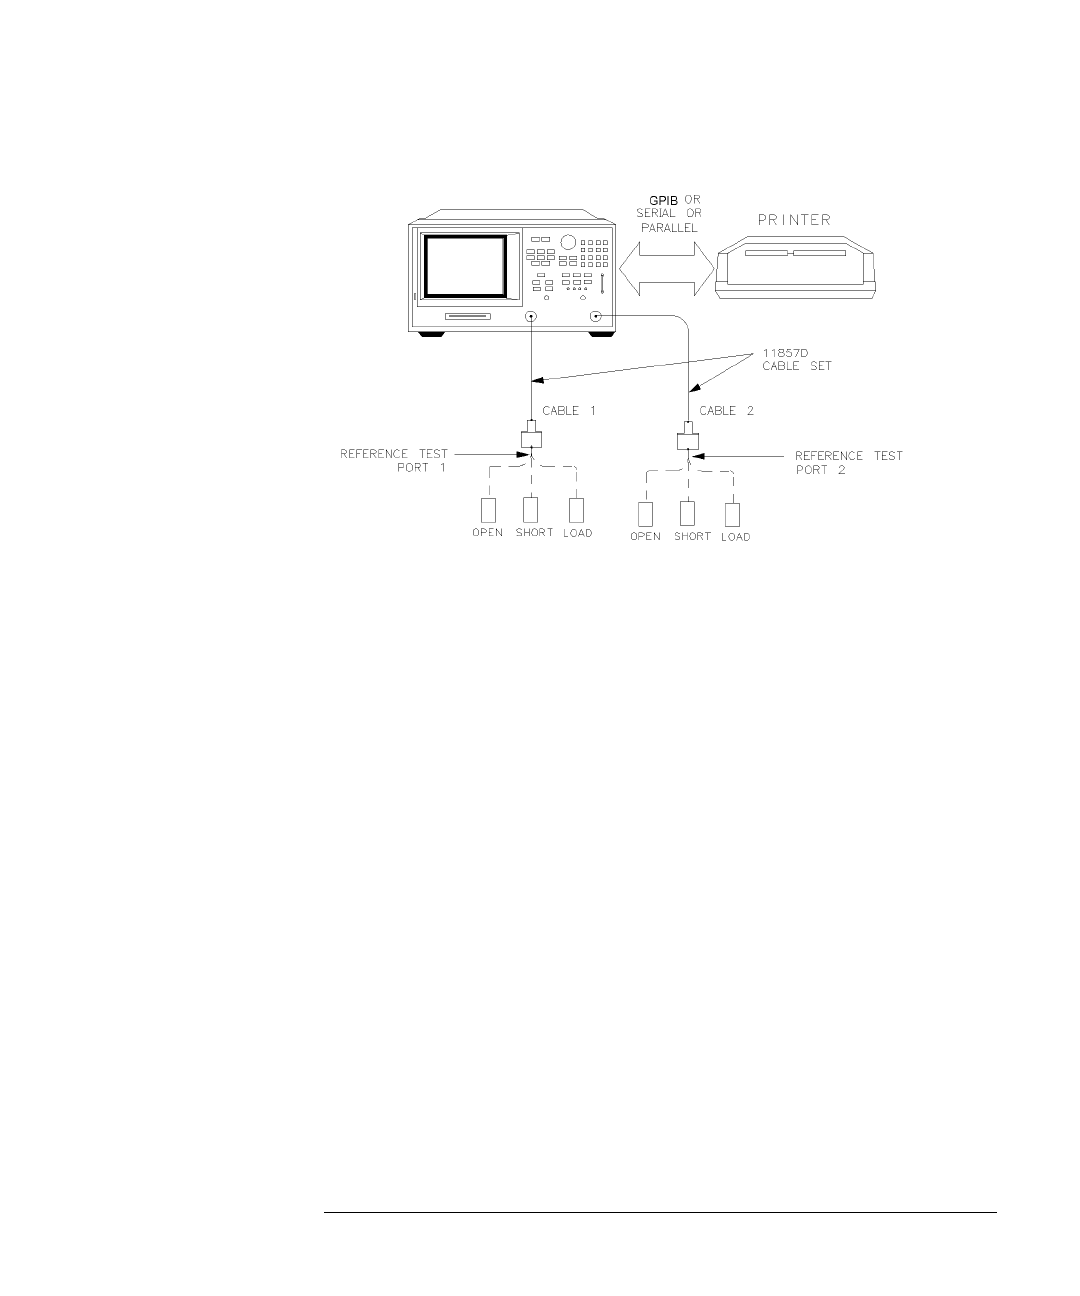
Figure 3-1. System Verification Test Setup
2
While the equipment is warming up, review the connector care information in
the
Agilent 8702D User’s Guide
.
3
Set up the system to print the verification data:
a
Press
LOCAL
,
SYSTEM CONTROLLER
.
b
Press
SET ADDRESSES
,
PRINTER PORT
.
c
Press the softkey that corresponds to your printer port.
d
If you have difficulty with the printer:
• If the interface on your printer is GPIB, verify that the printer address is
set to 1.
• If the interface on your printer is serial or parallel, be sure that you cor-
rectly selected the printer port
and
printer type (refer to the
Agilent 8702D User’s Guide
for more information on how to do these
tasks).
4
Insert the verification kit disk into the Agilent 8702D disk drive.
5
Press
PRESET
,
SAVE/RECALL
,
SELECT DISK
,
INTERNAL DISK
.
6
Press
SYSTEM
,
SERVICE MENU
,
TESTS
,
SYS VER TESTS
,
EXECUTE TEST
.
7
When the Agilent 8702D displays,
Sys Ver Init DONE
, the test is complete.
