5-14
Automated Verification – Option 011
Step 2. Measurement Calibration
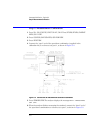
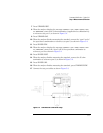
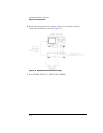
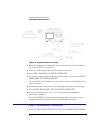
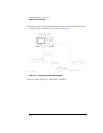
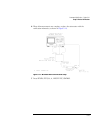
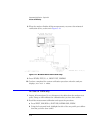
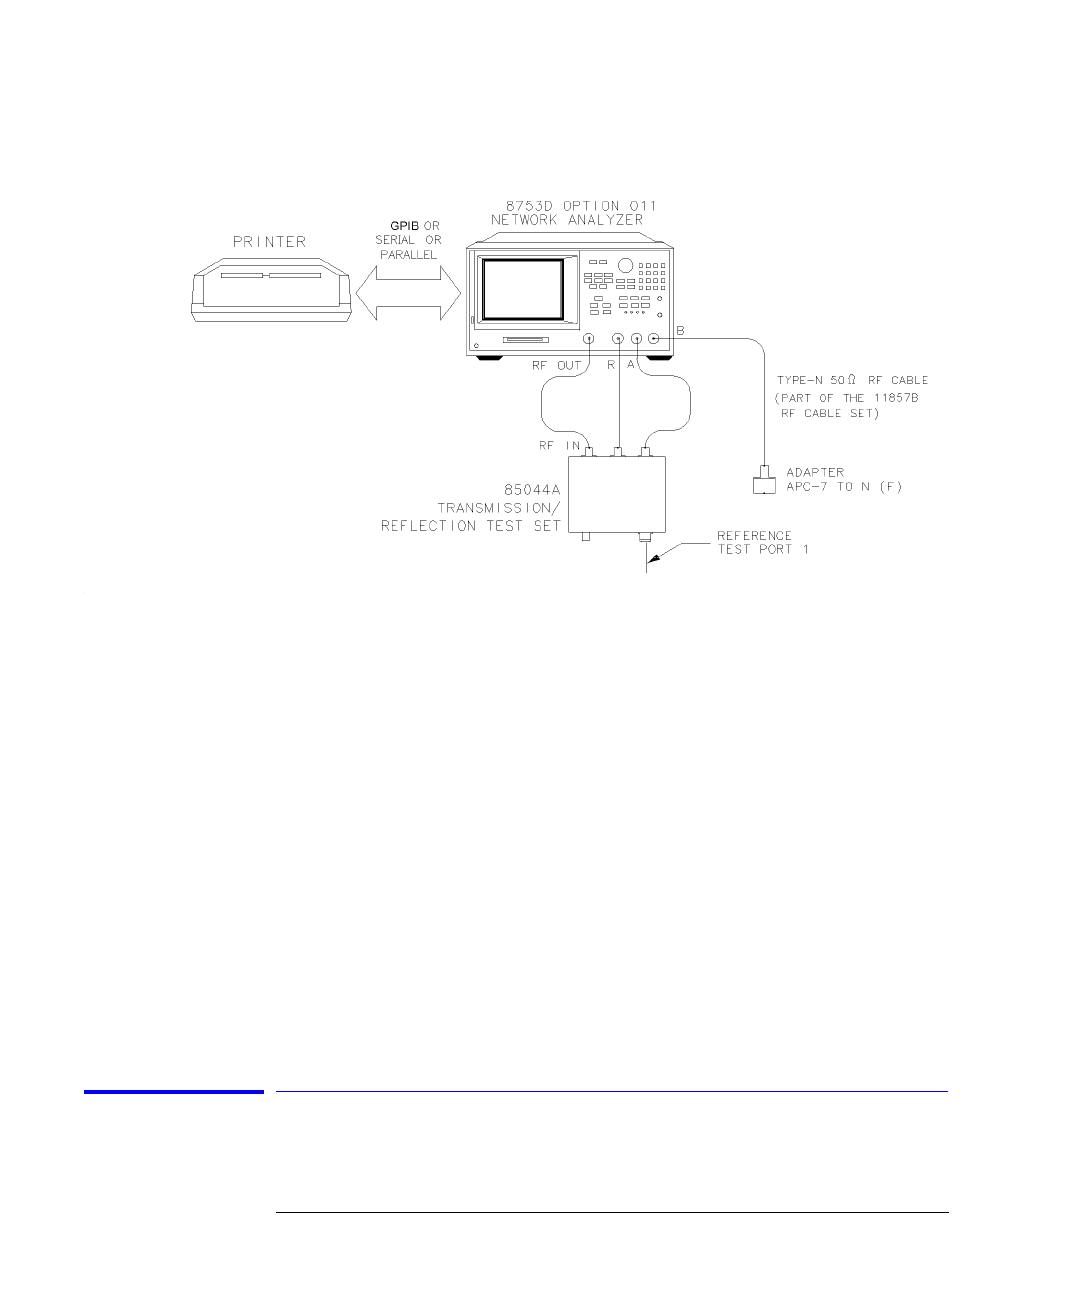
Figure 5-8. System Verification Test Setup
2
While the equipment is warming up, review the connector care information in
the
Agilent 8702D User’s Guide
.
3
Insert the verification kit disk into the analyzer’s disk drive.
4
Press
PRESET
,
SAVE/RECALL
,
SELECT DISK
,
INTERNAL DISK
.
5
If you want a printout of the verification data for all the devices, press
SYSTEM
,
SERVICE MENU
,
TEST OPTIONS
,
RECORD ON
.
If you switch the record function on, you
cannot
switch it off during the verifi-
cation procedure.
6
Position the paper in the printer so that printing starts at the top of the page.
7
Press
SYSTEM
,
SERVICE MENU
,
TESTS
,
SYS VER TESTS
,
EXECUTE TEST
.
8
The analyzer displays,
Sys Ver Init DONE
, when the initialization
procedure is complete.
Do
not
press
PRESET
or recall another instrument state. You must use the in-
strument state that you loaded during the initialization procedure.
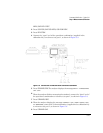
Step 2. Measurement Calibration
1
Press
CAL
,
CAL KIT & STDS
,
SELECT CAL KIT
,
CAL KIT:7mm
,
RETURN
,
RETURN
,
CALIBRATE


