2. Maneuver the GC so that the notches in the mounting ears can be placed over the
bolts on the wall and then place the washers over the bolts.
3. Install the second pair of bolts with washers and then tighten all the bolts.
3.2.2 Pole mount
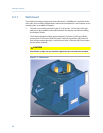
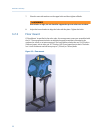
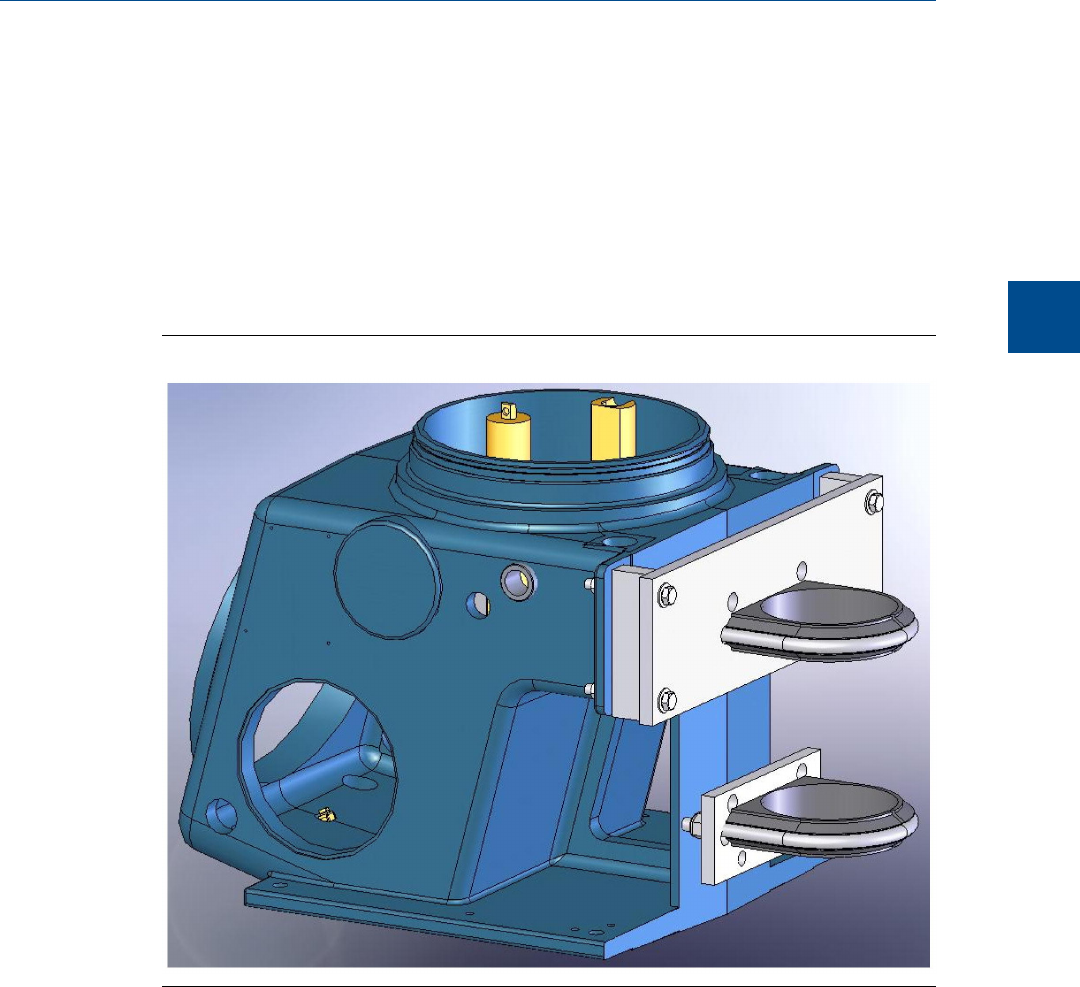
The pole mount arrangement uses an additional plate and spacers to allow the necessary
clearance for nuts. All hardware will be provided if ‘Pole Mount’ is specified on the sales
order.
Pole mountFigure 3-2:
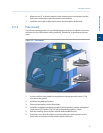
1. Use the u-bolt to firmly install the large plate on the pole about 44 inches (1120
mm) above the ground.
2. Install the long bolts and spacers.
3. Place nuts and washers on the lower bolts.
4. Install the small plate just tightly enough to hold its position, with the small plate’s
u-bolt about 6.875 inches (174.625 mm) below the large plate’s U-bolt.
5. Hold the matching spacer in place with the bolts installed loosely.
6. Orient the unit so that the notches in the mounting ears can be placed over the
lower bolts on the plate and then add the washers and nuts.
Installation and setup
3
Installation and setup
31


