5-18
Catalyst 2960 and 2960-S Switch Software Configuration Guide
OL-8603-09
Chapter 5 Administering the Switch
Creating a Banner
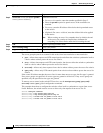
If you use the switch IP address as its hostname, the IP address is used and no DNS query occurs. If you
configure a hostname that contains no periods (.), a period followed by the default domain name is
appended to the hostname before the DNS query is made to map the name to an IP address. The default
domain name is the value set by the ip domain-name global configuration command. If there is a
period (.) in the hostname, the Cisco IOS software looks up the IP address without appending any default
domain name to the hostname.
To remove a domain name, use the no ip domain-name name global configuration command. To remove
a name server address, use the no ip name-server server-address global configuration command. To
disable DNS on the switch, use the no ip domain-lookup global configuration command.
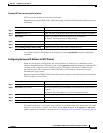
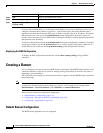
Displaying the DNS Configuration
To display the DNS configuration information, use the show running-config privileged EXEC
command.
Creating a Banner
You can configure a message-of-the-day (MOTD) and a login banner. The MOTD banner displays on all
connected terminals at login and is useful for sending messages that affect all network users (such as
impending system shutdowns).
The login banner also displays on all connected terminals. It appears after the MOTD banner and before
the login prompts.
Note For complete syntax and usage information for the commands used in this section, see the Cisco IOS
Configuration Fundamentals Command Reference, Release 12.2 from the Cisco.com page under
Documentation > Cisco IOS Software > 12.2 Mainline > Command References.
These sections contain this configuration information:
• Default Banner Configuration, page 5-18
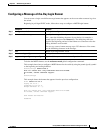
• Configuring a Message-of-the-Day Login Banner, page 5-19
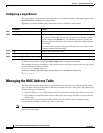
• Configuring a Login Banner, page 5-20
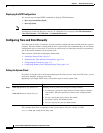
Default Banner Configuration
The MOTD and login banners are not configured.
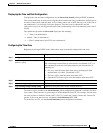
Step 5
end Return to privileged EXEC mode.
Step 6
show running-config Verify your entries.
Step 7
copy running-config
startup-config
(Optional) Save your entries in the configuration file.
Command Purpose


