


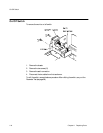
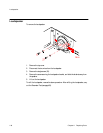

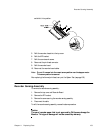
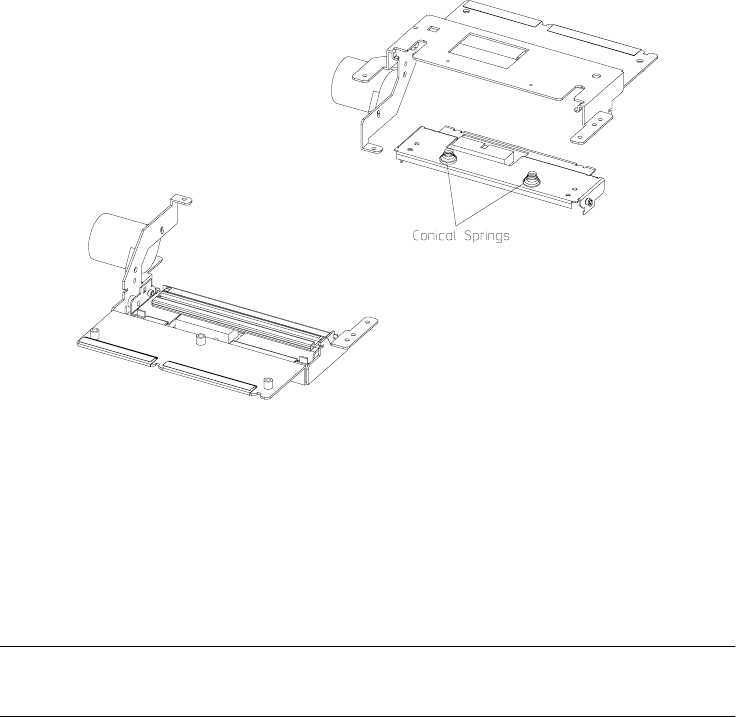
Thermal Printhead
152 Chapter 11 Replacing Parts
To remove the thermal printhead:
1. Place the recorder chassis so that the stepper motor is on the left and facing upwards.
Note— Sandwiched between the printhead and its bracket are two conical springs.
Therefore, be careful when doing the next step that the springs do not jump
out.
2. Gently, slide the printhead towards you and remove the springs.
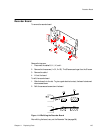
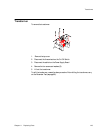
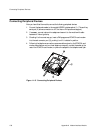
3. Turn over the printhead assembly and remove the four screws to release the printhead.
Caution
Take care not to touch the surface of the printhead or to lose the springs.
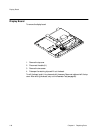
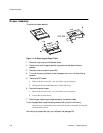
To replace the thermal printhead:
1. Loosely, secure the new printhead to its holder with the four screws.
2. Tighten the two screws at the front first (opposite side to cable connector), then the
remaining two screws.
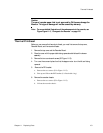
3. Refit the conical springs - you may need to open them a little and hook them into the
recesses in the thermal printhead holder.
4. Position the printhead holder over the spacer slots of the recorder chassis, press down