


5-18 Channelized Data
Configuring Channelized Data
Configuring Virtual Ports on the PathBuilder S24x, 26x, and 27x Switch
Introduction You have to configure a virtual port for each connection between the remote nodes
and the PathBuilder S24x, 26x, and 27x switch.
How to... Follow these steps to configure virtual ports between the remote nodes and the
PathBuilder S24x, 26x, and 27x switch.
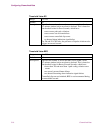
Booting Virtual
Ports
Boot a virtual port by entering the virtual port number and issuing a port boot
command. Booting a virtual port brings down SVCs associated with that virtual port,
but does not affect the operation of the T1 or E1 port, or of any other virtual ports.
Enabling/ Disabling
Virtual Ports
Enabling or disabling a virtual port has no effect on a T1 or E1 port or other virtual
ports. However, disabling a T1 or E1 port makes all associated virtual ports unusable.
Enabling a T1 or E1 port makes all associated virtual ports usable; their SVCs can be
established. Virtual ports previously disabled via the disable port command remain
disabled.
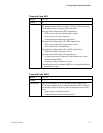
Port Speed Port speed for virtual ports is set from the DS0 Rate parameter in the Virtual Ports
Mapping Table. You can set the rate of speed for traffic at 56k or 64k. See the
“Configuring Virtual Port Mapping Table” section on page 5-20 for more details.
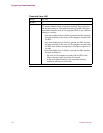
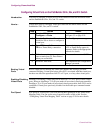
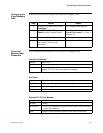
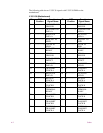
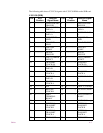
Step Action Result
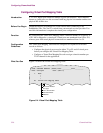
1 From the CTP Main menu, select
Configure -> Ports.
The Ports menu appears, as shown
in Figure 5-3 on page 5-19.
2 Enter the Port Number. This value
should be 100 or above to configure a
virtual port.
The Port Type: parameter appears.
3 Enter X25 for an X.25 connection or
FR for a Frame Relay connection.
The standard port parameters for
X.25 or Frame Relay appear in
sequence. Refer to the appropriate
manuals for details.
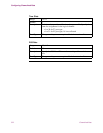
4 Fill in the remaining parameters, and
enter a semicolon <;>. Press Return
when you are finished.
This saves the record in CMEM.
5 Perform a Node boot. This implements the configuration
changes you made.