6. Getting started
The actual input voltage is indicated on the voltmeter just above the power switch.
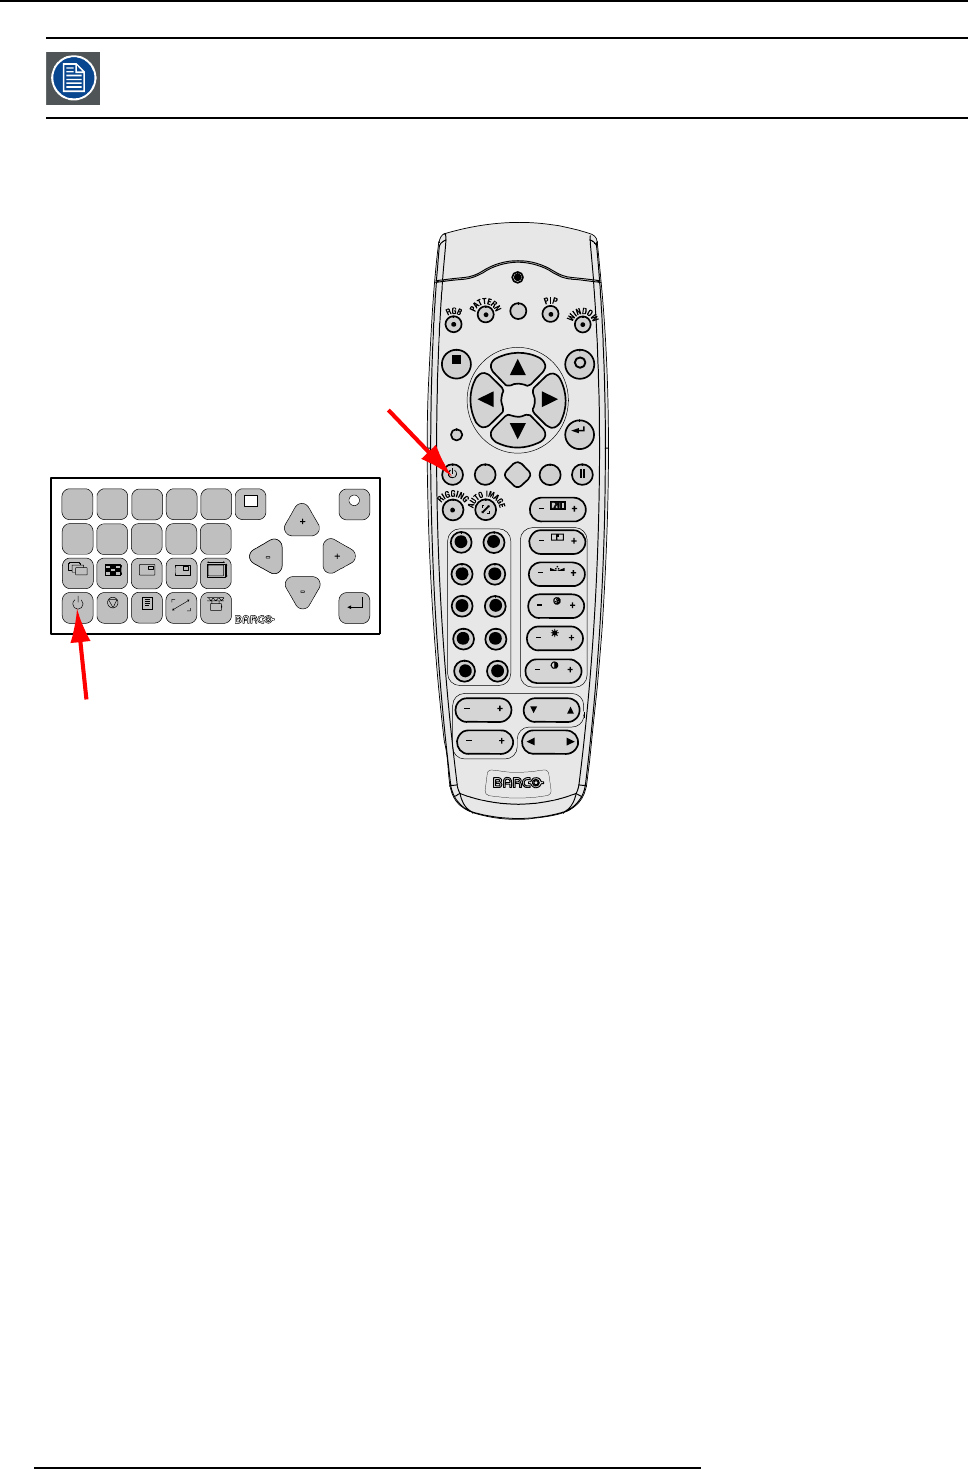
Starting image projection via the standby key.
1. Press Stand by key once on the local keypad or on the remote control.
MENU
EXIT
ENTER
PAUSE
TEXT
PHASE
TINT
COLOR
BRIGHTN
CONTR
9
0
7
8
5
6
3
4
1
2
LENS
LENS
ZOOM
LENS
SHIFT
LENS
FOCUS
L
SHARPN
LENS
SHIFT
1
2
3
4
5
6
7
89
0
MENU
EXIT
ENTER
RGB
STBY
PAUSE TEXT
PATTERN
WINDOW
PIP LENS
RIGGING
AUTO
A
B
Image 6-3
Stand by indication
A Stand by indication on local keypad
B Stand by indication on remote control
The projector status LED lights up.
The projector starts up on the last saved source.
Some lamp and runtime warnings can be displayed when an image is displayed after a start up.
6.3.2 Errors, warnings and messages during start up
Temperature error DMD
When the temperature of one of the DMD’s is too low or too high the projector is switched automatically to standby. An error code
will be displayed on the local LCD panel. For a list of possible error codes, see "Error codes", page 211.
6.3.3 Switching to standby
How to switch to standby?
1. Press Standby to switch the projector to standby.
A cool-down counter (after cooling) starts counting down for 5 minutes (only visible on the local LCD panel). During this period
the fans are still running.
A restart is possible during this period.
46
R5976986 FLM HD18 15/03/2010


