16. Servicing
4. Push the lamp house forward until it slides fully into the projector.
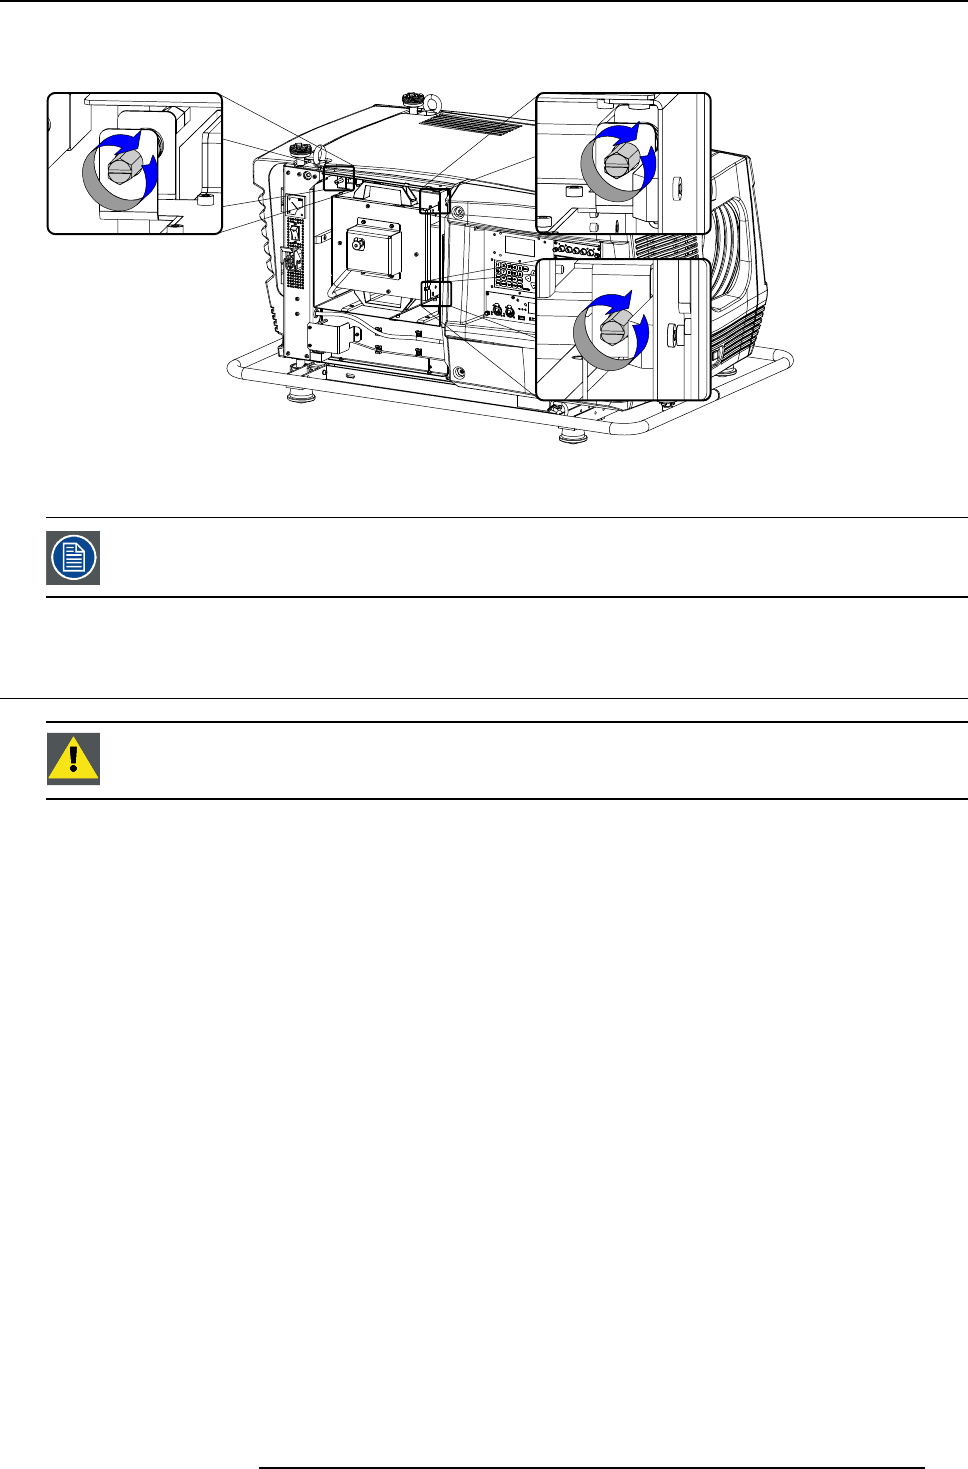
5. Secure the correct position of the lamp house by tightening all three spring lock screws as illustrated.
Image 16-8
6. Reinstall the lamp cover of the projector, see "Installation of the lamp cover", page 196.
While starting up the projector, the electronics detect if a lamp is installed. If no lamp is installed, it is not
possible to start up the projector.
16.5 Installation of the input & communication unit
WARNING: This procedure may only be performed by qualified te
chnical service personnel.
Necessary tools
7mmflat screw driver.
How to install the input & communication unit of the projector ?
1. Ensure that the projector is switched off and the power cord at the projector side is unplugged.
2. Remove the input cover, if not removed yet. See "Removal of the input cover", page 193.
3. Hold the input & communication unit by its handles and gently slide the unit into the guides at the bottom of the input & commu-
nication socket inside the projector.
R5976986 FLM HD18 15/03/2010
187


