4 - 9 4 - 9
MELSOFT
4. INSTALLATION AND UNINSTALLATION
(From the preceding page)
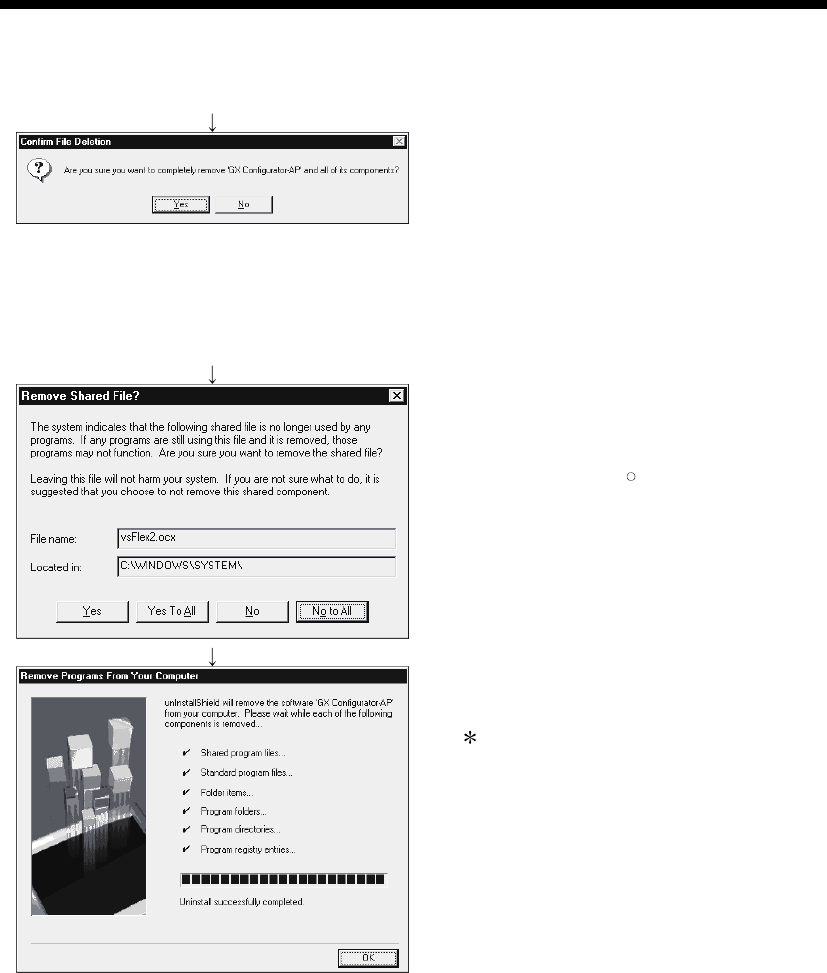
3) Confirm that GX Configurator-AP may be removed.
When uninstalling the program, click the "Yes" button to
start uninstallation.
When not executing uninstallation, click the "No".button
to return to the previous screen.
*Components indicate the installed icon files.
4) If the left screen has appeared, click the "No To All"
button.
If you click the "Yes" or "Yes To All" button, the shared
file of the Windows
R
compatible MELSOFT software is
removed. Therefore, click the "No To All" button when
removing GX Configurator-AP only.
5) Click the "OK" button if the "Uninstall successfully
completed" message appears.
If a warning appears for the files that were not
removed, open "Explorer", click the files, and remove
unnecessary files.
Note that if you remove necessary files accidentally,
the other applications may not be booted.
