


Hardware installation 28
Model 3086FR ATM IAD User Guide 3 • Quick Start Installation
Hardware installation
If you are already familiar with Model 3086FR Frame Relay to ATM Converter installation and configuration,
this chapter will enable you to finish the job quickly. Installation consists of the following:
• Preparing for the installation (see section “What you will need”)
• Hooking up cables, verifying that the unit will power up, and running a HyperTerminal session (see section
“Connecting network cables” on page 29)
• Changing the IP address from the factory default setting (see section “IP address Quick Start modification”
on page 30)
• Launching a web browser in preparation for configuring the modem (see “Web Operation and Configura-
tion” on page 30)
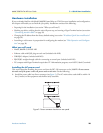
What you will need
• Model 3086FR G.SHDSL IAD
• Ethernet cable with RJ45 plugs on each end (included with IAD)
• DB9-RJ45 Adapter (included with IAD)
• RJ45/RJ45 straight-through cable for connecting to control port (included with IAD)
• PC computer with HyperTerminal or equivalent VT-100 emulation program, or an ASCII (“dumb”) terminal.
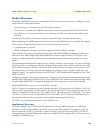
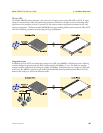
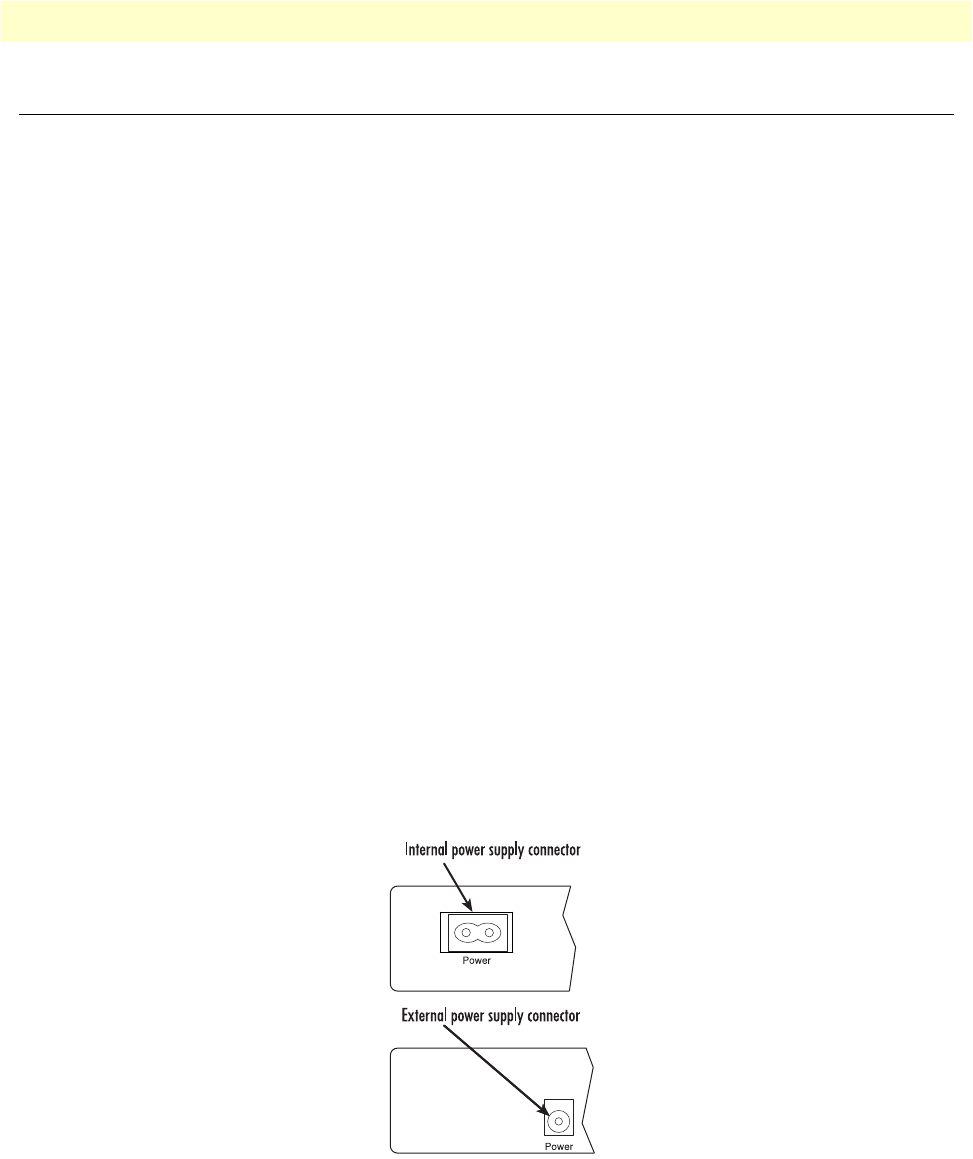
Installing the AC power cord
This section describes installing the power cord into the IEC-320 connector on the 3086FR. Do not connect
the male end of the power cord to the power outlet at this time. Do the following:
1. Install the power cable into Power connector (see figure 2). The AC main socket outlet shall be within 10
feet (3 meters) of the equipment and shall be easily accessible.
Figure 2. Power connector location on rear panel