


Advanced Techniques
76
DTX502 Owner’s Manual
Integrating Separately Sold Accessories
You can also expand your electronic drum kit with various accessories* for an even more
enjoyable drumming experience. (*: Sold separately)
1. Turn off the drum module.
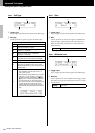
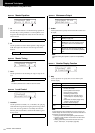
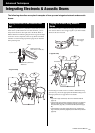
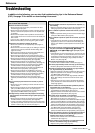
2. Assemble the PCY90AT to your drum kit. Using the cable
that came with the PCY90AT, connect it to the [PAD>IN]
jack on the KP65 Kick Pad.
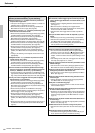
3. Connect the [OUT>DTX] jack on the KP65 to the
[uKICK/i] trigger input jack on the drum module.
4. Turn on the drum module.
5. Choose the correct pad type for the PCY90AT.
For details on how to do so, see the description of the Pad
Type page from Menu Mode (page 68). Specifically, you
should set “Pad8” as the trigger input and set the Pad Type
parameter to “PCY90”.
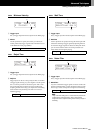
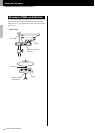
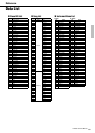
By connecting a KU100 Kick Unit as described below, you can
add a compact, quiet-type kick pedal to your electronic drum kit.
1. Turn off the drum module.
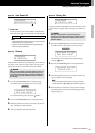
2. Plug one end of the cable that came with the KU100 into its
[OUTPUT] jack.
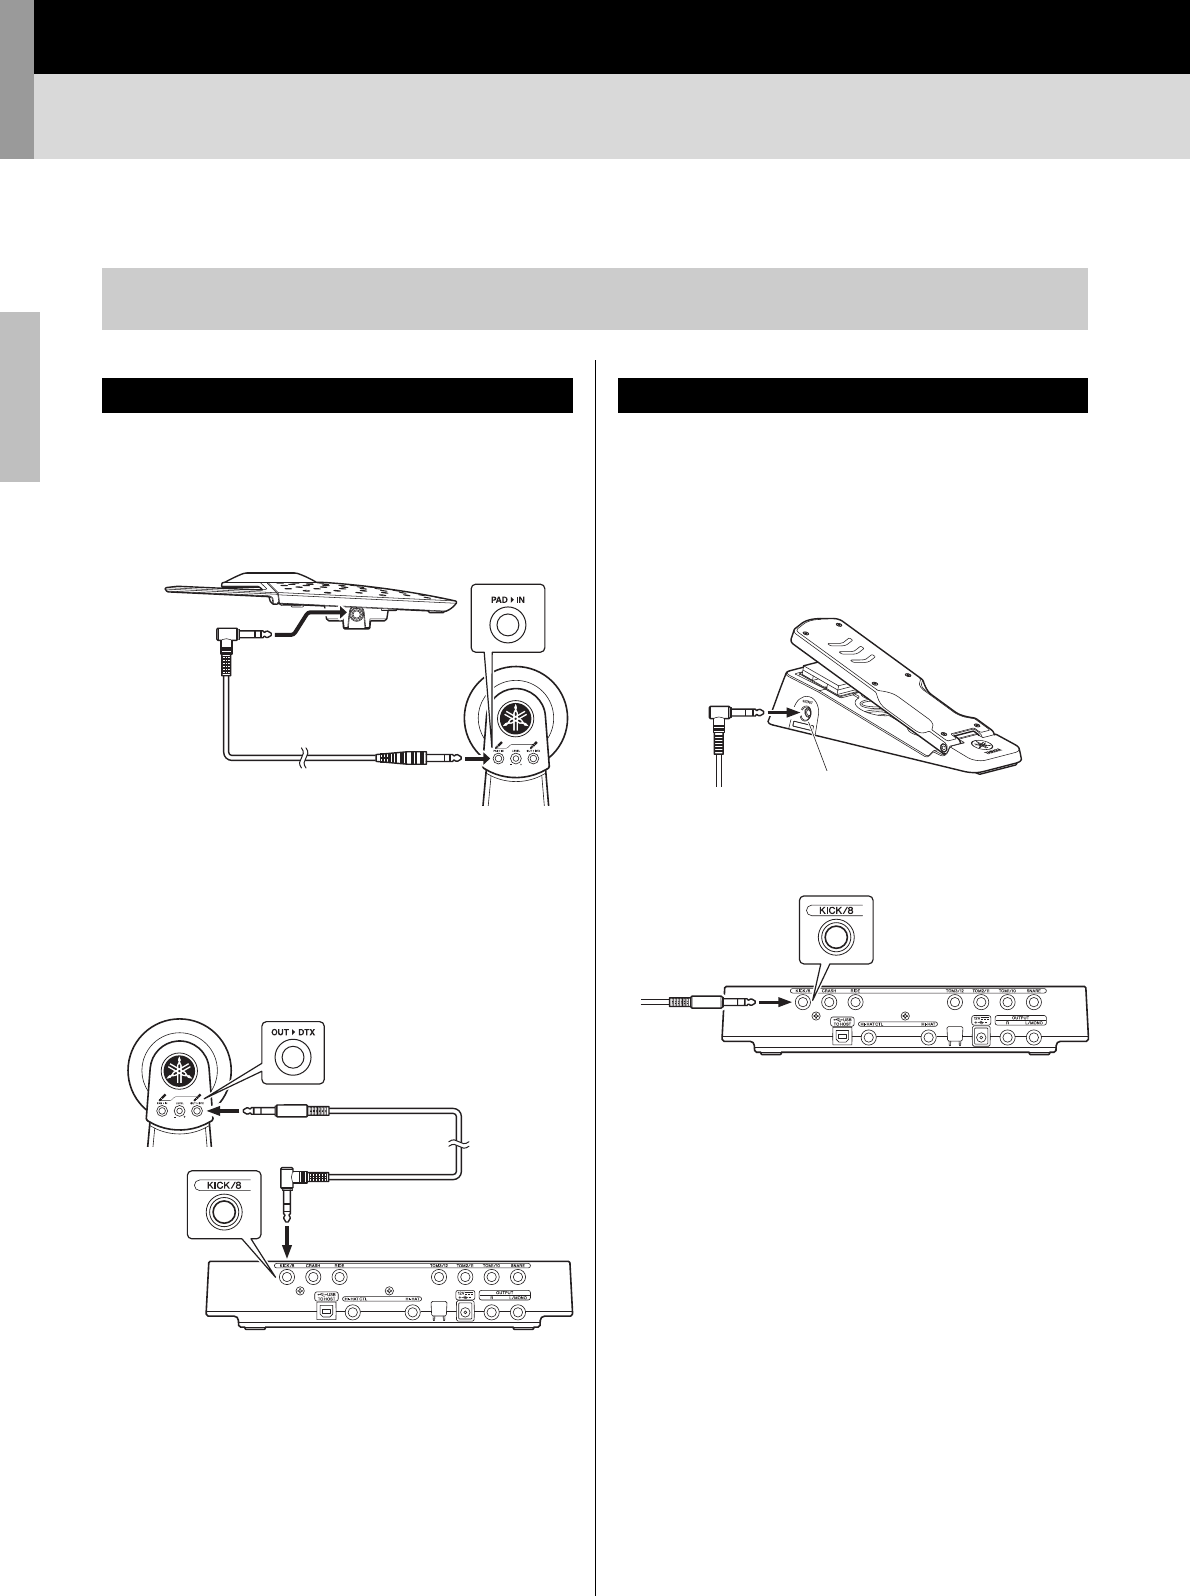
3. Plug the other end of the cable into the drum module’s
[uKICK/i] trigger input jack.
4. Turn on the drum module.
5. Choose the correct pad type for the KU100.
For details on how to do so, see the description of the Pad
Type page from Menu Mode (page 68). Specifically, you
should set “Kick” as the trigger input and set the Pad Type
parameter to “KU100”.
The following describes how to add a PCY90AT Cymbal Pad and a KU100 Kick Unit. If adding a different acces-
sory, be sure to read the description of the Pad Type page from Menu Mode (page 68).
Adding a PCY90AT Cymbal Pad
NOTE
The PCY90AT Cymbal Pad can also be connected to the
[wTOM1/!0], [eTOM2/!1], or [rTOM3/!2] jack. In order to do
so, you will need a Y cable (sold separately). See page 11 for
more details.
Pad
KP65
DTX502
KP65
Using a KU100 Kick Unit as a Kick Pedal
KU100
OUTPUT
DTX502