


Basic Techniques
32
DTX502 Owner’s Manual
Customizing the Metronome
This section describes how to make advanced metronome settings. A total of six pages (CLK1
to CLK6) are used for this purpose.
The individual parameters that can be changed on pages CLK1 to CLK6 will now be described.
The following four metronome settings can be made on the CLK1 page.
• Click set selection
•Tempo
• Time signature
•Timer
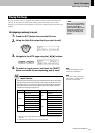
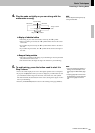
To open the CLK1 page, hold down the [SHIFT] button and press the [ ] button.
The term “click set” is used to describe a collection of metronome settings. You can customize
these click sets as necessary, and your DTX502 can store up to 30 of them. The following
describes how to recall a previously stored click set.
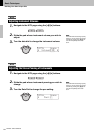
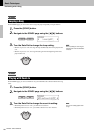
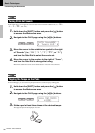
1.
Move the cursor to the click set number using the [<]/
[>] buttons.
2.
Turn the Data Dial to choose a click set.
Click sets are numbered 1 to 30.
Whenever you change metronome parameters as described on the following pages, it is wise to
store them. Details on how to do so can be found in Storing a Customized Click Set (page 37).
When any of a click set’s parameters have been changed but not yet stored,
an asterisk (*) will appear beside the page name at the top-left of the screen.
The asterisk will disappear when you store your settings. (See page 37.)
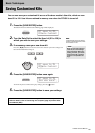
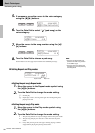
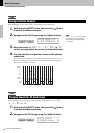
CLK1
Selecting a Click Set
NOTICE
CLK1* ∫ 4/4
01:User ⁄=123‚
CLK1* ∫ 4/4
01:User ⁄=123‚
Hold
Metronome area
(first page)
Click set number: Click set name
Metronome
timer
Time signature
Tempo
NOTE
Yo ur click-set selection will be
retained even when the DTX502 is
turned off.