


Advanced Techniques
Setting Parameters using Menu Mode
58
DTX502 Owner’s Manual
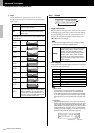
w Layer
Use this parameter to specify how the voices are to be
arranged in the two layers (A and B) for the specified trigger
input source.
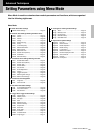
KitV2
Voices
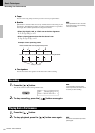
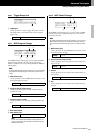
q Trigger input source
This item indicates the trigger input source currently selected
for editing. Trigger input sources can be selected by striking
the corresponding pad or zone. To switch between Layer A
and Layer B, hold down the [SHIFT] button and press the
[<] or [>] button accordingly.
w Voice category
Use this parameter to set the category from which a voice will
be assigned to the selected layer.
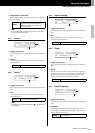
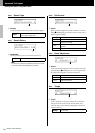
Settings Description
off
Layer B is turned off and only the voice from
Layer A produces a sound.
stack
The voices from Layer A and Layer B produce
sounds at the same velocity over the entire
velocity range.
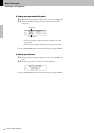
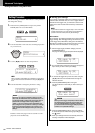
Using the settings “XFade1” to “XFade9”, you can crossfade
the velocities of Layer A and Layer B in various different ways
as shown below.
XFade1
XFade2
XFade3
XFade4
XFade5
XFade6
XFade7
XFade8
XFade9
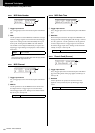
VelSw***
The two voices are layered at the velocity indi-
cated in the setting value. For example, with a
setting of “VelSw60”, the voice from Layer A
would produce a sound at velocities from 1 to
59, and the voice from Layer B would produce
a sound at velocities from 60 to 127.
NOTE
Yo u can also select trigger input sources by holding down the
[SHIFT] button and pressing the [<]/[>] buttons.
Settings
snareHd, snareOp, snareCl, snrOfHd,
snrOfOp, snrOfCl, tom1Hd, tom2Hd, tom3Hd,
rideBw, rideEg, rideCp, crashBw, crashEg,
crashCp, kick, pad8, hhOpBw, hhOpEg,
hhOpCp, hhClBw, hhClEg, hhClCp, hhFtCl,
hhSplsh, pad10, pad11, pad12, and kick2
For details on the correspondence between
trigger input jacks and trigger input sources,
refer to page 29.
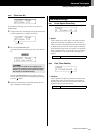
Settings Description
KKick
S Snare
TTom
CCymbal
HHi-hat
PPercussion
EEffect
WWave Voice
(*1)
e Pad Song
(*2)
NOTE
*1: Wave voices
A wave voice is an audio file containing, for example, an
instrument sound, an effect sound, or a sampled phrase.
These .WAV format files can be transferred from a computer
to your drum module and used as voices for pads. See page
79 for instructions on how to transfer them to the drum mod-
ule.
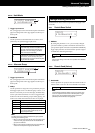
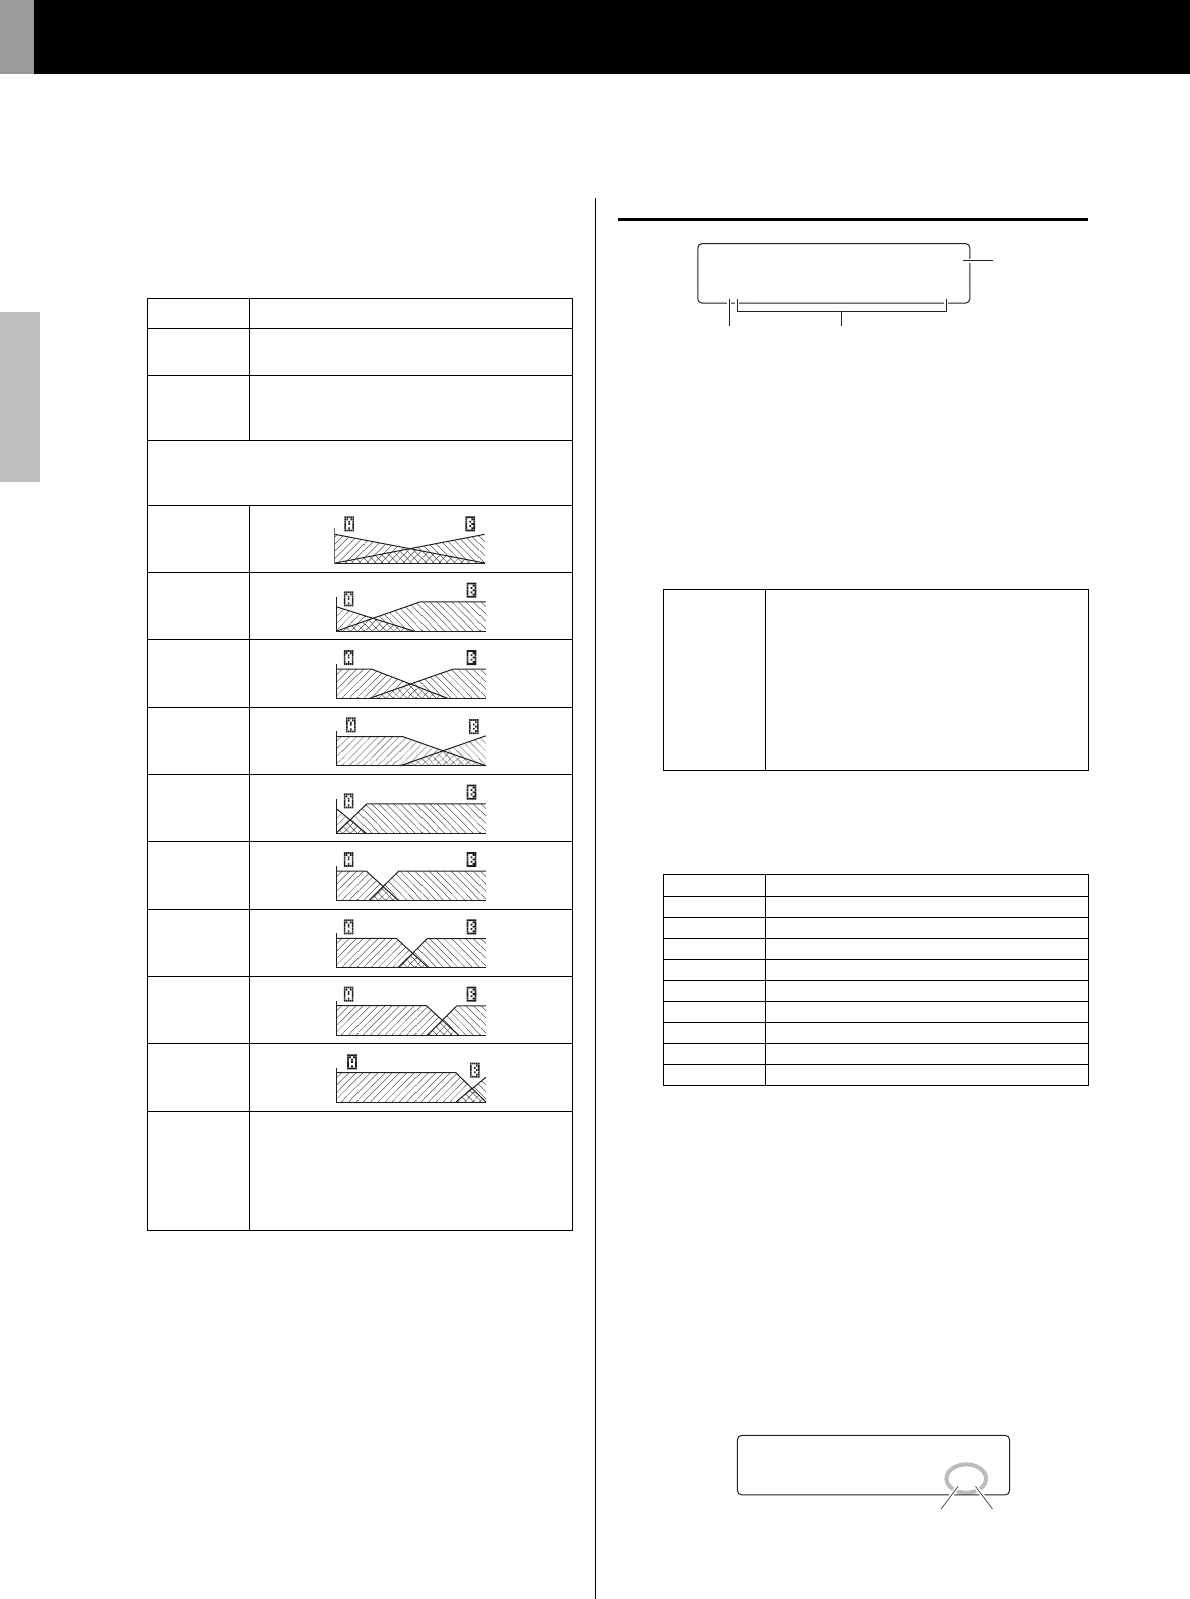
*2: Pad Song
Using the Pad Song function, you can play one of the drum
module’s internal songs simply by striking a pad. In the same
way as regular voices, these songs can be assigned to indi-
vidual pad layers. The Pad Song function can play up to three
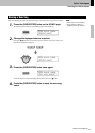
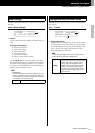
songs simultaneously. In addition, when you have selected
Pad Song as the voice category, you can also set the song’s
Repeat and Play modes as shown below (page 30).
>Ki
t
V2 snareHd˙
”S01:MapleCus
t
m‚
q
w e
>Ki
t
V2* snareHd˙
”Ö39:Funk C ≥‚
Repeat mode Play mode