SETTING UP YOUR TV
18
Startup Application
Before switching on the TV, make sure your
decoder/media recorder, if applicable, is in
standby. To set up the television, use the
buttons on the remote control as detailed on
page 10.
Quick Setup
a
Press the
1
button. The Menu Language
screen will appear. This screen will appear
the rst time that the television is switched
on and each time Reset TV is selected.
b
Press
C
or
c
to select the menu language
English or Français.
c
Press OK to display the Primary/Secondary
Language and Primary/Secondary Audio
Language item. Press
B b C c
to select
the language as desired.
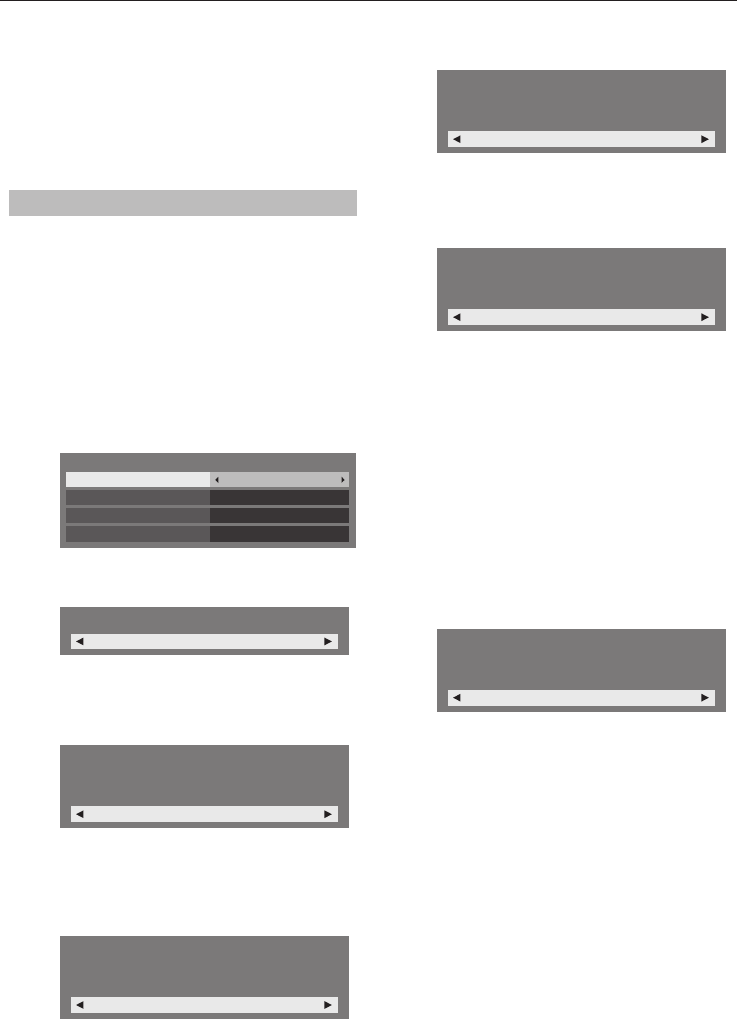
Quick Setup
Primary Subtitle Language
English
Secondary Subtitle Language
English
French
French
Primary Audio Language
Secondary Audio Language
d
Press OK, and the Time Zone screen will
appear.
Time Zone
New South Wales
e
Press
C
or
c
to select Time Zone.
f
Press OK, and the Location screen will
appear.
Location
Home
To use the TV for displaying in a store showroom,
please select [Store]. [Home] mode is
recommended for normal use.
g
Press
C
or
c
to select Home or Store. For
normal home use, select Home.
h
Press OK, and the AutoView screen will
appear, press
C
or
c
to select Ye s or No.
AutoView
No
AutoView mode automatically adjusts picture
settings to suit ambient light conditions. Do you
wish to enable AutoView mode?
i
Press OK, and the Network Setup screen
will appear. Press
C
or
c
to select Ye s or No.
Network Setup
Yes
Do you want to configure network setup?
When you select • No, skip to step 17.
j
Press OK, and the Network Type screen
will appear. Press
C
or
c
to select Wired or
Wireless.
Network Type
Wired
Please select a network type.
When you select • Wired (LAN cable
connection), skip to step 14.
When you select • Wireless (USB WLAN
adaptor connection), follow step 11.
NOTE: If the USB WLAN adaptor is not
connected, Network Type screen does not
display and skip to step 14.
k
Press OK, and the Wireless Setup screen
will appear.
Press
C
or
c
to select the
Wireless Setup type.
Assisted Setup• - follow step 12.
Input the Security Key only.
Manual Setup• , skip to step 13.
Input the all settings.
Wireless Setup
Assisted Setup
Please select a kind of wireless network.
NOTE: EXIT is available during settings.
l
In step 11, when you select Assisted Setup;
Press OK, and the Assisted Setup screen
will appear. Press
B
or
b
to select the
desired AP and press OK.
NOTE:
Check the MAC address on the label of
the AP or in the manual, and select your AP.
Press
B
or
b
to select Security Key and
press OK.
The Software Keyboard window will appear
(page 43).
Input the Security Key by using the Software
Keyboard.
To save your setting, press the BLUE button.


