28
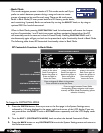
RP360 / RP360 XP
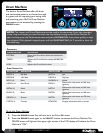
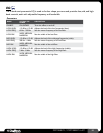
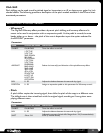
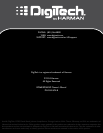
Looper
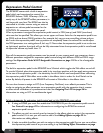
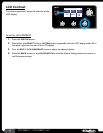
The RP360 and RP360XP feature a 40-second phrase Looper�
The Looper can be used for looping your guitar parts� Use the
Looper to write or practice lead guitar parts over a looped phrase,
or use it for creating on-the-fly loop layers to enhance your live
performance� The following instructions describe how to use the
Looper�
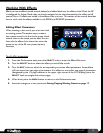
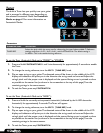
NOTE: The Looper and Drum Machine cannot be used at the same time� If the Drum Machine is
turned on, you must first turn it off before you can use the Looper� To turn the Drum Machine off,
press the
DRUMS button twice�
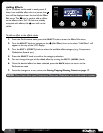
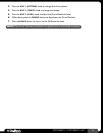
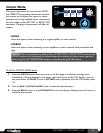
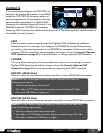
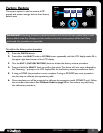
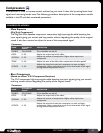
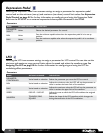
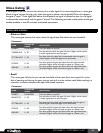
To use the Looper:
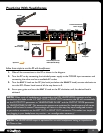
1�
The Phrase Sampler option in the System Settings menu must be set to LOOPER (this is the
default setting from the factory)� See Phrase Sampler on page 51 for information on
changing this setting�
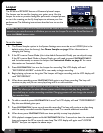
2� If the RP is set to Preset Mode (this is the default Footswitch Mode) you can skip this step�
If the RP is set to Bank Mode or Stomp Mode, you will need to press
FOOTSWITCHES 2
and 3 simultaneously to access the Looper� See Footswitch Modes on page 41 for more
information on Footswitch Modes�
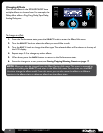
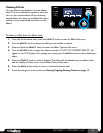
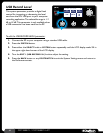
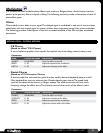
3� Press FOOTSWITCH 3 to arm the Looper for recording� The LCD display will read
“RECORDING ARMED” and the RP is now ready to begin recording�
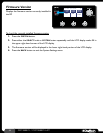
4� Begin playing a phrase on the guitar� The Looper will begin recording and the LCD display will
read “RECORDING”�
5� When done recording, press FOOTSWITCH 3 again to end loop recording� The loop will
continue to play and you can now play along with it or add overdubs�
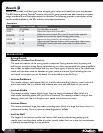
HINT: You can navigate presets at this point using the UP/DOWN footswitches or SELECT
knob� This allows you to select different preset sounds that you can play along with the
recorded loop or use for recording overdubs� Changing presets will not change the sound of
the recorded loop�
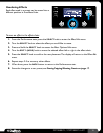
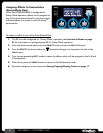
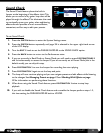
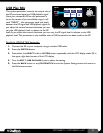
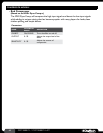
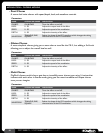
6� To add an overdub, press FOOTSWITCH 3 once� The LCD display will read “OVERDUBBING”�
Play the overdubbed guitar part�
7� Press FOOTSWITCH 3 once to end overdub recording� The loop will continue to play along
with the newly recorded overdub� Repeat steps 6 and 7 to record additional overdubs�
8� When done, press FOOTSWITCH 3 two times quickly to stop loop playback�
9� With playback stopped, press and hold FOOTSWITCH 3 for 2 seconds to clear the recorded
loop and prepare the RP to record a new loop� The LCD display will again read “LOOPER
READY” and you can repeat the above steps�