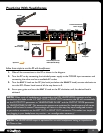
17
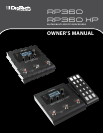
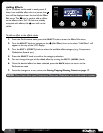
RP360 / RP360 XP
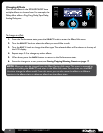
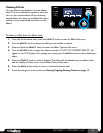
Storing/Copying/Naming Presets
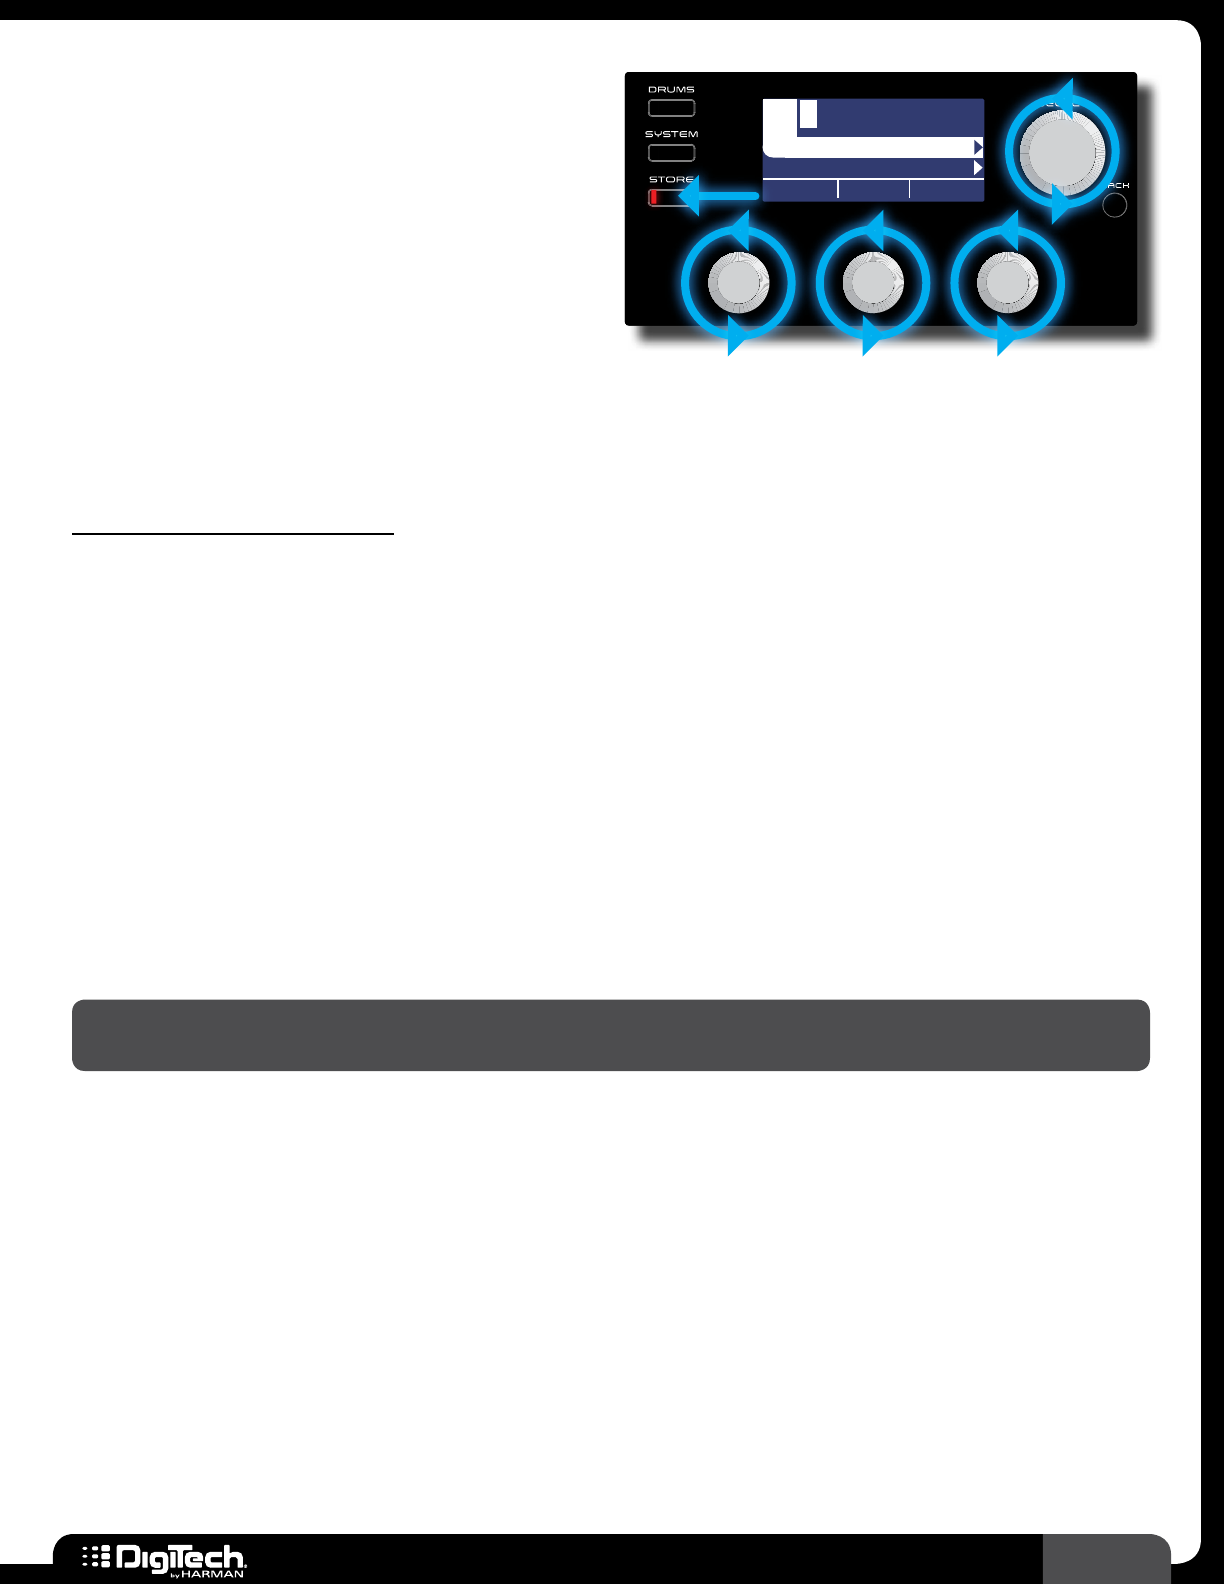
The STORE button is used to store edits made
to a preset’s parameters� The STORE button’s
LED will light whenever a preset’s parameters
have been modified from their stored value� Any
parameter edits must be stored to a preset before
the processor is powered down or the preset is
changed in order for edits to be retained� Preset
edits can only be stored to a user preset
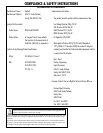
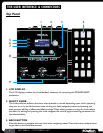
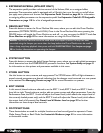
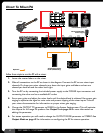
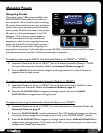
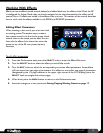
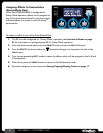
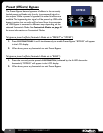
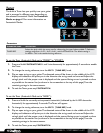
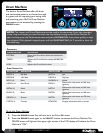
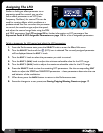
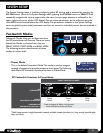
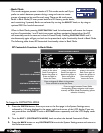
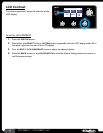
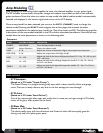
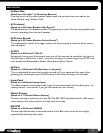
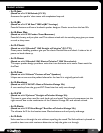
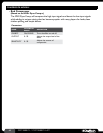
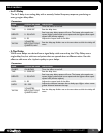
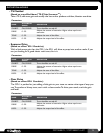
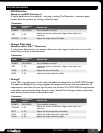
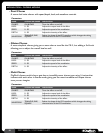
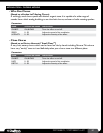
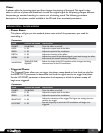
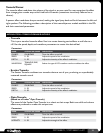
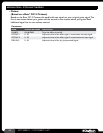
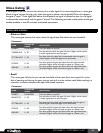
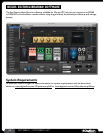
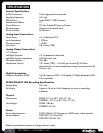
Plexi-Drive 1
LOOPER READY
Plexi-Dri1 :
BACK TO CANCEL
STORE TO:
LETTER DEL/INS
<CURSOR>
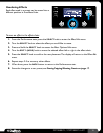
memory location since factory presets cannot be overwritten� The RP360 and RP360XP have 99 user
preset memory locations� Factory presets can be edited and then stored to a user preset location�
When storing a preset you will have the option to change the preset’s name�
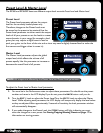
To store/copy/rename a preset:
1�
Press the STORE button to initiate the store procedure�
2� If you do not want to change the name of the preset, go to step 3� To modify or change the
name, use the 3
EDIT knobs� Turning the EDIT 1 (LETTER) knob will edit the selected on-
screen character� Turning the
EDIT 2 (CURSOR) knob selects the character you want to edit�
Turning the
EDIT 3 (DEL/INS) knob clockwise will insert space to the left of the selected
character; turning it counter-clockwise will delete characters to the left of the selected
character� The preset name can contain up to 16 characters�
3� If you do not want to change the preset location go to step 4� To select a new preset location,
turn the
SELECT knob until the desired user preset memory location is displayed below the
name�
4� Press the STORE button a second time, or press the SELECT button, to confirm the store
procedure� The LCD display will briefly display “Storing���” then the preset will be stored�
NOTE: Pressing the BACK button at any time during the above store procedure will abort the
procedure�