16
RP360 / RP360 XP
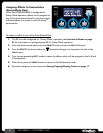
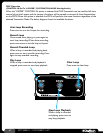
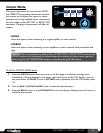
4� When done navigating presets, press both FOOTSWITCHES 2 and 3 simultaneously again� The
LCD display will change and you will now be back to Stomp Mode operation�
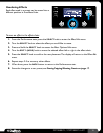
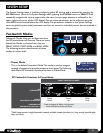
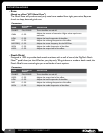
To navigate presets (Footswitch Mode set to “BANK”):
1�
Footswitch Mode must be set to “BANK”� For more information on Footswitch Modes, see
Footswitch Modes on page 41�
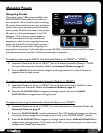
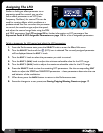
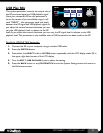
2� If you want to select a preset from another bank, turn the SELECT knob clockwise to navigate
up through banks or counter-clockwise to navigate down through banks – for easy hands-free
preset bank navigation, an optional FS3X Footswitch should be used� There are 66 total banks
(33 user preset banks (1-33) and 33 factory preset banks (F1-F33))� After a bank is selected, the
3 footswitch LEDs will flash, prompting you to select a preset and activate the bank�
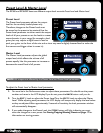
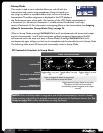
3� The LCD display will show 3 selectable presets in the selected bank� Press the corresponding
FOOTSWITCH
to load the desired preset�
NOTE: If a footswitch is not pressed within approximately 3 seconds, the RP will time out
and revert back to the last active preset bank�
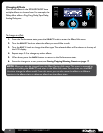
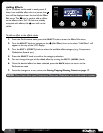
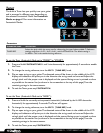
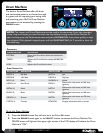
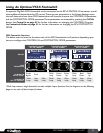
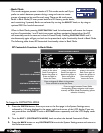
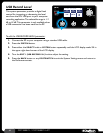
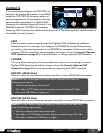
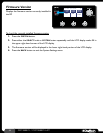
4� You can switch between Preset and Bank Mode operation to navigate presets when in Bank
Mode� To do this, press both
FOOTSWITCHES 2 and 3 simultaneously� The LCD display will
change, now showing the preset up/down navigation and looper icons, as well as the “LOOPER
READY” prompt�
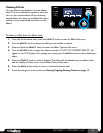
5� Press the UP FOOTSWITCH to navigate up through presets and the DOWN FOOTSWITCH to
navigate down through presets� You’ll notice that the RP is now functioning just as it does when
configured for Preset Mode operation�
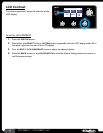
6� When done navigating presets, press both FOOTSWITCHES 2 and 3 simultaneously again� The
LCD display will change and you will now be back to Bank Mode operation�