


14
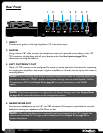
RP360 / RP360 XP
OPERATING INSTRUCTIONS
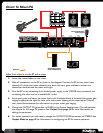
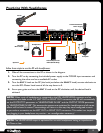
Basic Operation Overview
Performance State
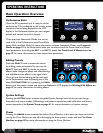
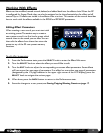
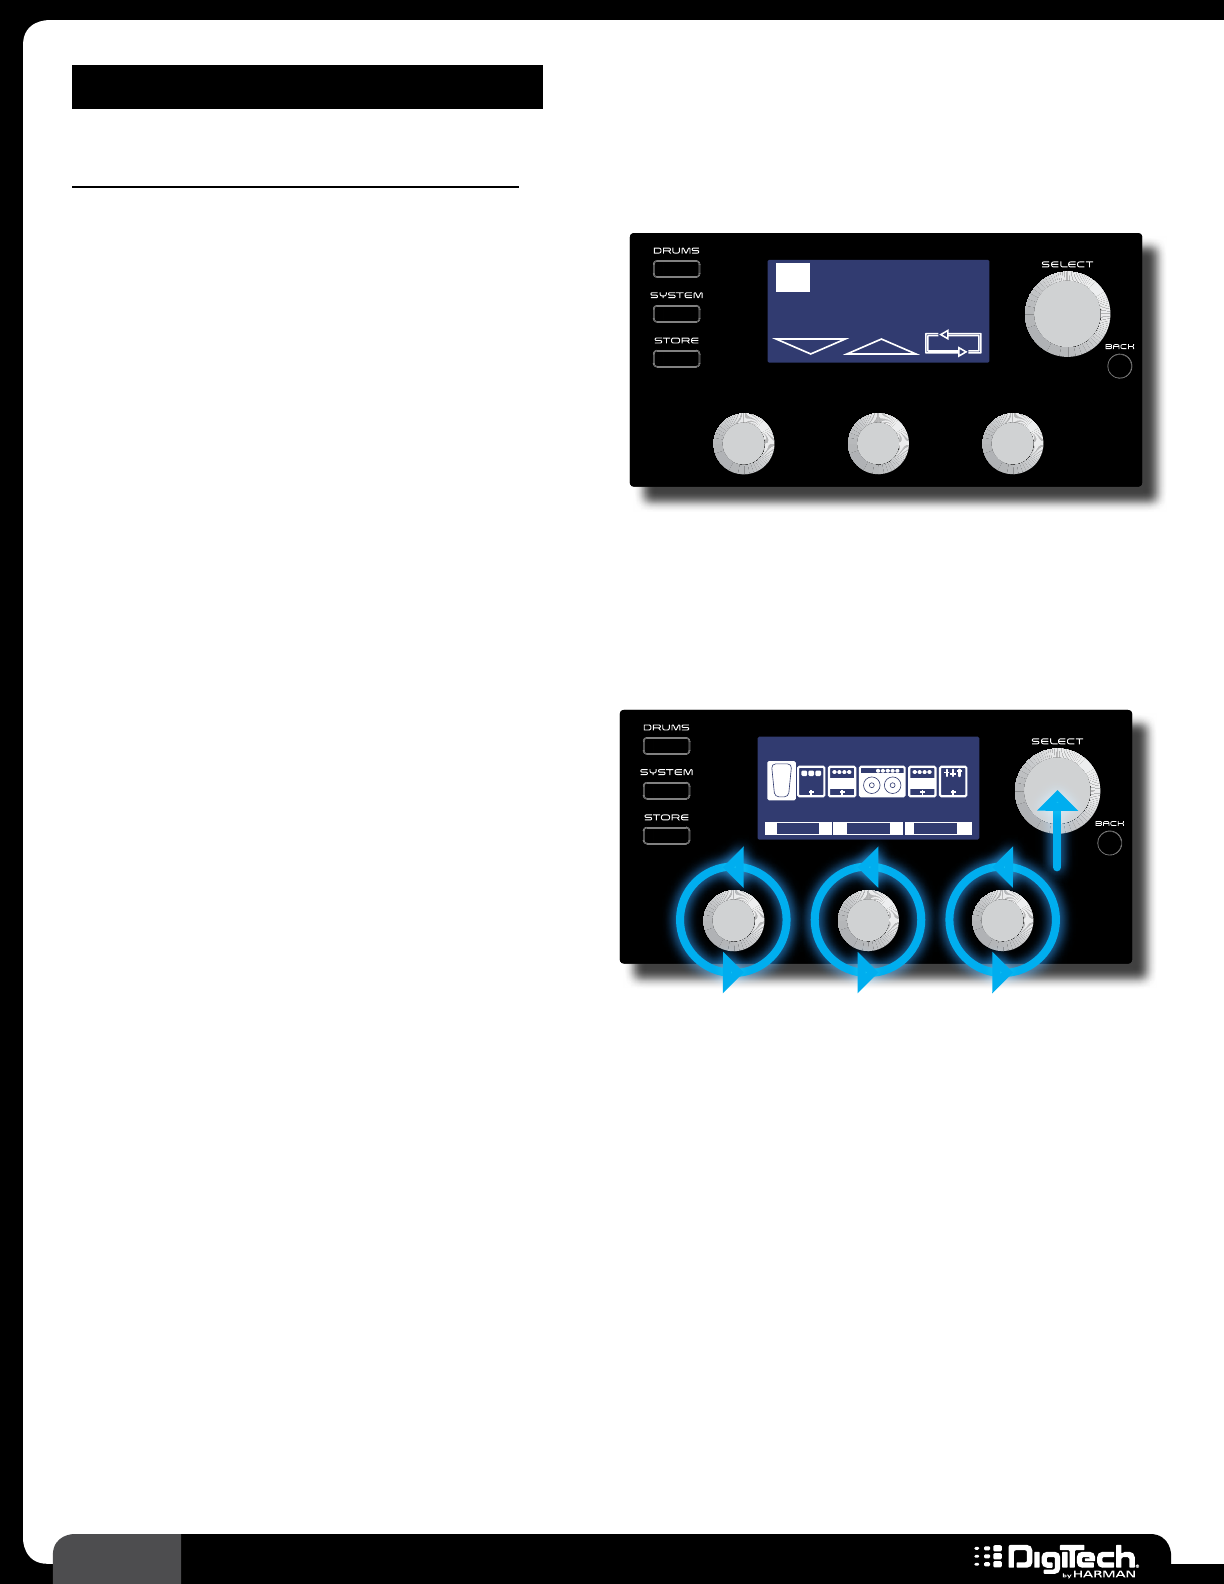
Once the RP is powered up it is ready to use for
performance� This is indicated by the current preset
number and name being displayed in the LCD
display� In this Performance state you can navigate
presets and control the built-in Looper�
There are three Footswitch Modes that can be
used while in the Performance state: Preset Mode,
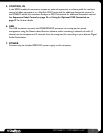
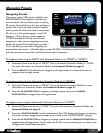
Plexi-Drive 1
LOOPER READY
Plexi-Drive 1
LOOPER READY
Stomp Mode, and Bank Mode� For more information on these Footswitch Modes, see Footswitch
Modes on page 41� In the Performance state you can also control the Preset Level and Master
Level parameters by turning the
EDIT 1 and EDIT 3 knobs� See Preset Level & Master Level on
page 25 for more information on these output level parameters�
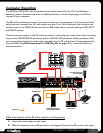
Editing Presets
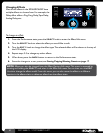
Press the SELECT knob to access the menus
for editing preset parameters� You can use the
SELECT knob and EDIT 1-3 knobs to navigate
effects, make changes to effects and effect settings,
and add/delete/move effects in the signal chain�
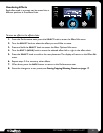
Once you are finished editing you can exit back
to the Performance state by pressing any of the
three
FOOTSWITCHES or by pressing the BACK
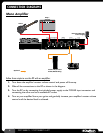
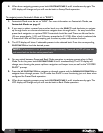
Plexi-Drive 1
LOOPER READY
MODEL
CRY WAH
LEVEL
1/2
CMP DST GAT
0 dBBYPASS
ON/BYP
EQ
W
A
H
button until the preset number and name are displayed in LCD display� See Working With Effects on
page 19 for more information on editing effects�
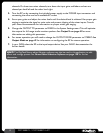
System Settings
Pressing the SYSTEM button accesses the global System Settings menu where you can change
footswitch and output modes, USB settings, and perform expression pedal calibration and factory
restore operations� See System Setup on page 41 for more information on system settings�
Drums
Pressing the DRUMS button accesses the built-in Drum Machine� In this menu you have controls for
turning the Drum Machine on and off and changing the drum pattern, tempo and level� See Drum
Machine on page 30 for more information on using the Drum Machine�