EN-50
7. Select an item you want to set by pressing the or
button.
• Selectthecoloryouwanttoadjustusing
COLOR.
8. Select a setting value by pressing the or
button.
• Youcanenternumbersbypressingthenumber
buttons (0 to 9) while holding down the NUM
button on the remote control.
Repeat steps 7 to 8, if necessary.
Important:
• Thecolortonemaynotbedisplayedcorrectly
depending on the setting value. Set the value within
the proper range.
Set the target values of the brightness and
chromaticity coordinates:
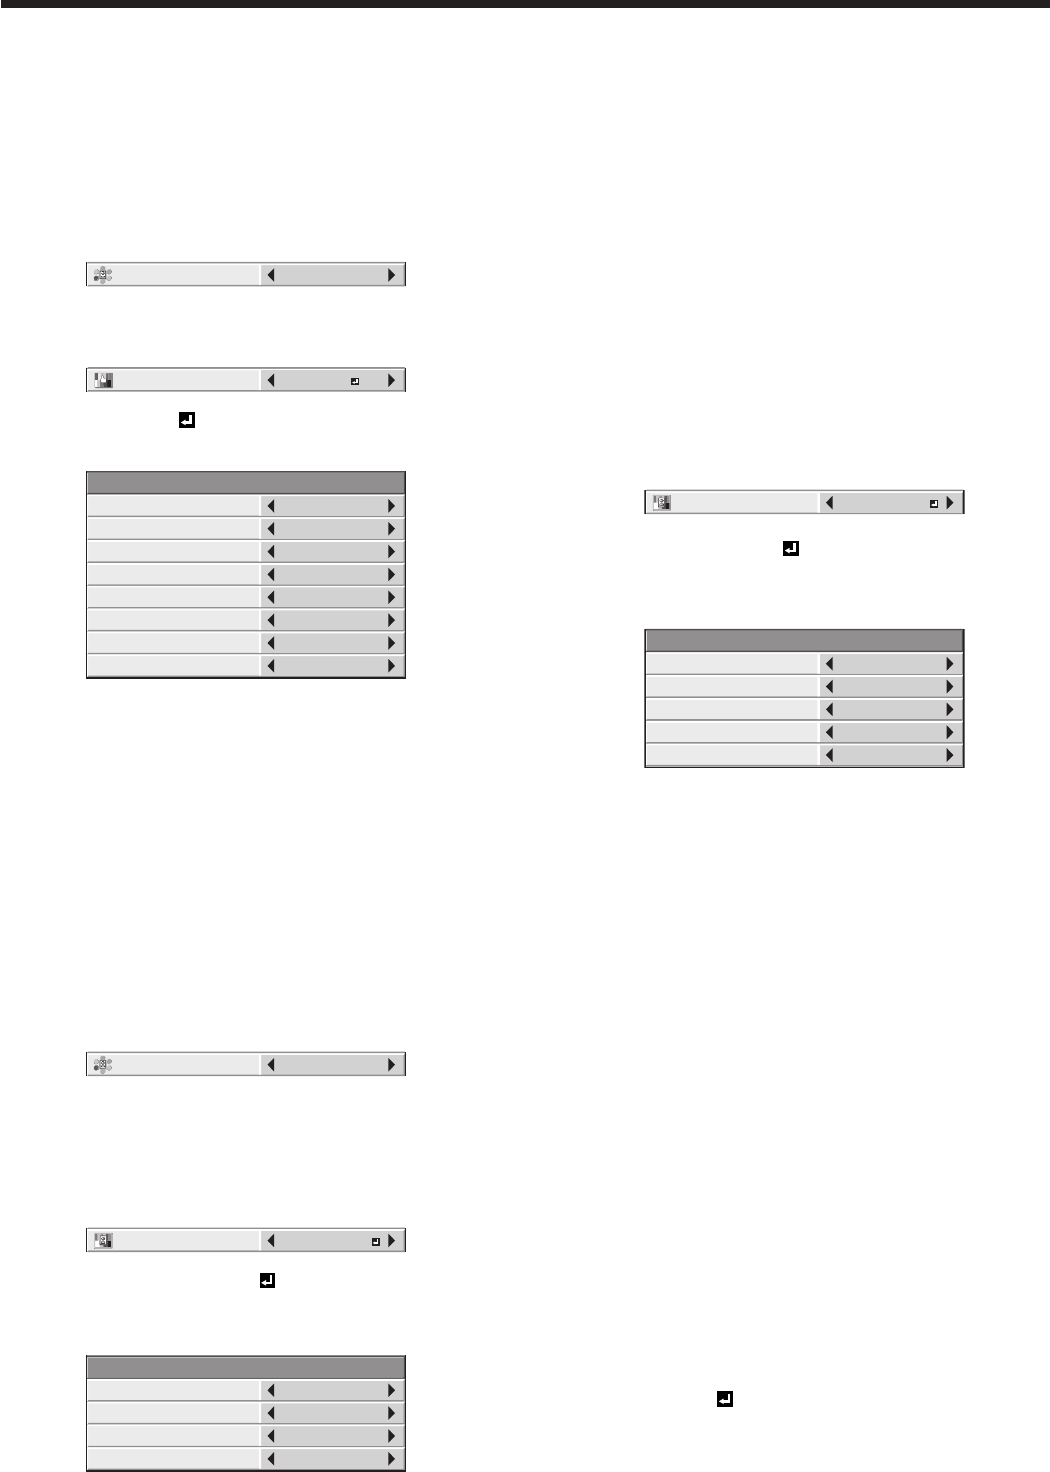
4. Select MEASURE by pressing the or button.
5. Select TARGET DATA by pressing the or
button.
6. Press the ENTER button.
MEASURE – TARGET DATA
COLOR
GAIN
x
y
RED
*
.
***
*
.
***
*
.
***
AUTO PATTERN
ON
7. Select an item you want to set by pressing the or
button.
• Selectthecoloryouwanttoadjustusing
COLOR.
• WhenyousetAUTOPATTERNtoON,thetest
pattern of each color is displayed.
8. Select a setting value by pressing the or
button.
• Youcanenternumbersbypressingthenumber
buttons (0 to 9) while holding down the NUM
button on the remote control.
Repeat steps 7 to 8, if necessary.
Important:
• The color tone may not be displayed correctly
depending on the setting value. Set the value within
the proper range.
Resetting the settings
• YoucanresettheSETTING,MANUAL,and
MEASURE settings to the factory defaults.
1. Display the MULTI-SCREEN menu.
2. Select SETTING, MANUAL or MEASURE by
pressing the or button.
3. Select RESET by pressing the or button.
4. Press the ENTER button.
Adjusting projected images (continued)
Adjusting the color variations
You can adjust the variations in the colors of the
images displayed on multiple projectors using the
menu settings.
(See page 31 for menu setting.)
Adjustment while viewing the screen
1. Display the MULTI-SCREEN menu.
2. Select COLOR MATCHING by pressing the or
button.
3. Select MANUAL by pressing the or button.
4. Select MANUAL by pressing the or button.
5. Select SETTING by pressing the or button.
6. Press the ENTER button.
MANUAL – SETTING
COLOR
GAIN
SATURATION
HUE
RED
100
0
0
WHITE R
WHITE G
WHITE B
- - -
AUTO PATTERN
ON
- - -
- - -
7. Select an item you want to set by pressing the or
button.
• Selectthecoloryouwanttoadjustusing
COLOR.
• WhenyousetAUTOPATTERNtoON,thetest
pattern of each color is displayed.
8. Select a setting value by pressing the or
button.
Repeat steps 7 to 8, if necessary.
Adjustment using a chroma meter
1. Display the MULTI-SCREEN menu.
2. Select COLOR MATCHING by pressing the or
button.
3. Select MEASURE by pressing the or button.
Set the measured brightness and the chromaticity
coordinates:
4. Select MEASURE by pressing the or button.
5. Select MEASURED DATA by pressing the or
button.
6. Press the ENTER button.
MEASURE – MEASURED DATA
COLOR
Y (RELATIVE)
x
y
RED
*****
*
.
***
*
.
***


