


EN-13
Setting HIGH ALTITUDE MODE
• SetHIGHALTITUDEMODEintheINSTALLATION
1 menu according to the altitude at which you use
the projector. The default setting is STANDARD.
• SelectSTANDARDwhenusingtheprojectoratan
altitude from 0 to 2000 meters.
• SelectHIGHALTITUDEwhenusingtheprojectorat
an altitude from 2000 to 2700 meters.
Important:
• IfyouselectSTANDARDwhenusingtheprojector
at an altitude higher than 2000 meters, the
projector may break down or fail.
• WhenyouusetheprojectorintheHIGHALTITUDE
mode, only floor installation and ceiling installation
are allowed.
(See page 31 for menu setting.)
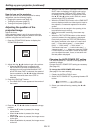
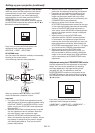
1. Display the INSTALLATION 1 menu.
2. Select HIGH ALTITUDE MODE by pressing the
or button.
HIGH ALTITUDE MODE
STANDARD
3. Press the ENTER button.
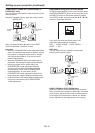
HIGH ALTITUDE MODE
HIGH ALTITUDE MODE
STANDARD
4. Select STANDARD or HIGH ALTITUDE by
pressing the or button.
5. Press the ENTER button.
Setting IMAGE REVERSE
• SetIMAGEREVERSEintheINSTALLATION1menu
according to the orientation of the projector. The
default setting is OFF.
• SelectOFFforthecombinationofoorinstallation
and front projection.
• SelectMIRRORINVERTforthecombinationof
ceiling installation and front projection.
• SelectMIRRORforthecombinationofoor
installation and rear projection.
• SelectINVERTforthecombinationofceiling
installation and rear projection.
(See page 31 for menu setting.)
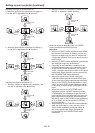
1. Display the INSTALLATION 1 menu.
2. Select IMAGE REVERSE by pressing the or
button.
OFF
IMAGE REVERSE
3. Select OFF, MIRROR, INVERT or MIRROR INVERT
by pressing the or button.
Setting up your projector (continued)
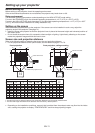
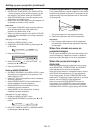
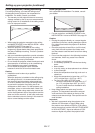
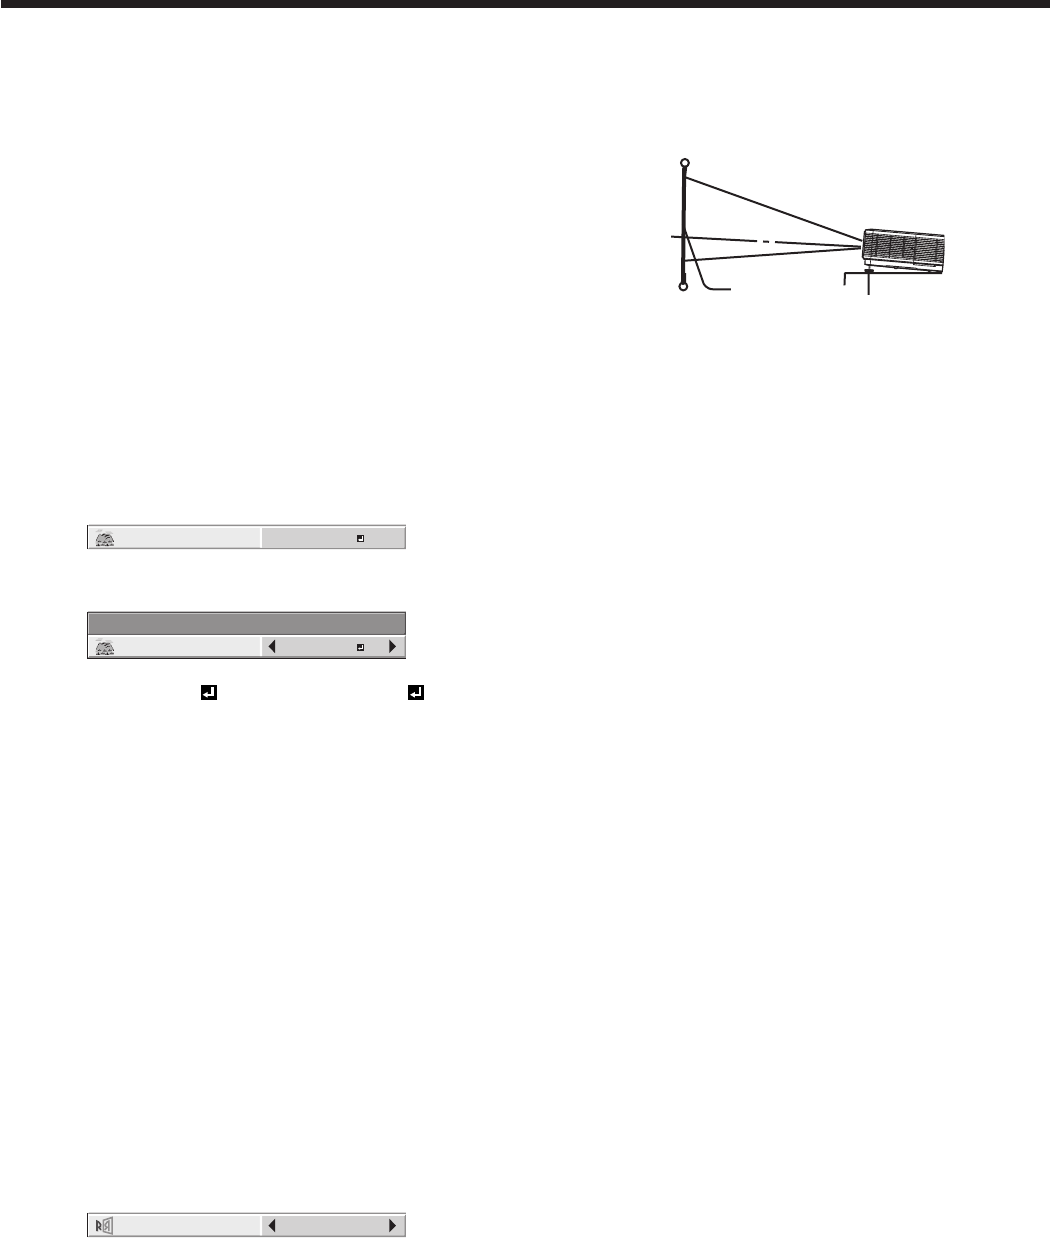
Correcting skewed or distorted image
For the best projection, project images on a flat screen
installed at 90 degrees to the floor. If necessary, tilt the
projector using the two adjustment feet on the bottom
of the projector.
Adjustment feet
Screen
1. Tilt up the projector to the appropriate angle.
2. Rotate the adjustment feet for fine adjustment.
Important:
• Don’ttransporttheprojectorwithitsadjustment
feet extended. Otherwise the adjustment feet may
be damaged.
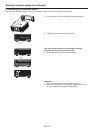
When fine streaks are seen on
projected images
This is due to interference with the screen surface and
is not a malfunction. Replace the screen or displace
the focus a little. (See page 12 for focus adjustment.)
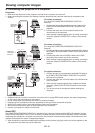
When the projected image is
distorted:
When the projected image is distorted, carry out any
of the KEYSTONE, CORNERSTONE, and CURVED-
mode adjustments to correct the distortion.
When the image distorts in a trapezoid shape, use the
KEYSTONE-mode adjustment. For fine adjustment
of the image shape, use the CORNERSTONE-mode
adjustment. To adjust the image projected on a curved
surface, use the CURVED-mode adjustment.
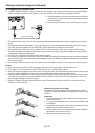
When you press the ENTER/GEOMETRY button on
the projector or the GEOMETRY button on the remote
control, the menu switches in the order of KEYSTONE,
CORNERSTONE, CURVED, regular display, KEYSTONE...