


EN-49
11. Press the ENTER button.
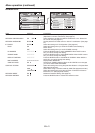
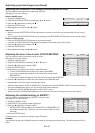
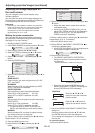
SETTING - BLACK LEVEL
INTERLOCKED
RED
GREEN
ON
0
0
BLUE
0
12. Select an item you want to set by pressing the or
button.
• Adjusttheblacklevelinareasotherthanthe
overlapped areas.
• WhenyousetINTERLOCKEDtoON,youcan
adjust RED, GREEN, and BLUE simultaneously.
When you set it to OFF, you can adjust RED,
GREEN, and BLUE separately.
13.
Select a setting value by pressing the or button.
Repeat steps 12 to 13, if necessary.
14. Press the MENU button once.
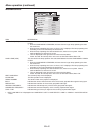
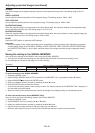
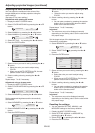
15. Select BRIGHT UNIFORMITY CORRECTION by
pressing the or button.
• WhenEDGEBLENDINGisON,thebrightnessof
the projected images is made even.
SETTING
BRIGHT UNIFORMITY
CORRECTION
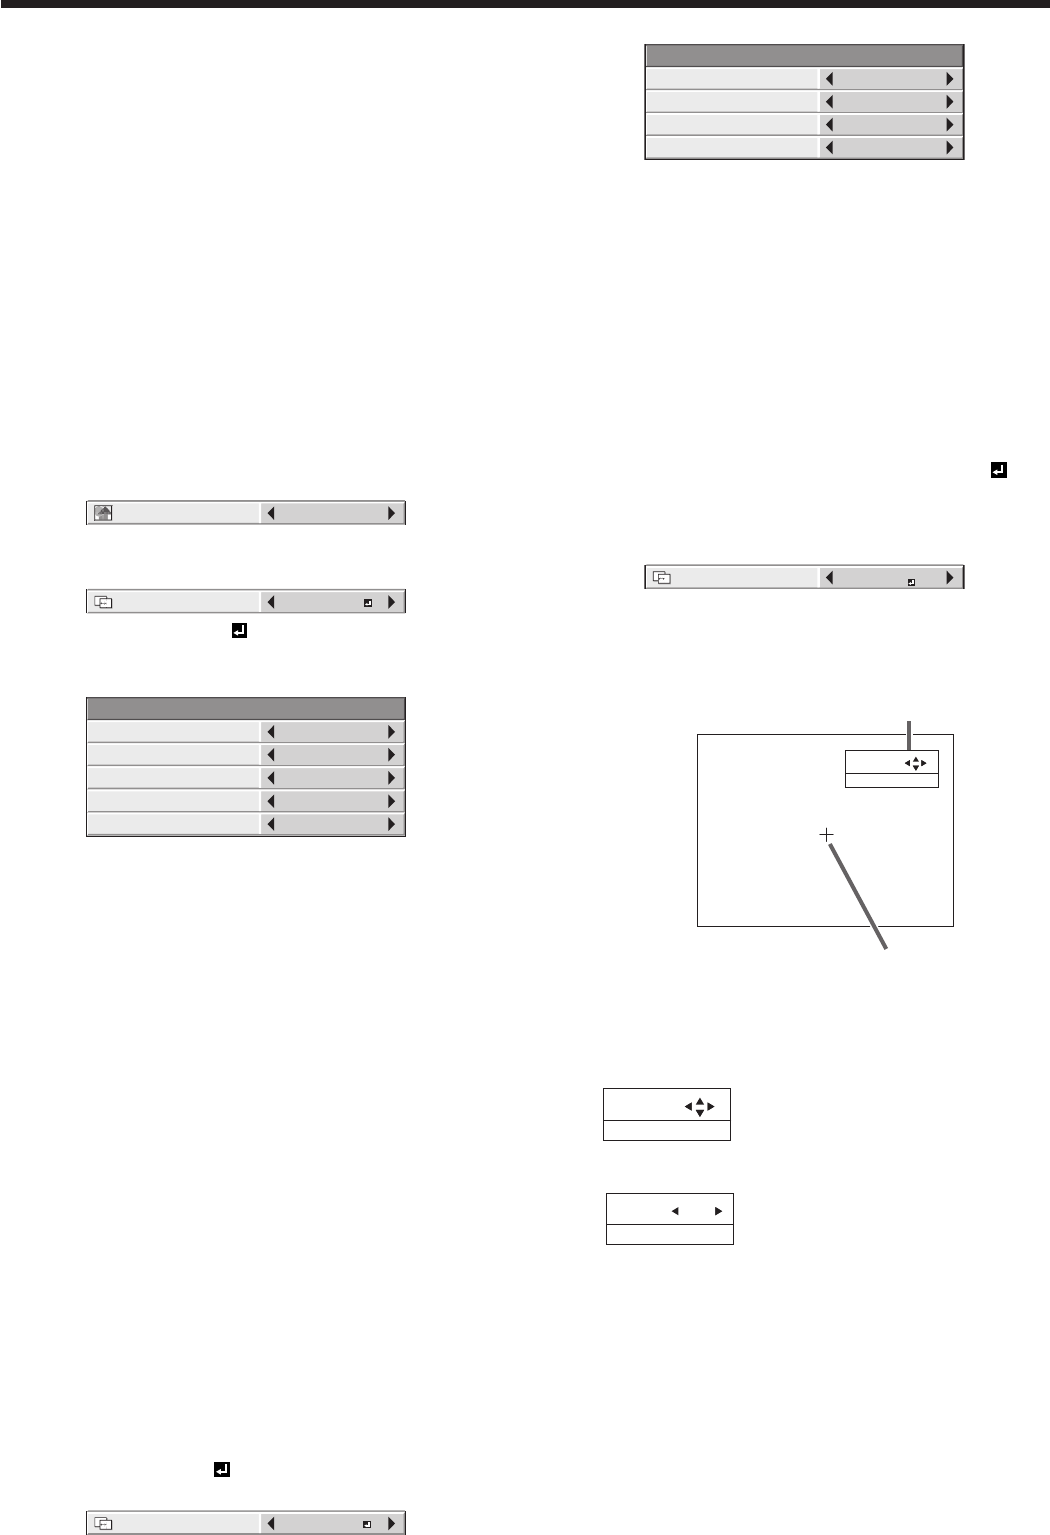
16. Press the ENTER button.
• TheBRIGHTUNIFORMITYCORRECTION
dialog box and the correction position marker
are displayed.
POSITION :
SELECT : ENTER
Correction position marker
BRIGHT UNIFORMITY CORRECTION dialog box
•
Every time you press the ENTER button, the
BRIGHT UNIFORMITY CORRECTION dialog box
shows POSITION and LEVEL alternately.
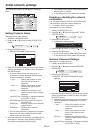
POSITION
POSITION :
SELECT : ENTER
Press the , , , or
button to move the correction
position marker.
LEVEL
LEVEL : 100
SELECT : ENTER
Press the , or button to
adjust the correction amount.
17. Cancel the BRIGHT UNIFORMITY CORRECTION
dialog box.
Press any button other than the , , , or ,
and ENTER buttons to clear the dialog box.
Or, the dialog box disappears in 10 seconds after
the last use.
To cancel the menu:
18. Press the MENU button.
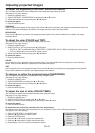
Adjusting projected images (continued)
Adjusting the image displayed on
the multi-screen
You can configure a multi-screen display using
multiple projectors.
You can make the joints of the images displayed on
the projectors unnoticeable and adjust the differences
in the brightness and the color tint of them.
Important:
• Dependingontheinstallationcondition,theprojected
image may fluctuate due to the effect of the exhausted
wind. In such a case, open up the space between
the projectors so that the image doesn’t fluctuate
(approximately 70 cm or more).
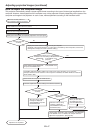
Making the joints unnoticeable
You can make the joints of the images projected on
the projectors unnoticeable using the menu settings.
(See page 31 for menu setting.)
1. Display the MULTI-SCREEN menu.
2.
Select EDGE BLENDING by pressing the or button.
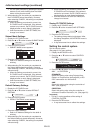
EDGE BLENDING
OFF
3. Select ON by pressing the or button.
4. Select SETTING by pressing the or button.
SETTING
EDGE ADJUST
5. Select EDGE ADJUST by pressing the or
button.
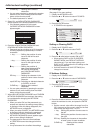
6. Press the ENTER button.
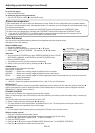
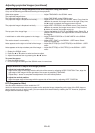
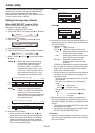
SETTING - EDGE ADJUST
EDGE SELECT
BLENDING
WIDTH
MARKER
UP
OFF
START POSITION
0
128
OFF
7. Select an item you want to set by pressing the or
button.
EDGE SELECT
Select the joint you want to adjust from UP, LOW,
LEFT, and RIGHT.
BLENDING
When you select ON, the joint selected by EDGE
SELECT becomes unnoticeable.
START POSITION
Set the position to start the edge adjustment.
When UP or LOW is selected: 0 to 192
When LEFT or RIGHT is selected: 0 to 256
WIDTH
Set the width of the overlap of the joint selected by
EDGE SELECT.
When UP or LOW is selected: 4 to 368
When LEFT or RIGHT is selected: 4 to 496
• ThesettingrangeofSTARTPOSITIONand
WIDTH vary depending on their setting values.
MARKER
When you select ON, a marker for easily locating
the overlap of the joint is displayed.
8.
Select a setting value by pressing the or button.
Repeat steps 7 to 8, if necessary.
9. Press the MENU button once.
10.
Select BLACK LEVEL by pressing the or
button.
SETTING
BLACK LEVEL