


microKORG XL
8
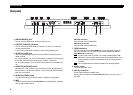
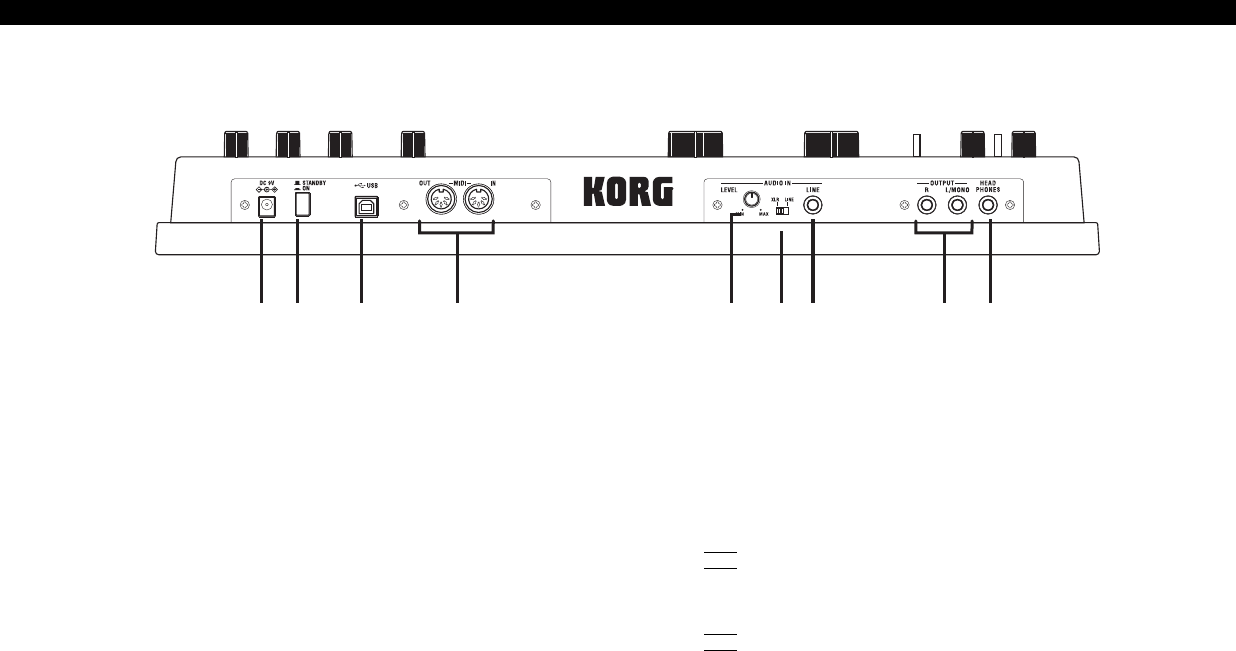
Rear panel
6789 1345 2
1. [HEADPHONES] jack
You can connect headphones to this jack (stereo 1/4").
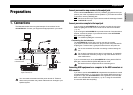
2. OUTPUT [L/MONO], [R] jacks
You can connect powered monitors, a stereo amp, mixer, or multi-track
recorder to these jacks.
If you’re using a monaural connection, connect the [L/MONO] jack.
3. AUDIO IN [LINE] jack
This is a monaural audio input jack. Use the AUDIO IN [LEVEL] knob to
adjust the level.
For a synth program, you can connect another synthesizer or audio device
to this jack and use the input audio as the oscillator 1 waveform.
For a vocoder program, you can use the input audio as the modulator sig-
nal.
4. AUDIO IN [XLR/LINE] switch
Set this to the “LINE” position if you’re using the AUDIO IN [LINE] jack on
the rear panel, or to the “XLR” position if you’re using the AUDIO IN [MIC]
jack on the front panel.
5. AUDIO IN [LEVEL] knob
This adjusts the input level from the AUDIO IN [MIC] or [LINE] jacks.
6. MIDI
These connectors allow the microKORG XL to exchange MIDI messages
with an external MIDI device.
[MIDI IN] connector
This connector receives MIDI data.
[MIDI OUT] connector
This connector transmits MIDI data.
7. [USB] connector
This connector allows the microKORG XL to exchange MIDI messages
with your computer. You can also use sound editor software to edit the
microKORG XL’s parameters.
NOTE
In order to use a USB connection, you’ll need to install the Korg USB-
MIDI driver in your computer. Download the “Korg USB-MIDI driver” from
the Korg website, and install it as described in the accompanying docu-
mentation.
NOTE
You can download the sound editor software from the Korg website.
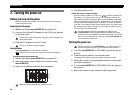
8. Power switch
This turns the power on/off.
9. [DC 9V] connector
Connect the included AC adapter here.
Connect the AC adapter to the microKORG XL before you plug it into an
AC outlet.