


54
OWNER’S MANUAL
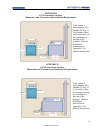
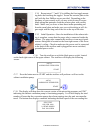
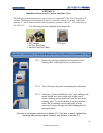
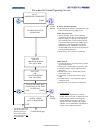
C.19. At the end of the initial self test, the following screen will be automatically displayed.
Pressing the button to the right of PURGE will cause the sterilization bag purge pump to
operate for 1 minute, 30 seconds. This, in turn, will cause air to flow through the steriliza-
tion liner bag, up the 1/4" (.64 cm) I.D. purge tube into the purge pump, and then out the
3/4” I.D. exhaust tube creating an exhaust pressure of approximately one to three inches of
water inside the exhaust tube at the rear of the sterilization cabinet.
LOAD STERILIZER BAG
CLOSE BAG OVER TUBE
PURGE BAG
EXIT PURGE
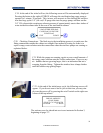
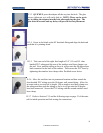
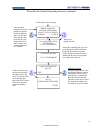
The unit may now be placed into service as instructed in Section 3,
beginning on page 12..
BREAK AMPOULE
CLOSE DOOR
SELECT CYCLE LENGTH
24 HOUR 12 HOUR
C.22. At the end of the initial purge cycle, the following screen will
appear. If you do not want to run a cycle at this time you may sim-
ply turn the power off by pressing the on/off switch on the right rear
corner of the top cabinet.
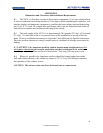
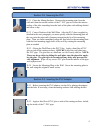
C.21. While the pumps are running, squirt or pour a small amount of
the soapy water solution onto the visible connections. If you see any
air bubbles that are growing larger, this is an indication that air is
escaping from the fitting. Tighten the stainless hose clamps further
until the bubbles stop getting larger.
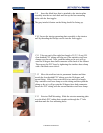
C.20 Checking Connections - The final step in the installation process is to make sure the
fitting connections outside the cabinet are airtight. One method of testing for leaks is to
squirt a soapy water solution onto the connections when the sterilizer pumps are running as
explained below.
© Andersen Products Ltd