En
26
Utilities modes
The following settings can be changed:
Utilities mode 1
! Setting for using DJ software other than Serato DJ
! Channel fader start setting
! Master output attenuator level setting
! Slip mode flashing setting
! Demo mode setting
! Setting of the velocity curve in the sampler velocity mode
! Sampler velocity mode after-touch setting
! MIDI settings in the sampler velocity mode
Utilities mode 2
! Setting of the default value of the beat for the hot cue roll function
! Setting of the default value of the Combo FX level
! Setting of the default value of the Combo FX filter operation mode
! Setting of the default value of the Combo FX beat
! Setting of the default value of the beat for the sampler roll function
! Momentary mode setting
! Pad Plus mode flashing operation setting
Launching utilities mode 1
If the utilities mode is launched while the DJ application is running,
the set status may not be displayed properly.
1 Quit the DJ application on the computer.
2 Slide the [ON/OFF] switch on this unit’s rear panel to
the [OFF] side to turn this unit’s power off.
Turn off the power of this unit.
3 While simultaneously pressing the left deck’s [SHIFT]
and [PLAY/PAUSE f] buttons, slide the [ON/OFF]
switch on this unit’s rear panel to the [ON] side.
Utilities mode 1 is launched.
4 After setting utilities mode 1, operate the controller
for the items whose settings you want to change.
See the explanations below for the settings that can be changed.
5 Slide the [ON/OFF] switch on this unit’s rear panel to
the [OFF] side to save the settings.
To save the settings, slide the [ON/OFF] switch on this unit’s rear panel
to the [OFF] side to quit utilities mode 1.
Changing the settings
Using DJ software other than Serato DJ
To use this unit as a controller for operating DJ software other than
Serato DJ, change this setting.
! By default, the unit is set to use Serato DJ.
Launch utilities mode 1, then press the left deck’s
[KEY LOCK] button.
! [KEY LOCK] button off: Setting to use Serato DJ
! [KEY LOCK] button lit: Setting to use DJ software other than
Serato DJ
Changing the channel fader start setting
The channel fader start function’s setting can be changed.
! By default, the channel fader start mode functions without the sync
mode set.
Launch utilities mode 1, then press one of the left deck’s
effect parameter buttons.
! Effect parameter 1 button lit: Channel fader start with the sync
mode set (The sync function is activated simultaneously when
channel fader starting starts.)
! Effect parameter 2 button lit: Channel fader start without the
sync mode set (The sync function is not activated when channel
fader starting starts.)
! Effect parameter 3 button lit: Channel fader start function
disabled
Setting the master output’s attenuation
level
! The default is 0 dB.
Launch utilities mode 1, then press one of the left deck’s
[HOT CUE], [ROLL] or [SLICER] mode buttons.
! [HOT CUE] mode button lit: 0 dB (no attenuation)
! [ROLL] mode button lit: –3 dB
! [SLICER] mode button lit: –6 dB
Disabling the slip mode flashing setting
When the slip mode is on, the buttons that can be operated in the slip
mode (jog dial indicator, [AUTO LOOP] button, [PLAY/PAUSE f]
button, etc.) flash. This setting can be used to disable the flashing of
these buttons.
! By default, slip mode flashing is enabled.
Launch utilities mode 1, then press the left deck’s [SLIP]
button.
! [SLIP] button lit: Slip mode flashing enabled
! [SLIP] button off: Slip mode flashing disabled
Disabling the demo mode
On this unit, the demo mode is set if no operation is performed for 10
minutes under normal usage conditions. This demo mode can be turned
off.
! By default, the demo mode is on.
! When any control or button on this unit is operated while in the
demo mode, the demo mode is canceled.
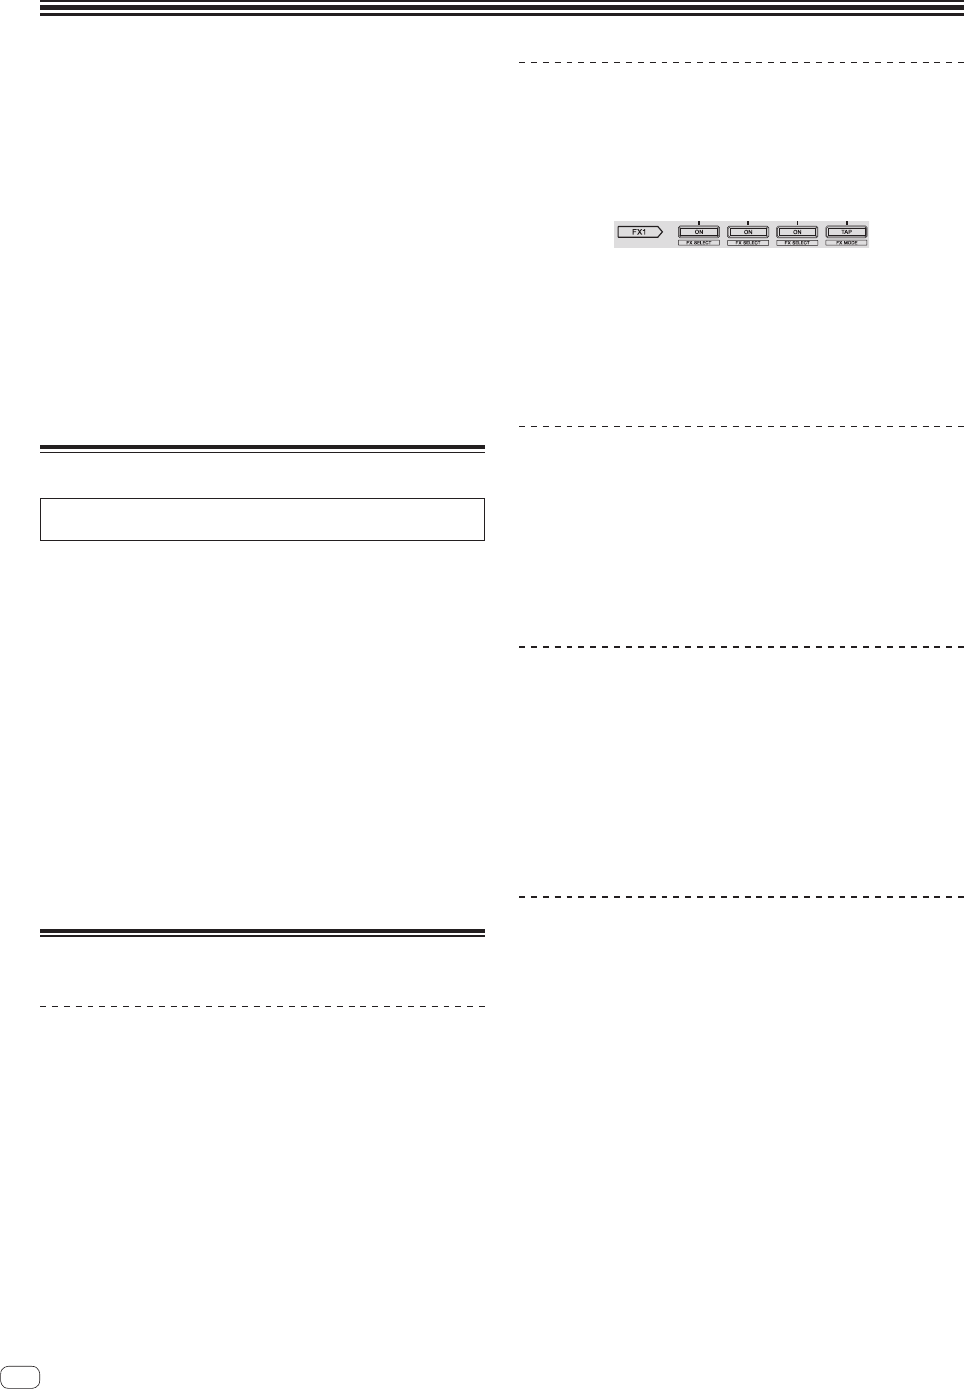
Launch utilities mode 1, then press the [TAP (FX MODE)]
button.
! [TAP (FX MODE)] button lit: Demo mode enabled
! [TAP (FX MODE)] button off: Demo mode disabled
