26
8. Configuration and settings
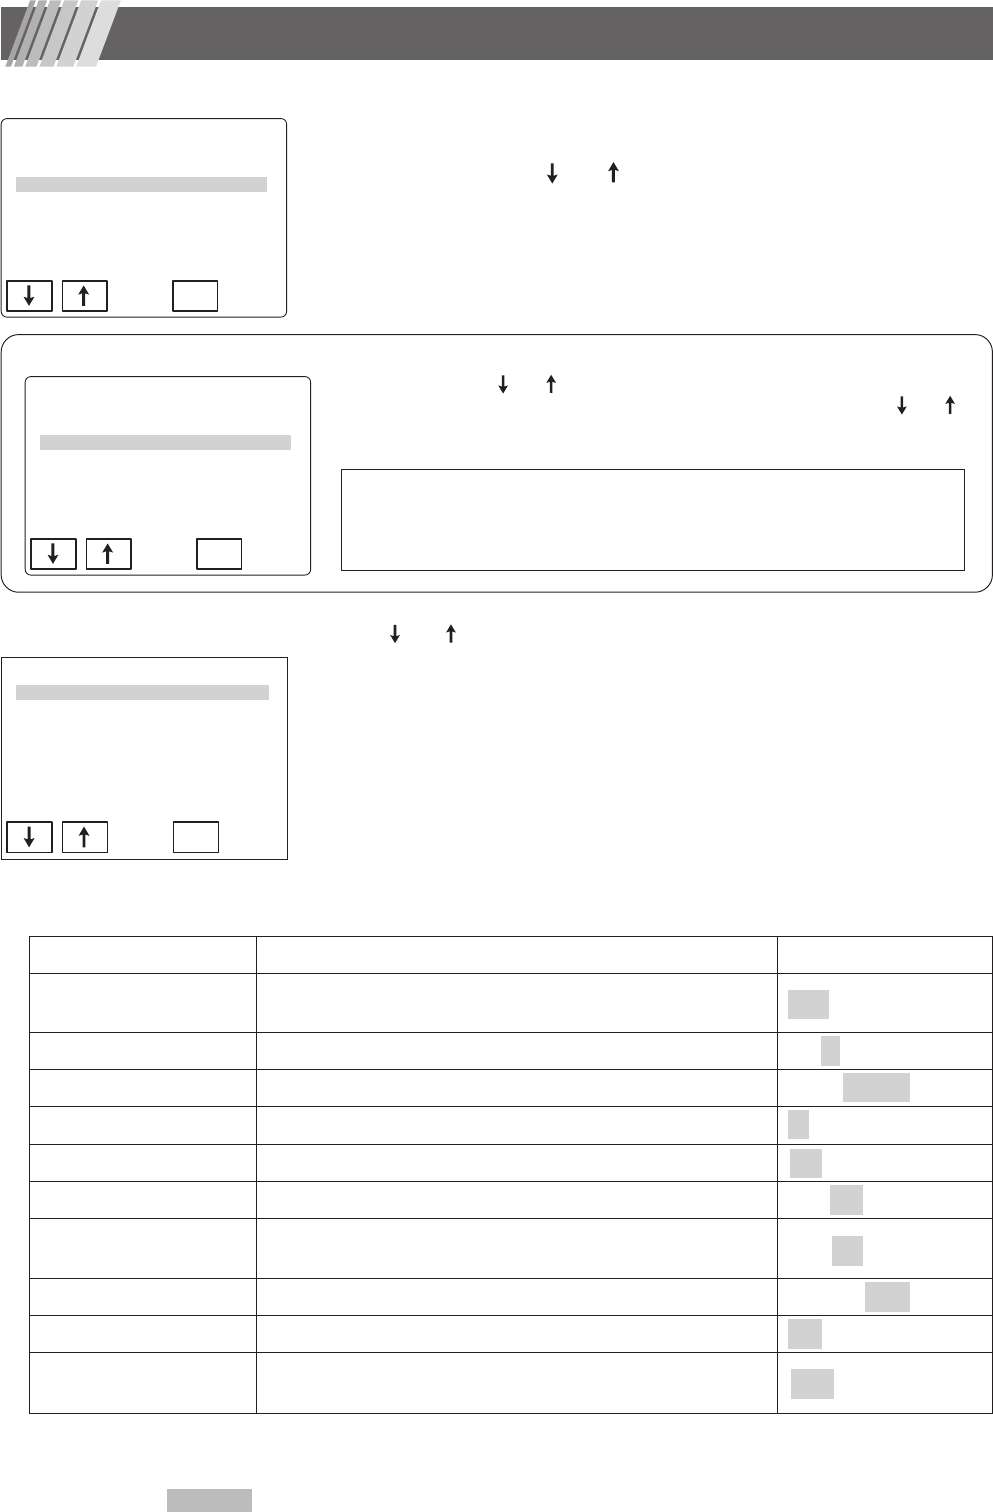
1 Press and hold “Print switch” for more than 4 seconds to display the menu
screen (Fig. 1).
2 Select “Setting” using
“ ” or “ ” and select “Ent” to display Setting menu
screen.
Laser Flare Meter
FM-600
Ver. 1.0
Setting
Calibration
End
Ent
Ent
Setting
Meas. Process
Illumination
Laser
Output mode
Date/Time
Sleep Time
End
Meas. Process (common settings regarding measurement)
Setting menu Description Selection
BG Error Check
Prohibiting
“
Yes
”
or not prohibiting
“
No
”
a measurement
with a quality below BG error level.
Yes / No
BG Error Level
BG error level setting, “H” for rigorous or “L” for reduced error level.
H / M / L
Meas. TRG Auto or manual measurement after BG error check. Auto / Manual
Alighnment Mode
Diagonal view alignment, "1" for single step or "2" for double step.
1 / 2
Graph View Displaying
“
On
”
or not displaying
“
Off
”
Graph View. On / Off
ID No. Input Allowing
“
On
”
or not allowing
“
Off
”
ID input. On / Off
Graph Review
Displaying
“
On
”
or not displaying
“
Off
”
Graph View when,
“Del” is selected to delete some data in Summary data screen.
On / Off
Data Store Saving measurements automatically or manually. Manual / Auto
Data Form Evaluation Executing
“
On
”
or not executing
“
Off
”
a data shape evaluation. On / Off
Auto Statistics
Automatic, significance level, and minimum number of data
settings for outlier test.
Auto | 5% | 5
When collected data exists, contents of the menu would be as shown in Fig. 2.
Select “ setting ” using “ ”or “ ” then select “ Ent ” to display Setting menu screen.In order to
end the setting and move to other screen, you must decide the next procedure. Use “ ” or “ ”
to select an item and select “Ent”.
Calibration (to delete collected data and perform calibration)
Continue Measure (to keep collected data and exit the menu screen)
End Measure (to open Summary data screen)
Laser Flare Meter
FM-600
Ver. 1.0
Setting
Calibration
Continue Measure
End Measure
Ent
3 Use “ ” or “ ” to select an item from the screen shown in Fig. 3 and select
“Ent” to open the menu screen corresponding to the selected item.
Changing the mode of each item you may change the state of this device.
Details of each item are described below:
Fig. 1
Fig. 2
Fig. 3
Shadowed items and numbers within brackets are default settings.
