


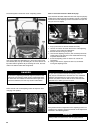
28
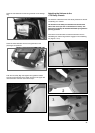
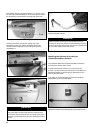
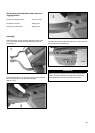
The hitcharm should now protrude about 2 cm / 3/4 inch out of
the rear side of the VersaWing 2.0, and the rear vertical holes in
the VersaWing 2.0 and hitcharm must align with each other.
Insert the security pin into the rear vertical hole of the
VersaWing 2.0 and push it down completely through the
hitcharm until the retaining ring is touching the top of the
VersaWing 2.0.
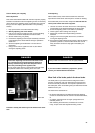
DANGER
The security pin must always be inserted, in addition to the
large spring button in the bicycle hitcharm! A hitcharm that
has not been secured properly may come loose during travel,
with serious consequences for your child, possibly even fatal
injuries.
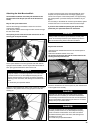
Correctly installed hitcharm.
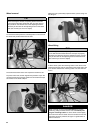
DANGER
Make sure that the hitcharm is correctly attached and se-
cured to the carrier. Any kind of incorrect assembly may lead
to loss of the carrier during travel, with serious consequences
for your child, possibly even fatal injuries.
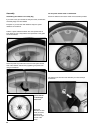
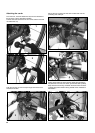
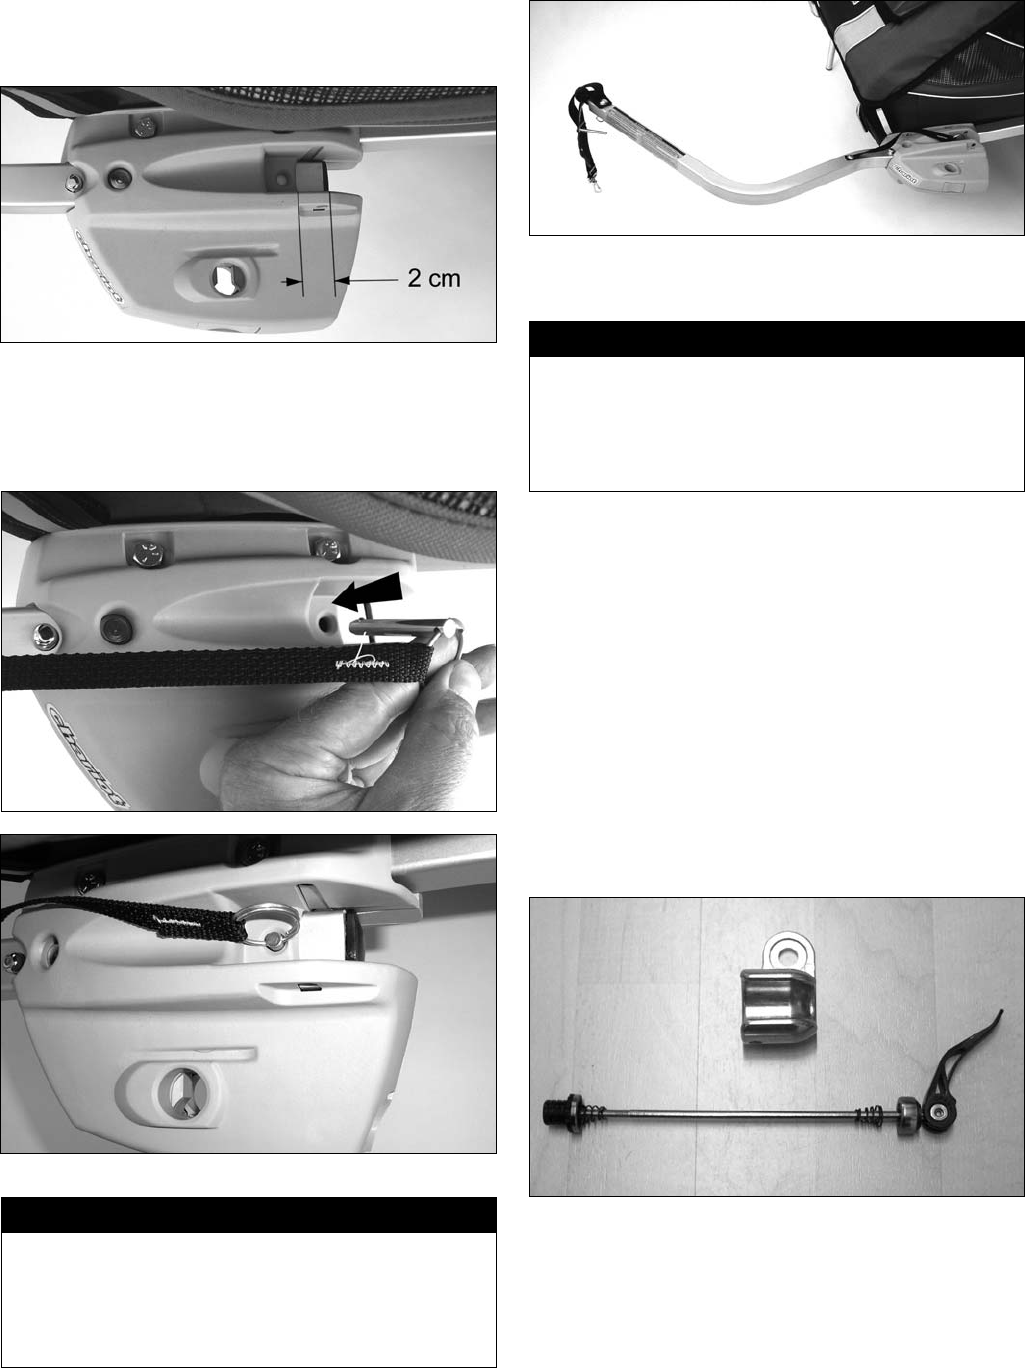
Attaching the hitcharm to the bicycle
(Chariot Axle-Mount ezHitch)
Your specialist dealer fi ts the Chariot Axle-Mount ezHitch to
your bicycle on delivery of the carrier.
In certain special cases, however, you may have to fi t it
yourself, e.g. after removing the rear wheel or when fi tting the
Axle-Mount ezHitch to a second bicycle. Assembly for such
cases is described below.
In all cases, we recommend that you have the Axle-Mount
ezHitch fi tted by your specialist dealer.
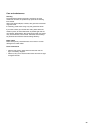
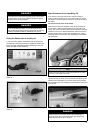
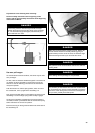
Axle-Mount ezHitch and accompanying quick-release skewer.