Problem Image example Solution
Curl or wave 1. Turn over the paper in the tray. Also, try rotating the paper 180°.
2. Make sure that the type and quality of the paper you are using meet
HP specifications. For more information, see the product user guide.
3. Make sure that the environmental specifications for the product are being met.
See
Environmental specifications on page 309.
4. Try printing to a different output bin.
5. If paper is lightweight and smooth, open the CONFIGURE DEVICE menu at
the product control panel. On the PRINT QUALITY submenu, select FUSER
MODES, and then select the paper type you are using. Change the setting to
LOW, which helps reduce the heat in the fusing process. You must also set
the type of paper for the tray you are using. For more information, see the
product user guide.
Wrinkles or creases 1. Print a few more pages to see if the problem corrects itself.
2. Make sure that the environmental specifications for the product are being met.
See
Environmental specifications on page 309.
3. Turn over the paper in the tray. Also, try rotating the paper 180°.
4. Make sure that paper is loaded correctly and all adjustments have been made.
For more information, see the product user guide.
5. Make sure that the type and quality of the paper you are using meet
HP specifications. See the product user guide.
6. If envelopes are creasing, try storing envelopes so that they lie flat.
7. If paper is lightweight and smooth, open the CONFIGURE DEVICE menu at
the product control panel. On the PRINT QUALITY submenu, select FUSER
MODES, and then select the paper type you are using. Change the setting to
LOW, which helps reduce the heat in the fusing process. You must also set
the type of paper for the tray you are using. For more information, see the
product user guide.
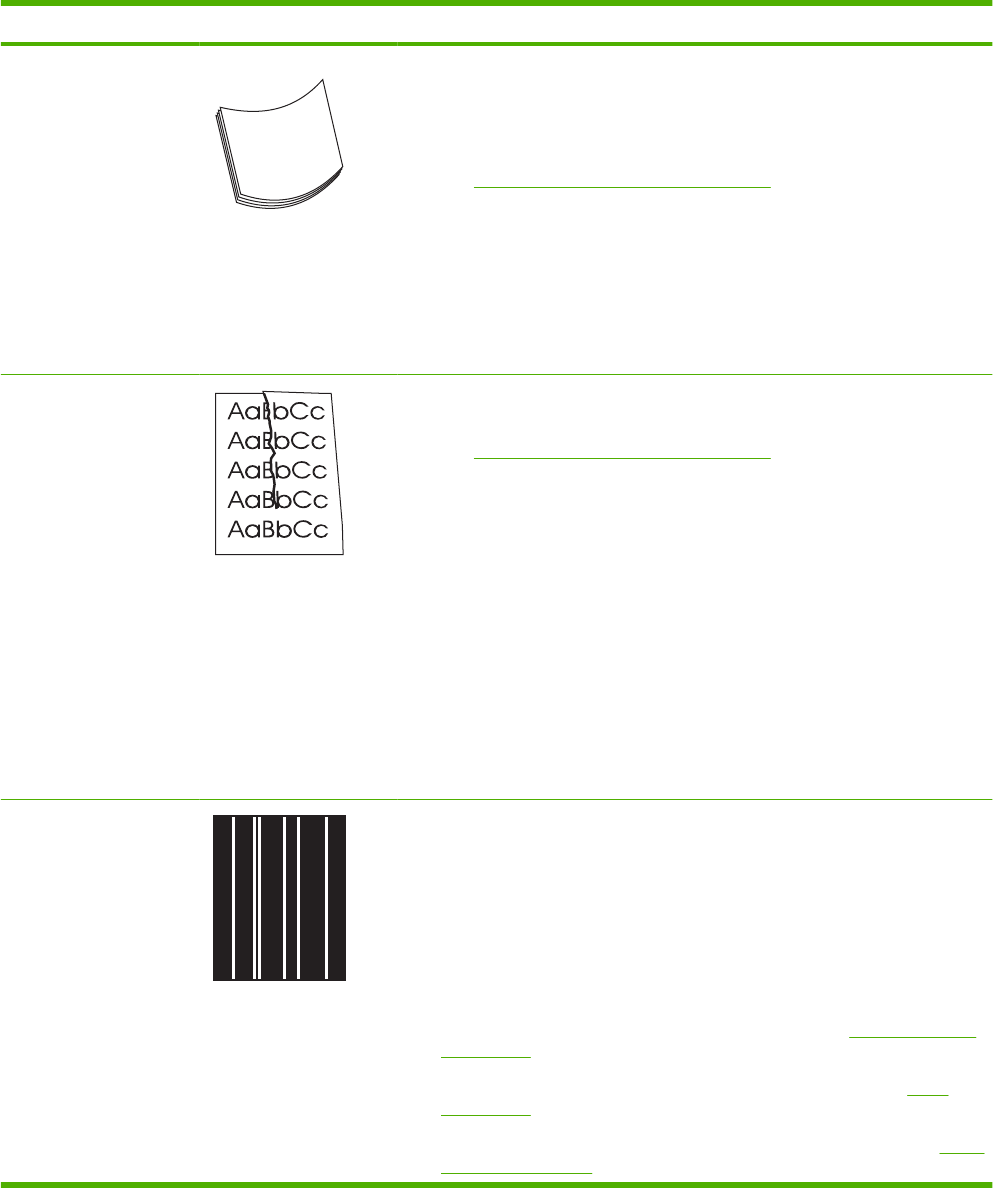
Vertical white lines 1. Print a few more pages to see if the problem corrects itself.
2. Make sure that the type and quality of the paper you are using meet
HP specifications. For more information, see the product user guide.
3. The photosensitive drum might be scratched, or the developing roller might be
damaged. Replace the print cartridge.
4. The laser beam window might be dirty. Clean the laser beam window on the
laser/scanner.
5. The fuser inlet guide might be dirty. Clean the guide. See
Clean the product
on page 254.
6. The fuser film might be scratched or dirty. Replace the fuser. See
Fuser
on page 100.
7. The laser/scanner might be damaged. Replace the laser/scanner. See
Laser/
scanner on page 107.
Table 3-9 Image defect examples (continued)
252 Chapter 3 Solve problems ENWW


