15
Spindle Lock
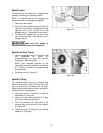
The spindle lock will assist you in replacing the
spindle or installing and removing cutters.
NOTE: The spindle lock can be engaged only
when the machine has stopped completely.
1. Open rear cabinet door.
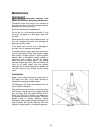
2. Pull out the knurled part of the lock knob (A,
Figure 21) and rotate it 180 degrees until the
opposite hole in the knurled lock knob
engages the pin. The spindle is now locked.
3. To release the spindle, pull out the knurled
lock knob and rotate it 180 degrees until it
engages the pin.
Make sure the spindle is
unlocked before turning on the machine.
Spindle Vertical Travel
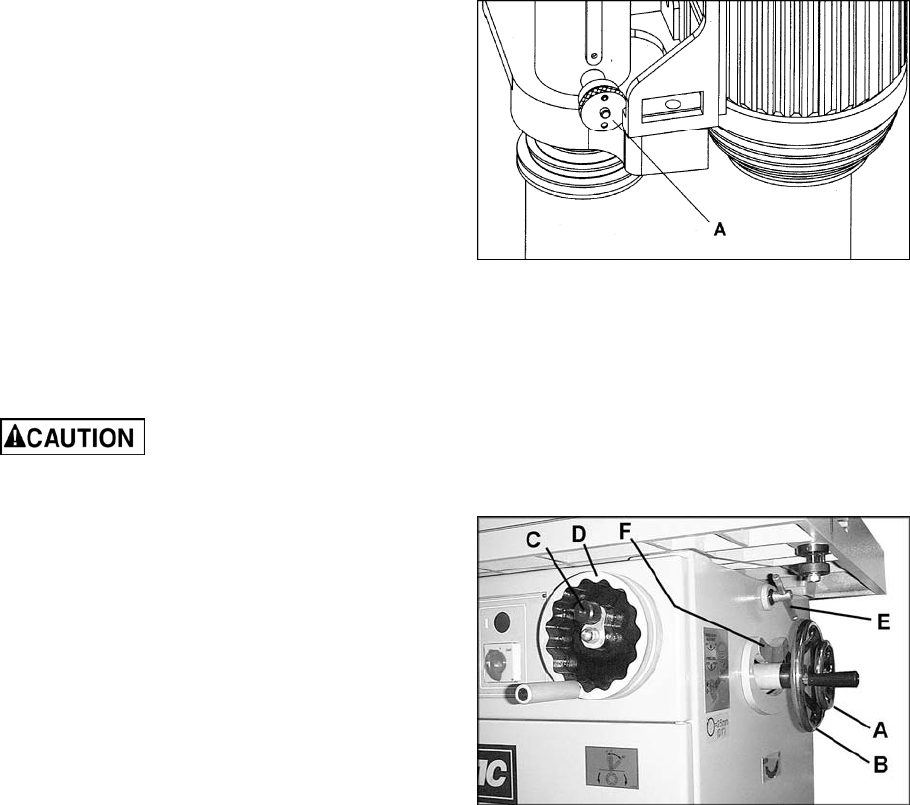
1. Loosen handwheel lock (A, Figure 22) and
turn handwheel (B, Figure 22)
counterclockwise to raise the spindle;
clockwise to lower the spindle.
NOTE: One complete revolution of the
handwheel moves the spindle up or down by
0.1" (2.5mm), as shown on the label beside
the handwheel.
2. Re-tighten lock (A, Figure 22).
Spindle Tilting
The machine should come to a complete stop
before the spindle is tilted, and the insert with
the oval slot should be placed into the table.
Make sure the cutter does not touch the table or
the fence when in tilted position.
1. Loosen the knob (C, Figure 22) on the front
handwheel (D, Figure 22).
2. Loosen the two locking handles (E, Figure
22) on both sides of the machine.
3. Turn the handwheel (D, Figure 22) to the
required tilting angle shown on the indicator
(F, Figure 22).
4. Tighten the knob (C, Figure 22) and locking
handles (E, Figure 22).
Figure 21
Figure 22


