EN-28
Using Auto Accompaniment
5.
Press the dn SYNCHRO START button.
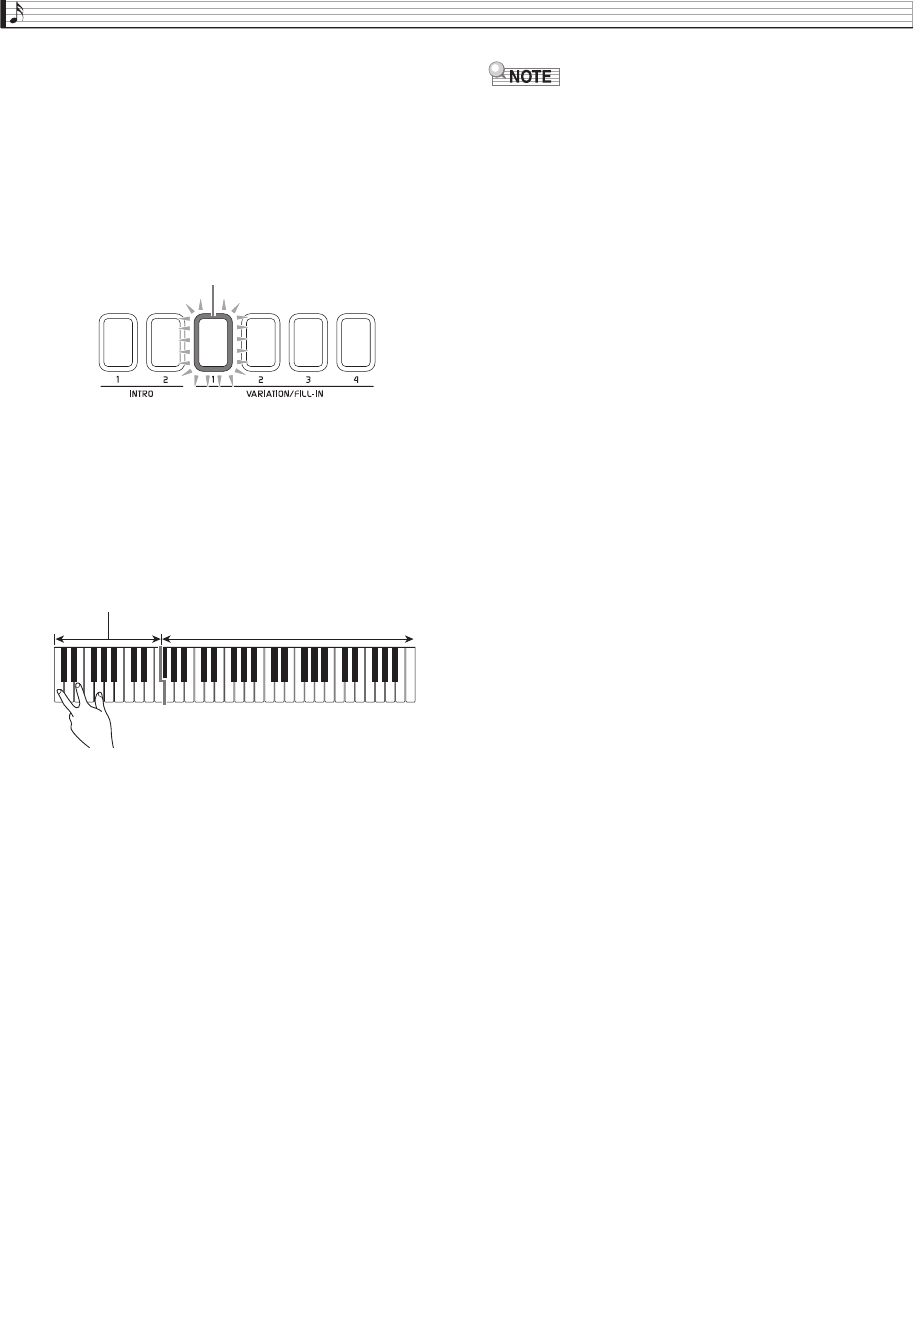
This puts Auto Accompaniment into “synchro
standby”. Playing a chord during synchro standby will
cause Auto Accompaniment to start to play
automatically.
• Next, pressing an cs INTRO 1, 2 button or a ct
VARIATION/FILL-IN 1 to 4 button will enter intro
or variation standby. For details about intro and
variation patterns, see “Modifying Auto
Accompaniment Patterns” (page EN-30).
6.
Play a chord on the Auto Accompaniment
keyboard (left-side keyboard).
Auto Accompaniment will start playing when you play
the chord.
• To start percussion part play without playing a
chord, press the dp a button.
Example: To play a C chord
7.
Play other chords with your left hand as you
play the melody with your right hand.
• You can use “CASIO Chord” or other simplified
chord fingering modes to play chords. For details, see
“To select a chord fingering mode” in the following
section.
• You can also modify Auto Accompaniment patterns
using the ct VARIATION/FILL-IN 1 to 4 buttons,
the dk BREAK button, and the dl FADE IN/OUT
button. For details, see “Modifying Auto
Accompaniment Patterns” (page EN-30).
8.
When you are finished, press the dp a
button to stop Auto Accompaniment.
• Pressing the dm ENDING 1, 2 button instead of the
dp a button will play an ending pattern before
stopping Auto Accompaniment play. For details
about ending patterns, see “Modifying Auto
Accompaniment Patterns” (page EN-30).
• You can adjust the volume level of the Auto
Accompaniment, without affecting the volume of
Digital Keyboard output. For details, see
“BALANCE Screen” (page EN-52).
• You can change the size of the Auto Accompaniment
keyboard using the split function to move the split
point (page EN-18). The keyboard keys to the left of
the split point are the Auto Accompaniment
keyboard.
Flashing
Auto Accompaniment keyboard
Melody keyboard
MZX300_X500-ES-1A.indd 30 2015/10/07 15:46:44


