


EN-18
Playing with Different Tones
3.
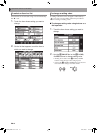
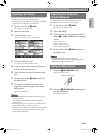
On the MAIN screen, touch “Split”.
This turns on split.
4.
Touch “Lower 1”.
This displays the TONE SELECT screen.
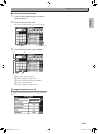
5.
Touch the group that contains the tone you
want to use as the split tone.
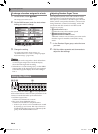
• Use the tone group buttons in the 3 TONE area to
select the tone group you want.
6.
Touch the tone you want to use as the split
tone.
7.
On the screen, touch bn MAIN to return to
the MAIN screen.
8.
To unsplit the keyboard and return it to a
single tone, touch “Split” on the MAIN screen.
This unsplits the keyboard.
• You can layer both the main tone and the split tone
with another by turning on layer (page EN-19). You
can also configure the layer setting after turning on
the split.
• Turning off Upper 1, Upper 2, Lower 1, or Lower 2
by touching its icon will mute the applicable tone.
• When tones with DSP are assigned as both the main
tone and the split tone, the effect of one of the tones
becomes disabled.
• If you use the 3 TONE area buttons to select a tone
group, you can specify whether you want to directly
select tones of the Upper 1 and 2, the Lower 1 and 2,
and other parts. For details, see “TONE Screen”
under “Configuring Digital Keyboard Settings”
(page EN-50).
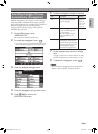
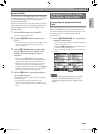
You can use the procedure below to specify the
location on the keyboard where it splits between the
left side and the right side. That location is called the
“split point”.
1.
On the screen, touch bn MAIN.
This displays the MAIN screen.
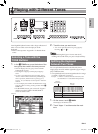
2.
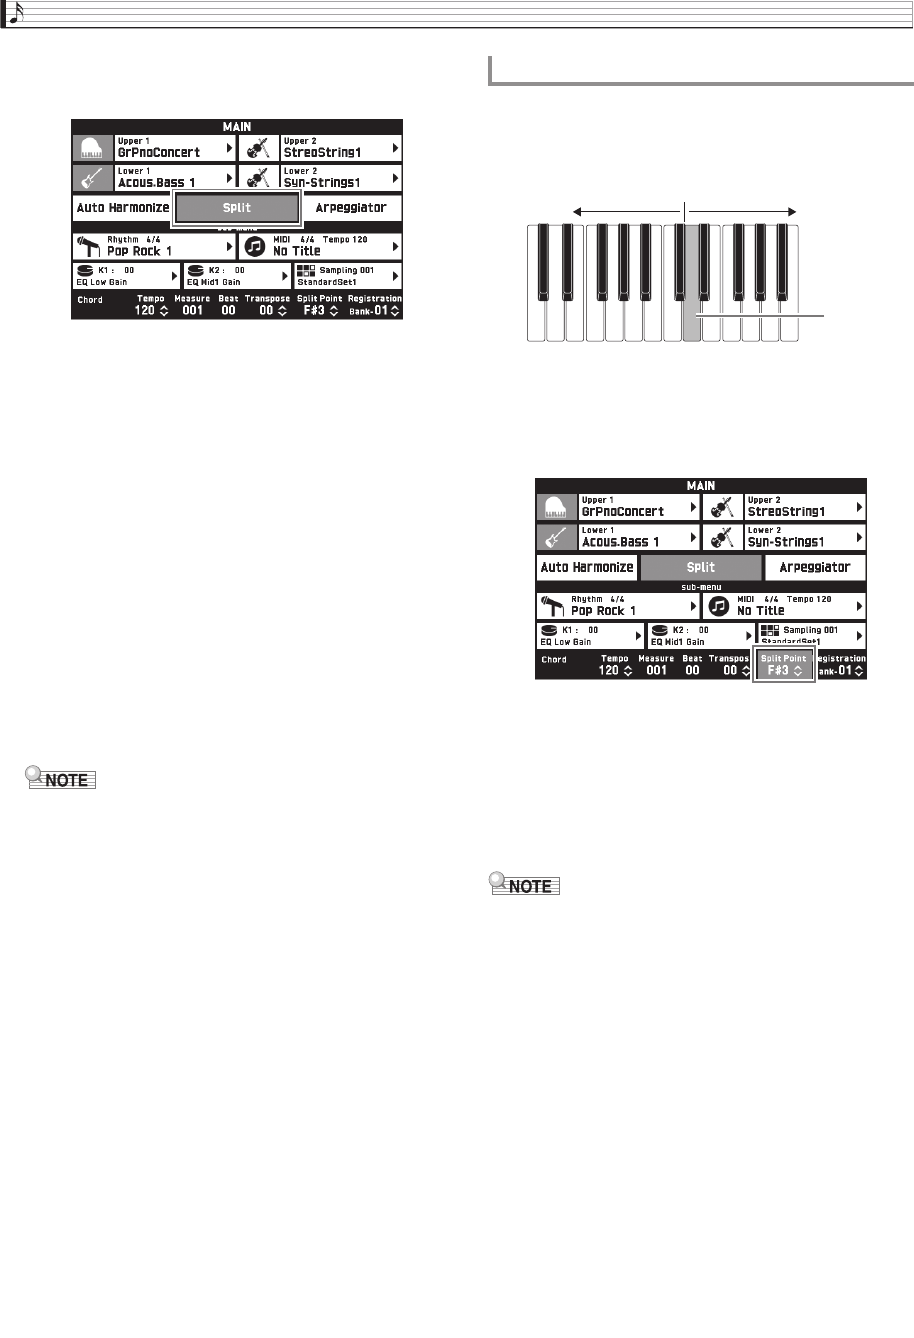
Touch “Split Point”.
3.
Use the 9 w/NO, q/YES buttons to
specify the split point, which is the leftmost
key of the upper range.
• You can also specify the split point by touching and
holding “Split Point” as you press the desired
keyboard key.
• You can also turn each part (Upper 1, 2 and Lower 1,
2) on or off, and change the range of each part. For
details, see “TONE Screen” under “Configuring
Digital Keyboard Settings” (page EN-50).
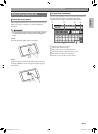
To move the keyboard split point
Low Range High Range
Split Point
MZX300_X500-ES-1A.indd 20 2015/10/07 15:46:42