


35
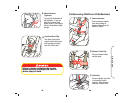
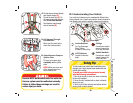
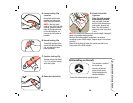
This restraint is certified
for aircraft use.
Use only on forward-
facing aircraft seats.
Follow instructions for
vehicle installation.
Contact the airline for their specific policies.
D-6 Installing on Aircraft
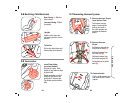
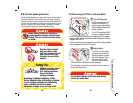
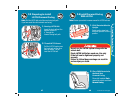
Attach Locking Clip
Thread both portions of the
vehicle belt onto the locking
clip, as close to the latch
plate as possible.
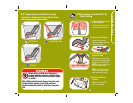
6.
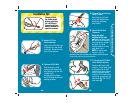
Position Locking Clip
Position locking clip about
1 in. (2.5 cm) from vehicle
belt’s latch plate.
7.
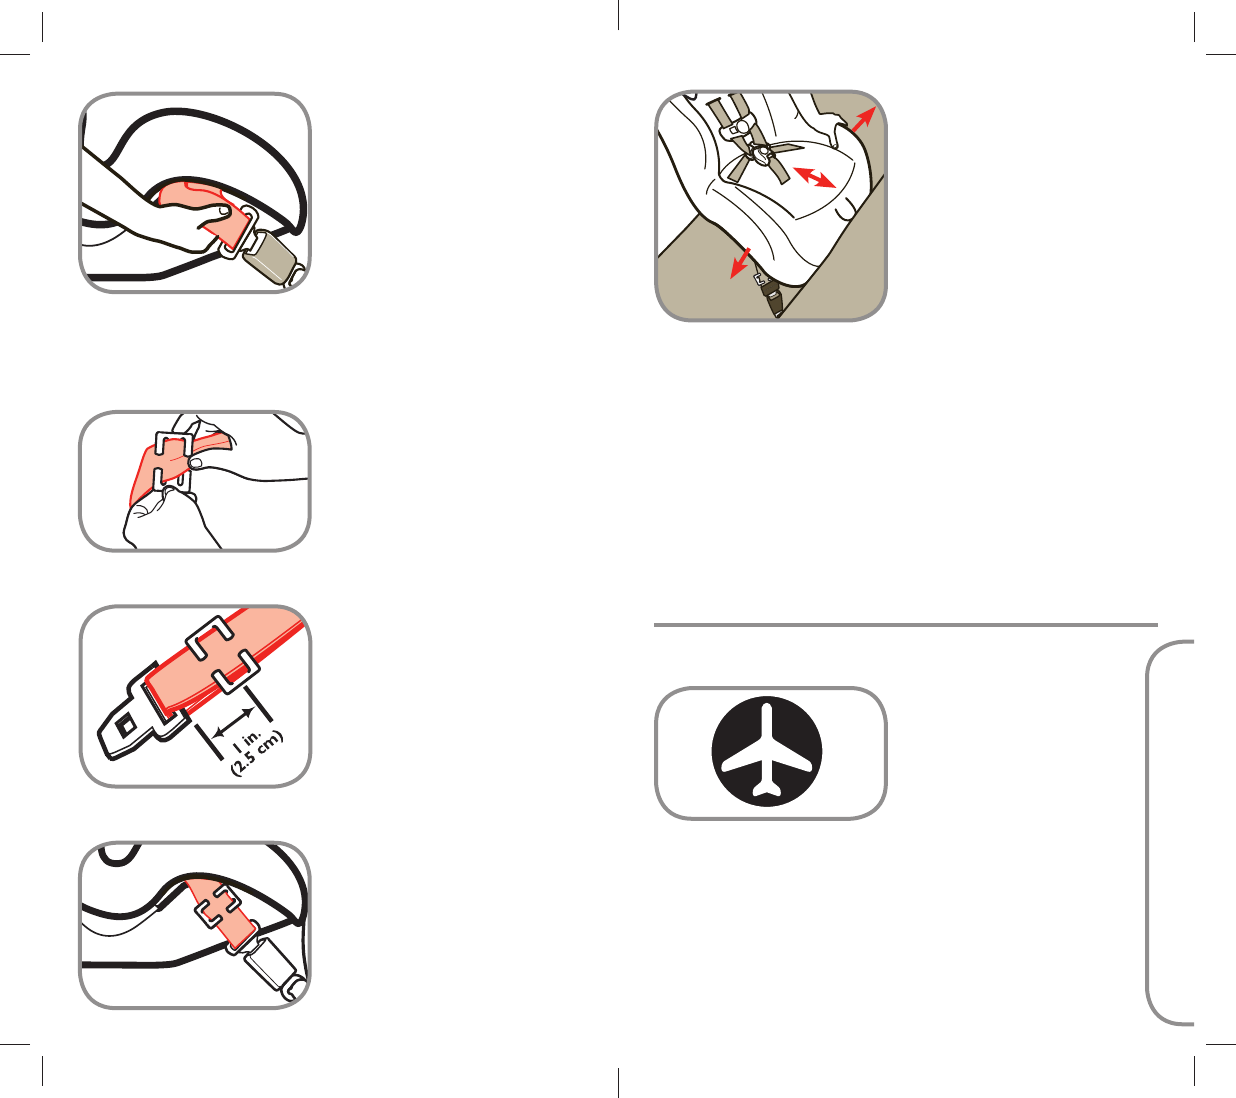
Rebuckle Vehicle Belt
8.
9.
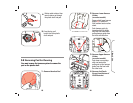
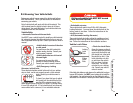
Check Vehicle Belt
Tightness
Grasp the child restraint
at the vehicle belt path
with one hand. Push and
pull the child restraint from
side to side, forward and
back. The child restraint
should not move more than
1 inch.
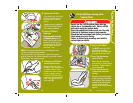
NOTE: If it moves more than an inch, redo the steps 5 through 9
again or try another seating location.
Recheck the recline angle to make sure it is reclined
according to your child’s weight. Repeat steps if not reclined
correctly.
Remove the locking clip when the vehicle seat belt is not
being used with a child restraint.
36
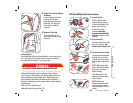
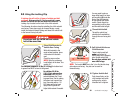
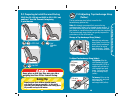
Locate Locking Clip
Location
Grasp both vehicle belts
together just behind the
latch plate and unbuckle.
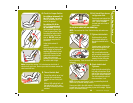
NOTE: If the latch plate
ends up just at the belt path
opening, grasp the vehicle
belts on the opposite side
of the child restraint, as
close to the latch plate as
possible.
5.
D. General Vehicle Installation