


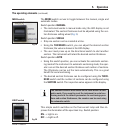
21
Leica VT1000 A
4. Setup the Instrument
43
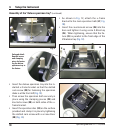
Fig. 25
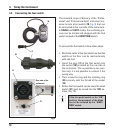
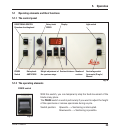
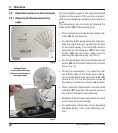
4.7.2 Assembling the rotating stage assembly
The rotating stage assembly allows for simple
position correction of the specimen surface
when the specimen is glued in place.
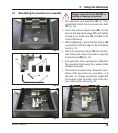
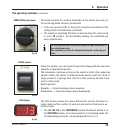
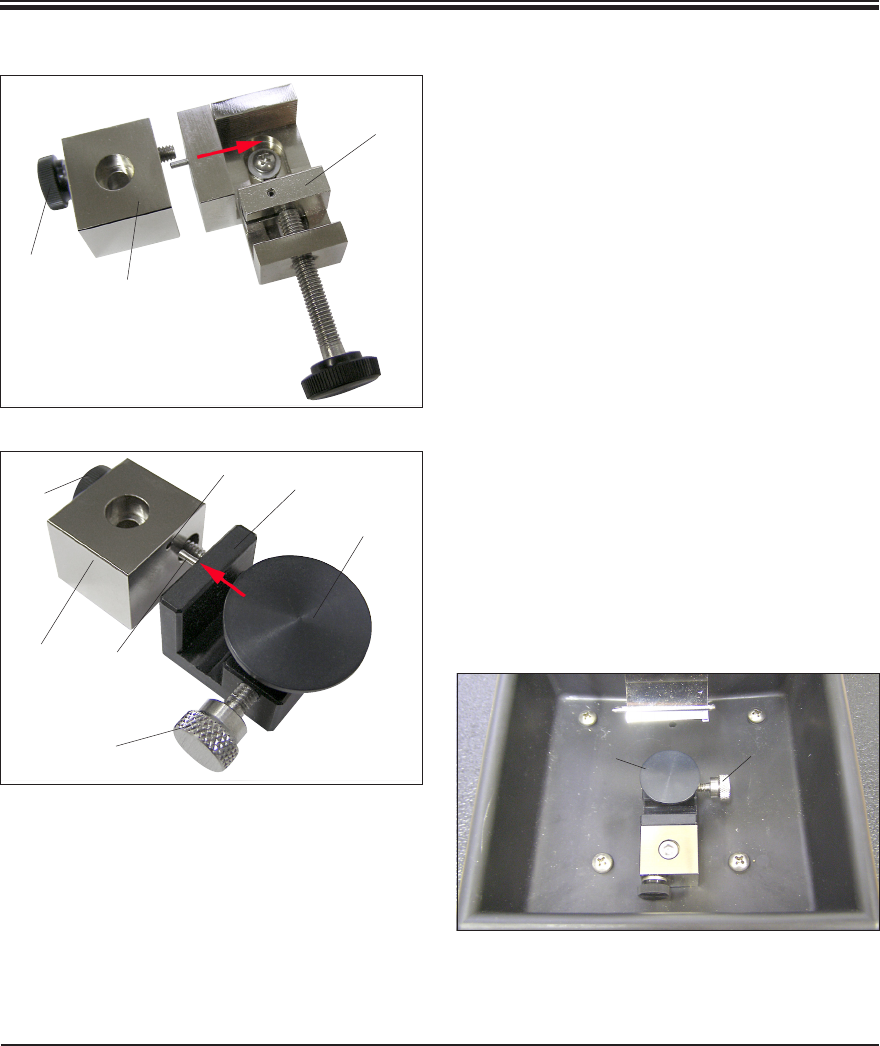
• Todoso,firstremovethespecimenviceas-
sembly (34, Fig. 16) by following the reverse
order of steps as described in Chap. 4.7.
• Unscrewtheknurledscrew(38) completely.
You can now take the specimen clamp (40)
off of the base plate (39) (Fig. 23).
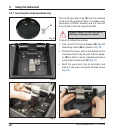
• Attachtherotatingstageassembly(42) to
the base plate so that the pin (41) fits into the
bore (45) provided.
• Then,screwtheknurledscrew(38) into the
thread and tighten it, thus fastening the ro-
tating stage assembly (41) to the base plate
(39).
• Installitinthemainspecimenbath(23) as
described in Chap. 4.7 (Fig. 25).
Fig. 23
38
39
40
39
42
41
45
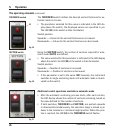
Fig. 24
38
44
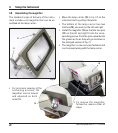
• Thespecimentobesectioned(44) is glued
to the round specimen plate using the cy-
anoacrylate adhesive provided.
• Toorientthespecimen,slightlyloosenthe
knurled screw (43) on the right side, adjust to
the desired position and retighten the screw.
44
43