


En
31
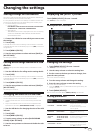
Changing the settings
Duplicating the settings onto DJ
players connected by PRO DJ LINK
The [UTILITY] settings and other settings can be duplicated onto DJ play-
ers connected by PRO DJ LINK.
! The duplicated settings are as shown below.
— [UTILITY] settings
PLAY MODE, LOAD LOCK, AUTO CUE LEVEL, SLIP FLASHING,
ON AIR DISPLAY, LANGUAGE, LCD BRIGHTNESS
— Other settings
TIME MODE (how the time is displayed on the main unit display),
AUTO CUE, JOG MODE, TEMPO RANGE, MASTER TEMPO,
QUANTIZE, BEAT SYNC
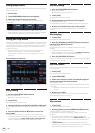
1 Select [DUPLICATION] and enter.
2 Stop playback on the DJ player(s) on which you want
to reflect the settings.
3 Use the rotary selector to select and enter [PLAYER X]
or [ALL].
[PLAYER1]–[PLAYER4]: The settings are duplicated on the specified DJ
player. Currently playing DJ players cannot be selected.
[ALL]: The settings are duplicated on all the DJ players connected by
PRO DJ LINK. The settings cannot be duplicated on currently playing DJ
players.
[DUPLICATED] is displayed on the specified player’s display and this
unit’s [UTILITY] settings and other settings are duplicated on the speci-
fied player.
[DEFAULT]: Restores this unit’s settings to the settings set upon
purchase.
Installing the driver software
About the driver software (Windows)
This driver software is an exclusive ASIO driver for outputting audio
signals from the computer.
! There is no need to install the driver software when using Mac OS X.
Obtaining the driver software
1 Launch a web browser on the computer and access
the Pioneer DJ support site below.
http://pioneerdj.com/support/
2 Click [Software Download] under [XDJ-1000] on the
Pioneer DJ support site.
3 Click the icon of the driver software to download the
driver software from the download page.
! For information on installing the driver software, see the Pioneer
DJ support site.
Connecting this unit and a computer by
USB
1 Connect this unit to your computer via a USB cable.
For instructions on connecting, see Using other brands of DJ software on
page 10 .
2 Press the [u] switch.
Turn on the power of this unit.
! The message [Installing device driver software] may appear when
this unit is first connected to the computer or when it is connected to
a different USB port on the computer. Wait a while until the message
[Your devices are ready for use] appears.
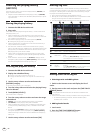
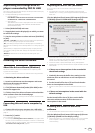
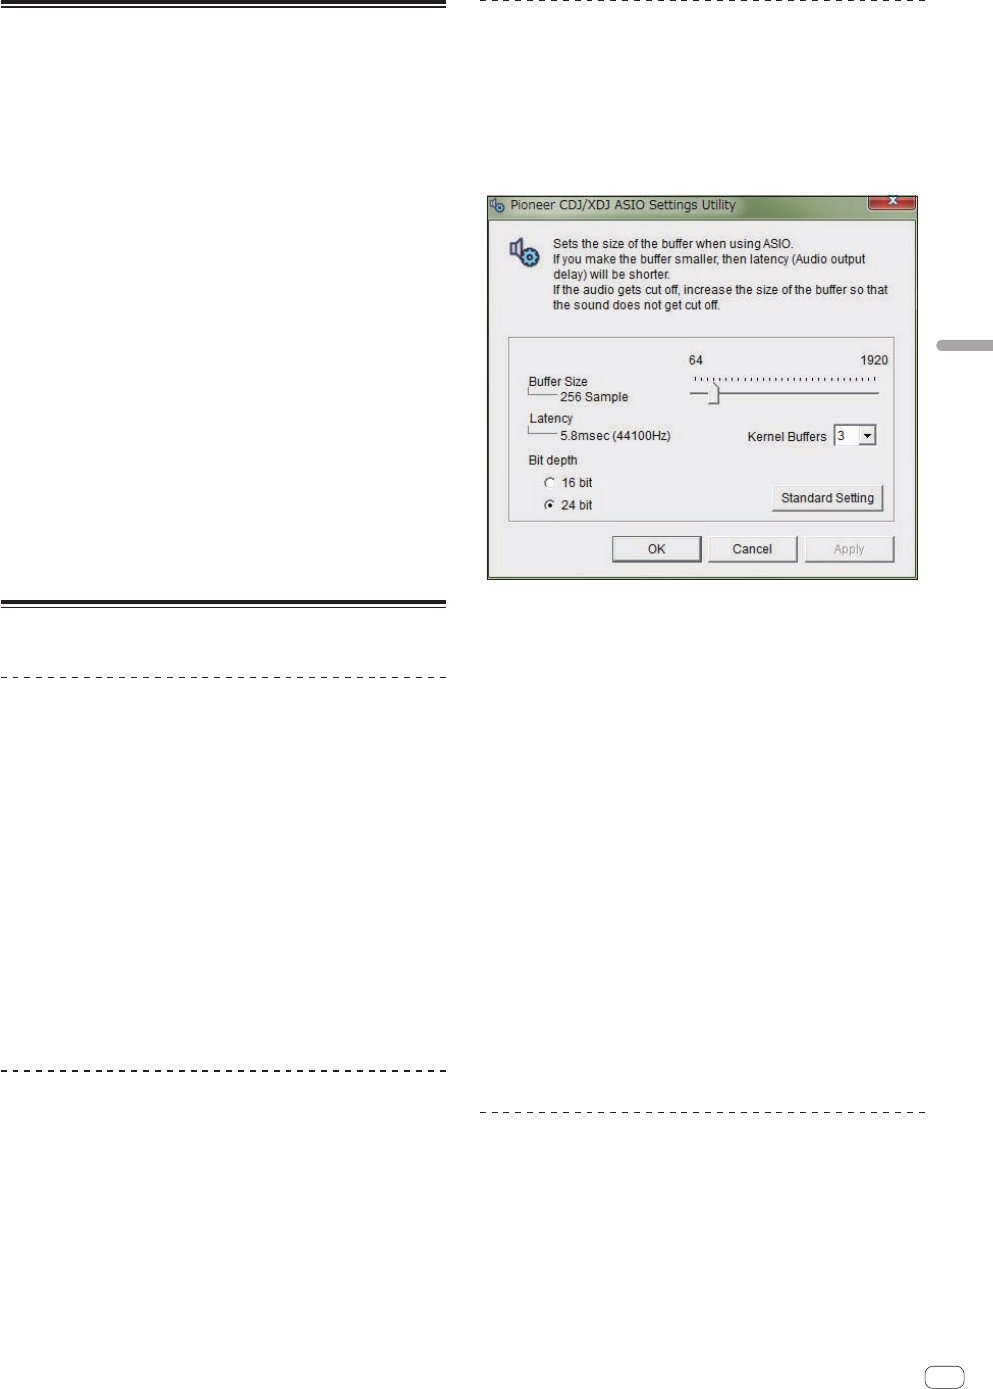
Adjusting the buffer size (Windows)
This unit functions as an audio device conforming to the ASIO
standards.
! If an application using this unit as the default audio device (DJ
software, etc.) is running, quit that application before adjusting the
buffer size.
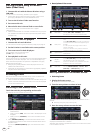
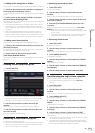
Click the Windows [Start] menu>[All Programs]>[Pioneer
]>[CDJXDJ]>[Pioneer CDJXDJ ASIO Settings Utility].
! If the buffer size is made large, drops in audio data (breaks in the
sound) occur less easily, but the time lag due to the delay in the
transfer of the audio data (latency) increases.
! For the bit number, specify the bit depth during ASIO playback.
! Operate referring to the procedure below to adjust the buffer size and
kernel buffer.
If there are no interruptions in the sound with
the default settings
1 Gradually decrease the buffer size, setting it to the
minimum value at which there are no interruptions in
the sound.
2 Set the kernel buffer size to [2] and check whether
there are interruptions in the sound.
! If there are interruptions in the sound, set the kernel buffer size to
[3].
If there are interruptions in the sound with the
default settings
Set the kernel buffer size to [4], then set the buffer
size to the minimum value at which there are no
interruptions in the sound.
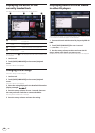
Checking the version of the driver
software
! You can check the firmware version of this unit on the screen.
Click the Windows [Start] menu>[All Programs]>[Pioneer
]>[CDJXDJ]>[CDJXDJ Version Display Utility].
! The firmware version is not displayed when this unit is not connected
to the computer or when this unit and computer are not properly
communicating.