En
29
Changing the settings
Storing settings on USB devices
The [UTILITY] settings and other settings can be stored on USB devices.
The stored settings can be exported to rekordbox.
It is also possible to store this unit’s settings on USB devices after mak-
ing them with rekordbox then load these settings onto another player.
!
The stored settings are shown below.
— [UTILITY] settings
PLAY MODE, LOAD LOCK, AUTO CUE LEVEL, SLIP FLASHING,
ON AIR DISPLAY, LANGUAGE, LCD BRIGHTNESS
— Other settings
TIME MODE (how the time is displayed on the main unit display),
AUTO CUE, JOG MODE, TEMPO RANGE, MASTER TEMPO,
QUANTIZE, BEAT SYNC
1 Connect the USB device onto which you want to store
the settings.
2 Touch [USB].
If the USB device onto which the settings are to be stored is connected
to another PRO DJ LINK connected DJ player, touch [LINK] to select the
storage device.
3 Touch [MENU (UTILITY)].
4 Use the rotary selector to select and enter [SAVE] at
[MY SETTINGS].
The settings are stored.
Calling out settings stored on a USB
device
[UTILITY] settings and other settings stored on a USB device can be
called out.
1 Sets the USB device for calling out the setting details.
2 Touch [USB].
If the USB device onto which the settings are to be stored is connected
to another PRO DJ LINK connected DJ player, touch [LINK] to select the
recording medium.
3 Touch [MENU (UTILITY)].
4 Use the rotary selector to select and enter [LOAD] at
[MY SETTINGS].
The settings are called out.
Changing the color set in the USB
When a USB device is set to this unit, the USB indicator or part of the
screen display can be lit in the set color and can be flashed.
! It lights, flashes when this unit is communicating with the USB
device.
! Only for the USB device with an audio file or management data
exported from rekordbox, [BACKGROUND COLOR] is displayed.
1 Sets the USB device for changing the color of the USB
indicator.
2 Touch [USB].
3 Touch [MENU (UTILITY)].
4 Turn the rotary selector to select [BACKGROUND
COLOR] of [MY SETTINGS].
5 Use the rotary selector to choose and decide the color
to be set.
Displaying the [UTILITY] screen
Touch [MENU (UTILITY)] for over 1 second.
The [UTILITY] screen is displayed.
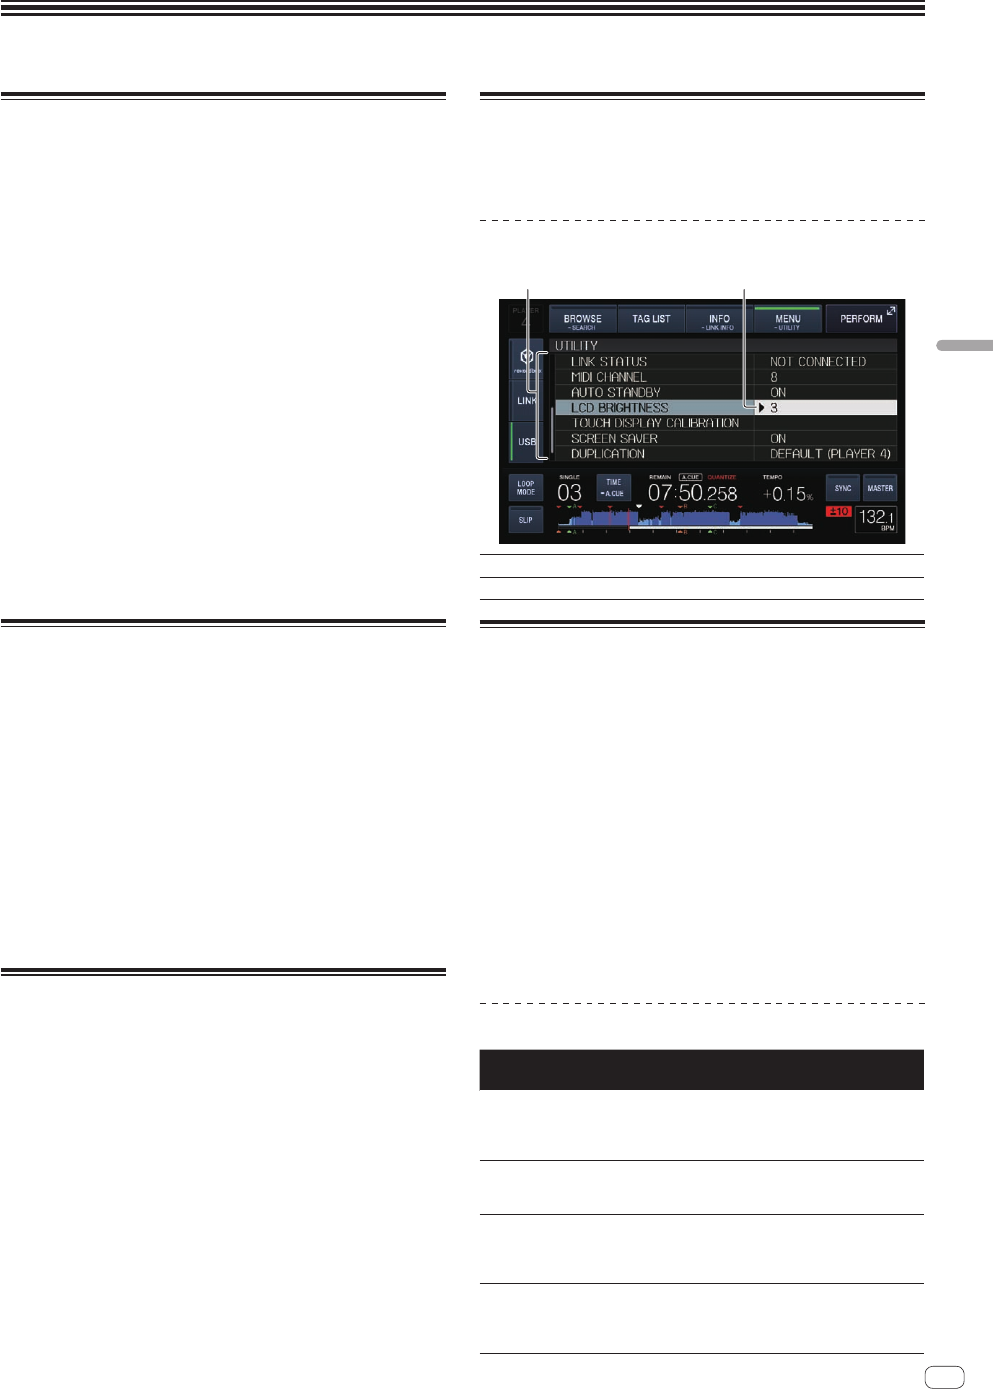
Description of the screen
1
Options settings This unit’s settings items are displayed here.
2
Setting The settings for the various items are displayed here.
Changing the settings
1 Touch [MENU (UTILITY)] for over 1 second.
The [UTILITY] screen is displayed.
2 Use the rotary selector to select the setting item.
3 Set the cursor to the item you want to change, then
press the rotary selector.
The cursor moves to the setting.
4 Turn the rotary selector and change the setting.
5 Press the rotary selector to enter the setting.
The cursor returns to the setting.
! When the [BACK] button is pressed before entering the setting, the
change is aborted.
6 Touch [MENU (UTILITY)].
Returns to the last screen before [MENU (UTILITY)] was touched.
Setting preferences
Options
settings
Setting ranges Descriptions
PLAY MODE
CONTINUE*/SINGLE
Changes the way the tracks loaded
in this unit are played.
For details, see Changing the play
mode on page
30 .
LOAD LOCK
LOCK/UNLOCK*
Sets whether to disable or enable
loading of new tracks during
playback.
AUTO CUE
LEVEL
–36 dB/–42 dB/
–48 dB/–54 dB/–60 dB/
–66 dB/–72 dB/–78 dB/
MEMORY*
For details, see Setting the cue point
for auto cueing on page 21 .
SLIP FLASHING
ON*/OFF
Sets whether or not the indicators
of buttons, etc., for which the slip
function is activated should flash
when [SLIP] is touched.
Changing the settings


