Rev J Doc 01-20098 Page 26 of 44
PART 4
TROUBLESHOOTING
AND MAINTENANCE
A. TROUBLESHOOTING
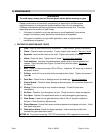
This section is designed to help you troubleshoot your unit(s). Below are some hints to help:
•
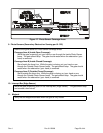
Test the Operator
•
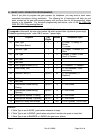
Quick Reference List of Faults and Methods to Resolve
•
Quick Reference List of Faults and Causes
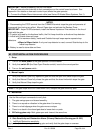
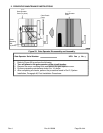
Testing Control Board inputs: To test an input, connect the input terminal to the
COMMON terminal on the Control Board and verify that its LED turns on momentarily.
Normally, the Close limit switch and Maglock LEDs are on if the gate is fully closed, and
the Open limit switch is on if the gate is fully open. The Manual Stop LED is always on.
Low input AC voltage: The voltage across connector J3 pins 1 (red wire) and 3 (white
wire) on the Control Board must measure 100 VAC to 130 VAC.
CAUTION HIGH VOLTAGE. Measure with care.
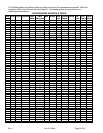
Fault Causes: Refer to the end of the troubleshooting section.
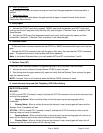
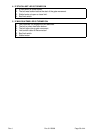
1. OPERATOR IS DEAD
When the unit power switch is cycled, the 7-segment display does not spell out
"HELLO" sequentially.
1. The main circuit breaker is off.
2. The unit power switch is off.
3. The input power connector is not connected securely to the Control Board.
4. Low input AC voltage.
5. Bad Control Board.
2. OPERATOR DOES NOT RUN
When the unit power switch is turned on, the 7-segment display spells out
"HELLO" sequentially.
1. An input is continuously activated (stuck).
2. Both limit switches are stuck closed.
3. Manual Stop is disconnected from its common.
4. Stalled motor.
3. MOTOR DOES NOT RUN
Motor is dead:
1. The resettable motor thermal overload switch has popped.
2. The interconnecting cable between the motor and the control board is disconnected.
3. Bad control board.
4. Bad motor.
Motor is stalled:
1. Frozen motor, gearbox or gate.
2. V-belt is too tight.


