32 33
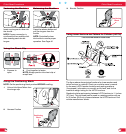
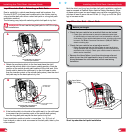
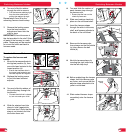
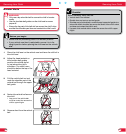
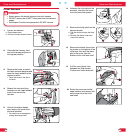
6 Turn and slide the retainer
through the slot to remove.
* Pull the harness webbing tight
from the other side before
pulling the retainer through.
Repeat steps 5 and 6 for the
remaining harness buckle strap.
7 Remove the locking screw
from the head restraint
adjuster and insert into the
shell to store.
IMPORTANT: Store the screw in
the slot provided in the shell. Store
all parts of the harness in a safe
place. These parts will be needed
to convert the child seat back to
harness mode.
Locking
Screw storage
Booster to Harness Mode
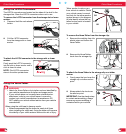
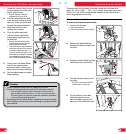
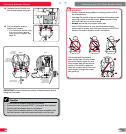
To replace the harness and
buckle:
1 Move the harness adjuster to
the highest position (a), then
move the head restraint to the
lowest position (b).
* Ensure that harness slots in
the cover, head restraint and
harness adjuster are aligned.
2 Replace the locking screw
to lock the head restraint
adjuster.
3 Turn and slide the retainer of
the buckle strap through the
buckle slot.
* Choose the slot that is closest
to, but not under your child.
4
Slide the retainer back into
place to hold it against the
child seat shell. Verify that the
strap is not twisted, and that
the button faces out.
Locking
Screw storage
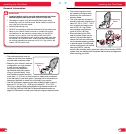
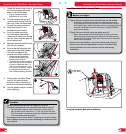
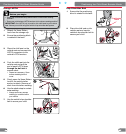
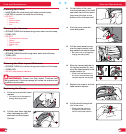
9 Nest the harness straps by
inserting the right strap loop
into the left strap loop.
8 Remove the harness yoke
from storage on the belt shield
(a), then remove the belt
shield (b).
5 Turn and slide the retainer of
each harness strap through
the harness slot.
* Ensure that the icon on the
chest clip faces out.
6 Slide each retainer back into
place on the child seat shell.
7 Insert the harness straps
through the slots in the cover,
shell, and harness adjuster to
the back of the child seat.
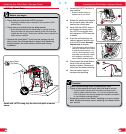
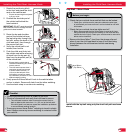
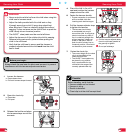
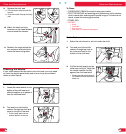
10 Before reattaching the harness
straps, hold the harness yoke
as shown, and ensure that the
adjuster strap attached to the
yoke is not twisted.
Adjuster
Strap
11 Slide nested harness straps
completely onto the harness
yoke.
Switching Between Modes Switching Between Modes


