4
USER INSTRUCTIONS
1.1 A competent person must carry out installation and
servicing.
1.2 In all correspondence, please quote the appliance type and
serial number, which can be found on the databadge
located on a tag/chain behind the appliance.
1.3 Ensure that curtains are not positioned above the appliance
and there is at least 300mm between the sides of the
appliance and any curtains.
1.4 If any cracks appear in the glass panel do not use the
appliance until the panel has been replaced.
1.5 This product is guaranteed for 2 years from the date of
installation, as set out in the terms and conditions of sale
between Yeoman and your local Yeoman dealer. Please
consult with your local Yeoman dealer if you have any
questions. In all correspondence always quote the Model
Number and Serial Number.
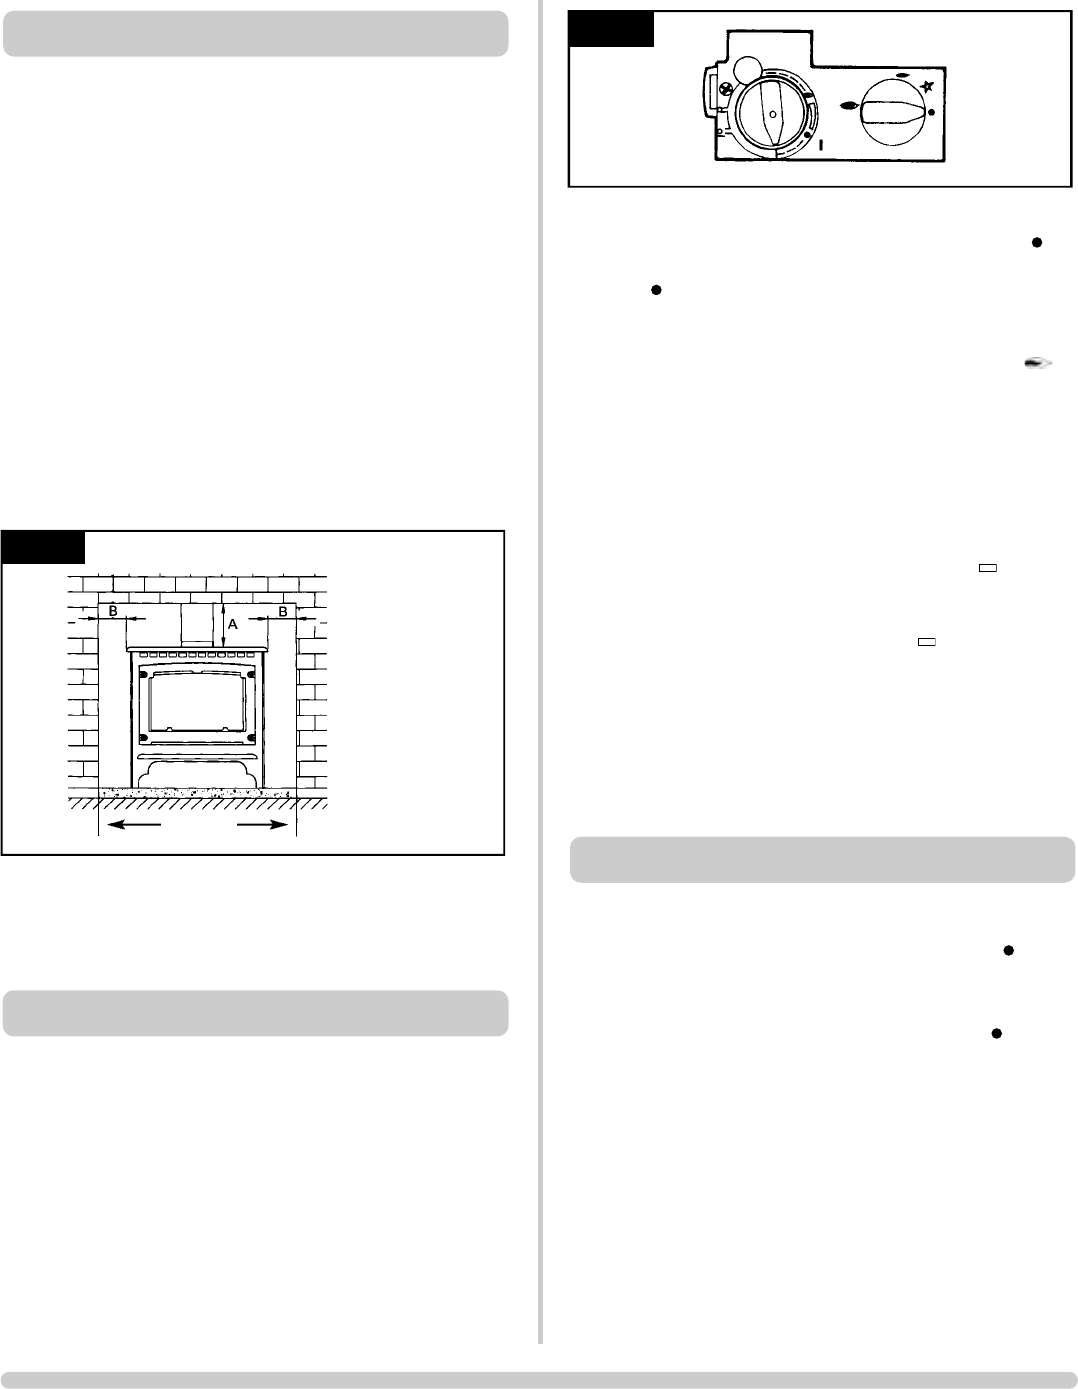
1.6 Any combustible shelves or surrounding furniture must only
be fitted in accordance with the minimum dimensions
detailed in Diagram 1.
1.7 Contact a competent service engineer to carry out relevant
spillage checks etc. following home improvements carried
out after installation of this stove (e.g. the fitting of double
glazing).
2.1 The controls are at the lower right of the stove:
• the right-hand knob ignites the pilot
• the left-hand knob controls the main burner
2.2 If you have upgraded your stove to operate with remote
control, you must have the pilot lit before you can use the
remote (see Section 4 below)
• Use the following instructions to light the pilot
2. LIGHTING THE STOVE
1
A = 225 mm
B = 150 mm
AR0522
1. GENERAL
Pilot Ignition
• Ensure the left-hand control knob is pointing to off ( )
• Ensure the right-hand control knob is pointing to
off ( )
• Press in the right-hand control knob and rotate it left until a
click is heard
• Keep pressing in and the knob is pointing to pilot ( )
The pilot should now light. If the pilot has not lit, repeat the
procedure until it lights
• Hold the control knob pressed in for 10 seconds and
then release it
The pilot stays lit. If the pilot goes out, repeat the steps.
Regulating the Main Burner
2.3 • Turn the right-hand control to main burner ( ).
The temperature and flame height is now controlled by left-
hand knob
• Turn the left-hand knob to low fire ( ) to light the main
burner. Turn the knob anticlockwise to increase the flame
height and clockwise to decrease the flame height.
THE YELLOW FLAMES APPEAR WHEN THE FIRE HAS
REACHED SUFFICIENT HEAT - TYPICALLY 10 TO 20
MINUTES.
2.4 If the pilot flame is extinguished, intentionally or
unintentionally, do not relight the stove for at least 3
minutes.
3.1 To turn the burner off,
• Turn the left-hand control knob to point to off ( )
The main burner goes out leaving the pilot burning.
3.2
To turn the pilot off:
• Turn the right-hand control knob to point to off ( )
3. TURNING THE STOVE OFF
PostScript Picture
PR0611-Flame Symbol.eps
PostScript Picture
PR0611-Flame Symbol.eps
2
AR0914
967 mm


