En
6
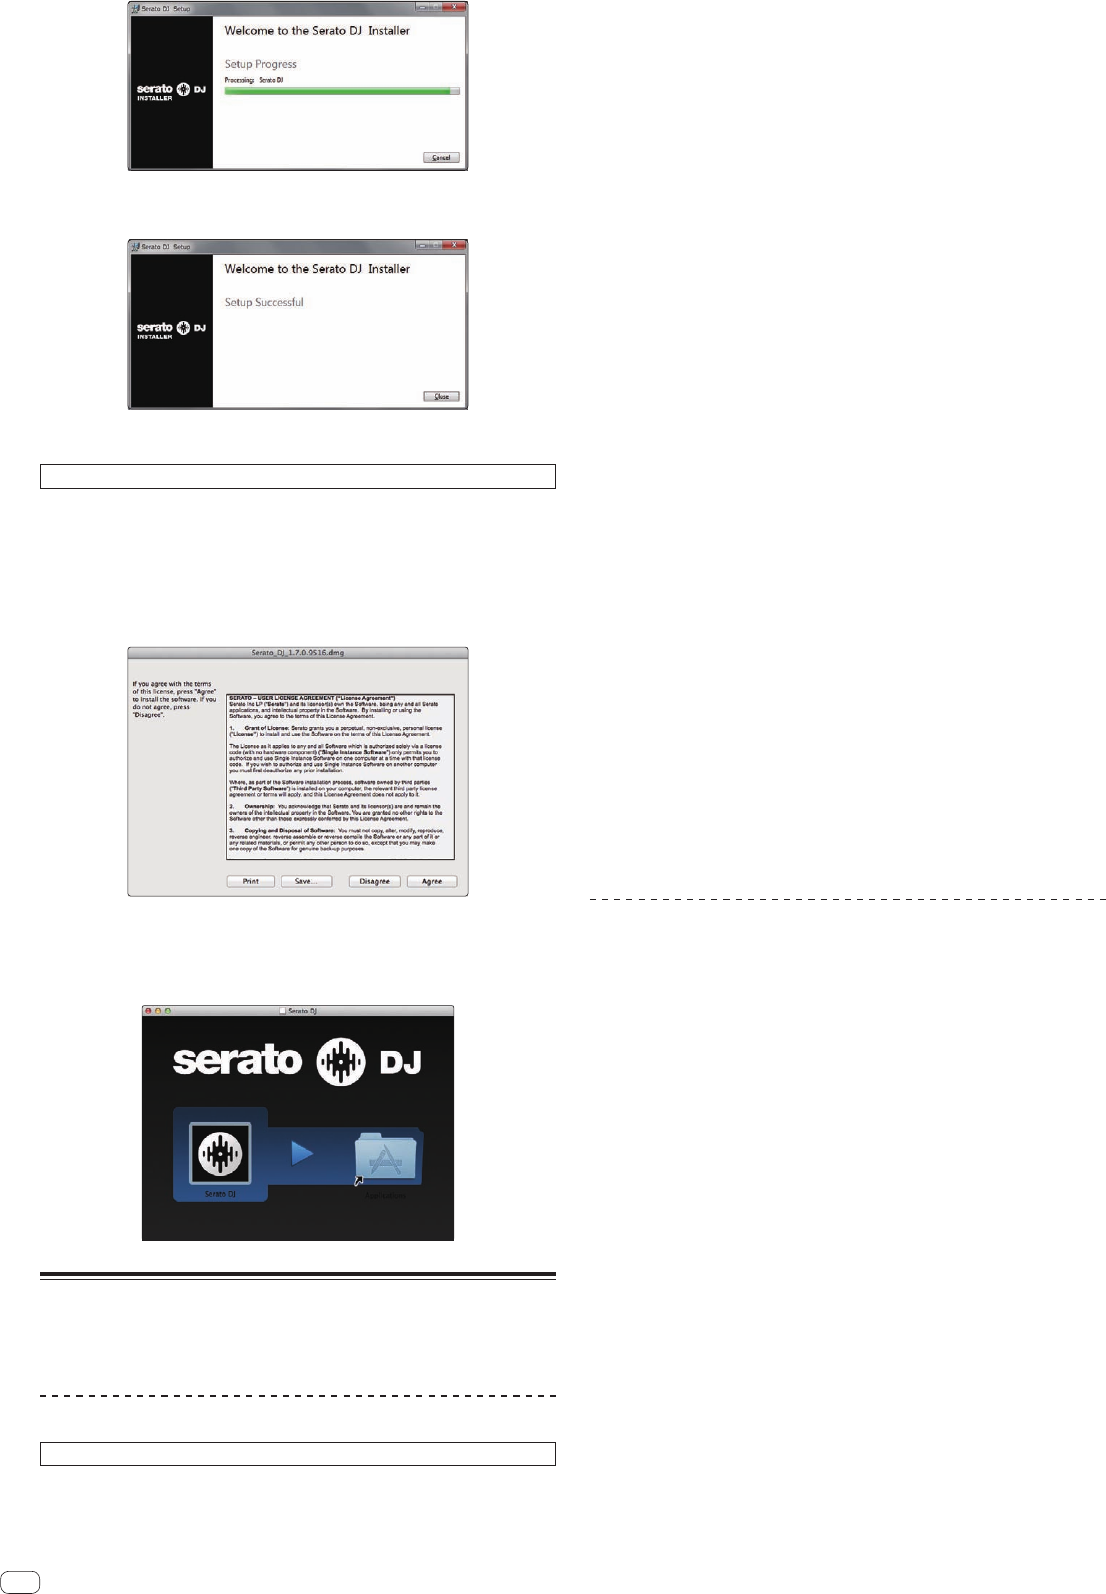
The message of successful installation appears once installation is completed.
6 Click [Close] to quit the Serato DJ installer.
Installation procedure (Mac OS X)
Do not connect this unit and the computer until installation is completed.
!
If any other programs are running on the computer, quit them.
1 Unzip the downloaded Serato DJ software file.
2
Double-click the unzipped software file to launch the installer.
3 Read the terms of the license agreement carefully, and if
you agree, click [Agree].
! If you do not agree to the contents of the usage agreement, click [Disagree]
to cancel installation.
4 If the following screen appears, drag and drop the [Serato
DJ] icon on the [Applications] folder icon.
About the driver software and the ASIO
settings utility software
This unit functions as an audio device conforming to the ASIO standards.
Using the ASIO settings utility software
This function can only be used by those using a Windows operating system.
Launching the ASIO settings utility software
For Windows 7
Click the Windows [Start] menu>[All Programs]>[Pioneer]>[DDJ_SX2]>[DDJ_
SX2 ASIO Settings Utility].
For Windows 8.1
From [Apps view], click [Pioneer] > [DDJ_SX2 ASIO Settings Utility].
If the unit is connected to a computer and Serato DJ is running,
the ASIO setting utility software can be started from the [SETUP]
screen of Serato DJ.
Click the [SETUP] screen > [Audio] tab > [LAUNCH DRIVER PANEL] button.
Adjusting the buffer size
In the same way as the setting of [Buffer Size], decreasing the value of the [Kernel
Buffers] setting lowers the transfer delay (latency) of the audio data, while increas-
ing the value reduces the tendency for dropouts (breaks in the sound) to occur in
the audio data (the default setting of [Buffer Size] is 256 samples/5 ms and [Kernel
Buffers] is [3]).
! If the [Buffer Size] or [Kernel Buffers] number is made large, drops in the data
(breaks in the sound), etc., occur less easily, but the time lag due to transmis-
sion delays in the audio data (latency) increases.
If breaks in the sound occur with the default setting
1 Launch [DDJ_SX2 ASIO Settings Utility] and change [Kernel
Buffers] to [4].
2 Set to the minimum [Buffer Size], with which breaks in the
sound do not occur.
If no breaks in the sound occur with the default setting
1 Launch [DDJ_SX2 ASIO Settings Utility] to set to the
minimum [Buffer Size], with which breaks in the sound do not
occur.
2 Change [Kernel Buffers] to [2], and check that no breaks
occur in the sound.
3 If no breaks occur in the sound, set to the minimum [Buffer
Size]. If breaks do occur in the sound, change [Kernel Buffers]
to [3].
Checking the version of the driver software
For Windows 7
Click the Windows [Start] menu>[All Programs]>[Pioneer]>[DDJ_SX2]>[DDJ_
SX2 Version Display Utility].
For Windows 8.1
From [Apps view], click [Pioneer] > [DDJ_SX2 Version Display Utility].
! You can check the firmware version of this unit on the screen.
! The firmware version is not displayed when this unit is not connected to the
computer or when this unit and computer are not properly communicating.


