HTML Operation, cont’d
ISS 506 Integration Seamless Switcher • HTML Operation
6-16
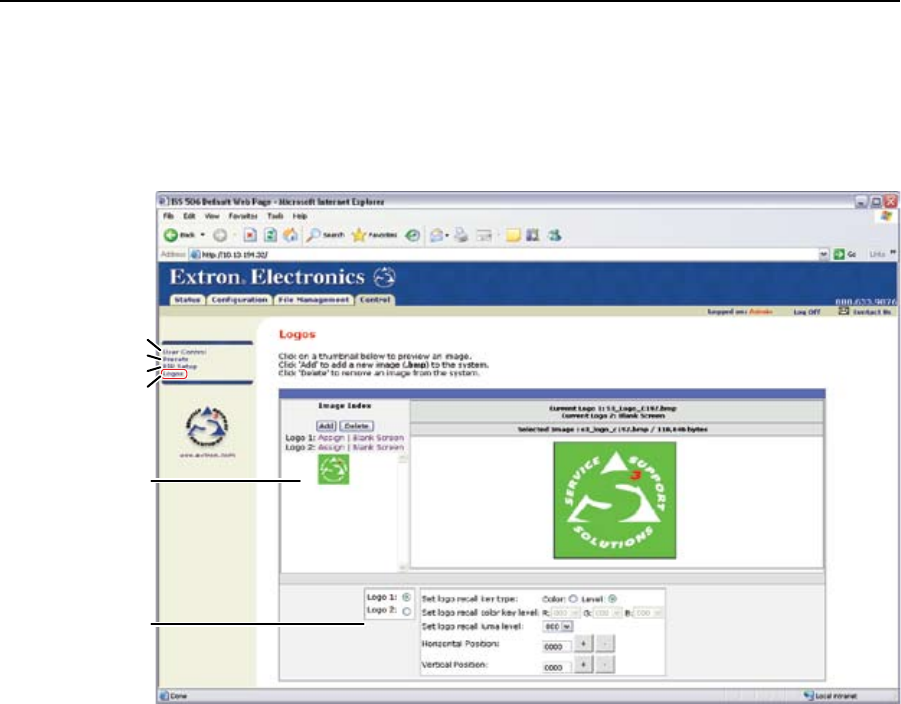
Logos page
You can assign images to either logo and set the variables associated with the logo
function from the Logos page (figure 6-15). You can also upload your own images
to serve as logos and delete unwanted images. Access the Logos page by clicking
the Logos link on the User Control page.
Presets
User Control
Logo Recall
Area
Logo
Configuration
Area
PIP Setup
Refresh
Figure 6-15 — Logos page
Uploading an image
N
For best results, freeze the input with the image that you want to capture.
N
The only valid file format for uploaded image files is *.bmp.
Valid file names are up to 240 alphanumeric characters with no spaces.
Bitmap (*.bmp) images must be formatted as 24-bit RGB.
Upload a bitmap image as follows:
1
. Click the Add button. The center of the page becomes the Add Image field
(figure 6-16).
2
. Click the Browse button. The Choose File window opens.
3
. Navigate to the folder where you saved the firmware upgrade file. Select the
file and click Open. The Add Image fields return to the top.
4
. Click the Upload Image button. The computer uploads the image to the ISS.
The uploaded image’s file name appears in the Image Index field.


