


31
mkt3048 9921700000 Rev C
V I I . O P E R A T I N G I N S T R U C T I O N S
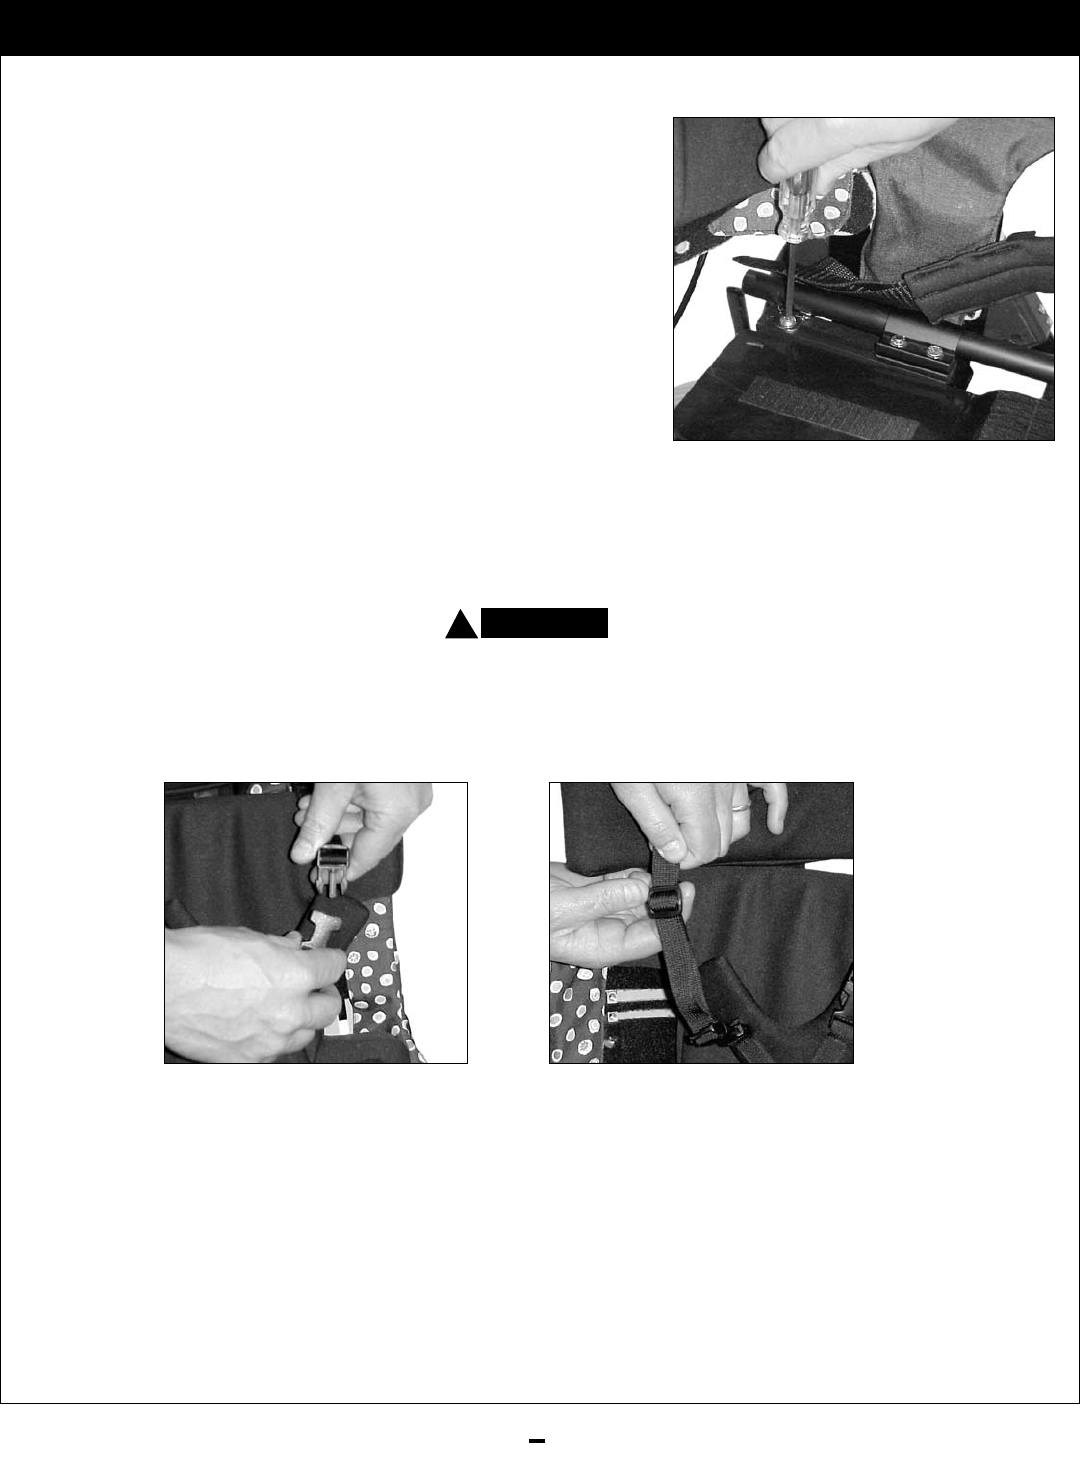
Figure 25
Figure 26
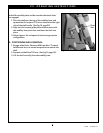
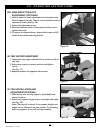
V. PELVIC POSITIONING BELT POSITION ADJUSTMENT
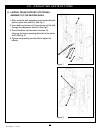
For the standard seat configuration the belt is always
adjusted to the rear most point (approximately 45°). When
the contour seat cushion is used, the belt may be adjusted
forward to achieve an adjustment of up to 90°.
1. Loosen the attachment screw one or two turns to allow
the belt anchor point to slide in the slot. (See Fig. 24)
2. Move the belt to the desired adjustment position
(leave in the rear most position when the standard seat
configuration is used).
3. Tighten the screw securely.
Note: Install the nylon web strap wraps under the tube,
beside the seat base, and back over the top of the tube.
This keeps the belt in the outer most position so it does
not interfere with the seat cushion.
Figure 24
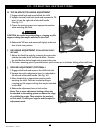
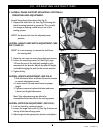
W. BUTTERFLY HARNESS
To avoid serious injury or problems with eating or breathing, the pelvic positioning belt must be used in
combination with the butterfly harness. Make sure any needed adjustments are made to ensure that there
is no possibility of obstructing the airway or any other undesired constrictions. Do not use the butterfly
harness without the pelvic positioning belt.
Harness Adjustment
1. Place child in the seating system and fasten the pelvic positioning belt.
2. Position the child's hips and tighten the pelvic positioning belt to the proper position.
3. Connect the butterfly harness to straps already fastened to the
positioning shell. (See Fig. 25)
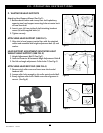
4. First, adjust the lower butterfly straps to keep the butterfly from riding up on the child's torso.
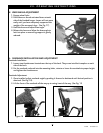
5. Then, adjust the upper straps making sure there is enough room around the child's neck for easy
breathing and eating. (See Fig. 26)
6. Once the butterfly straps are adjusted, snap the lower straps into the plastic tri-glide up against the
quick release buckle.
!
WARNING