


6
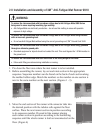
2.0 Installation and Assembly of 3M
™
Anti-Fatigue Mat Runner 9910
1. Pre-clean the floor area where the mat runner is to be installed.
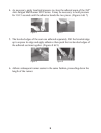
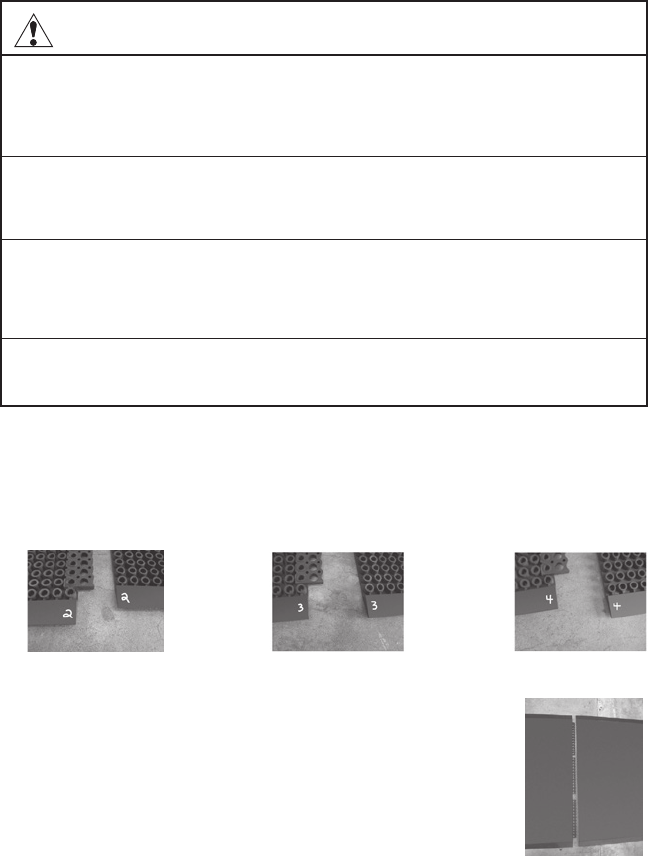
2. Before assembling the runner, lay out each mat section in the appropriate
sequence. Sequence numbers can be found on the back of each section along
the molded rubber edge. Match the numbers so the number on one section is
next to the same number on the next section. (Figures 1 - 3)
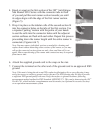
3. Move the end section of the runner with connector tabs into
the desired position with the tubular cells against the floor
surface. Place the next runner section in position according
to its sequence number. Proceed in like manner placing
each runner section in position according to the numbering
sequence until the whole runner is laid out unconnected on the
floor. (Figure 4)
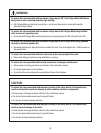
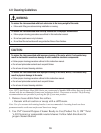
To reduce the risk associated with hazardous voltage due to Anti-Fatigue Mats 9900 Series
being used in areas requiring insulating type matting:
• Anti-Fatigue Mats are electrically conductive – do not use this matting in areas with possible
exposure to high voltage.
To reduce the risk associated with hazardous voltage due to Anti-Fatigue Mats being installed
with an incorrect grounding lead:
• Do not use Anti-Fatigue Mats without using the correct grounding cord, 3M
™
Ground Cord 3040.
To reduce the risk associated with hazardous voltage due to Anti-Fatigue Mats being grounded
through an alternate ground path:
• Grounded equipment or objects should not contact the mat. This could bypass the 1.0 MΩ resistor in
the ground cord.
To reduce the risk associated with back strain due to the heavy weight of the mats:
• Follow safe lifting procedures during installation or moving.
WARNING:
Figure 1 Figure 2 Figure 3
Figure 4