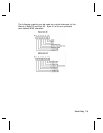
Defining the Supply Setup Packet
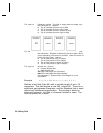
Use the supply setup packet (B) to select supply type, ribbon,
feed mode, supply position, and cut position.
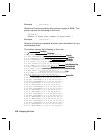
Syntax
{
I
,B,supply_type,ribbon_on,feed_mode,
supply_posn
p
}
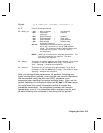
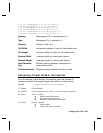
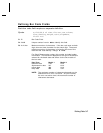
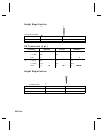
B1. B Supply Setup Packet
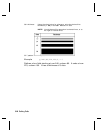
B2. supply_type Supply Type. Options:
0 Black mark supply
1 Die Cut supply (default)
2 Non-indexed supply
NOTE: You may need to adjust the print contrast (in the Print
Control packet), based on your type of supply.
B3. ribbon_on Ribbon. The printer automatically senses if a ribbon is
installed and switches to thermal transfer mode. Options:
0 Ribbon not installed (thermal direct)
1 Ribbon installed (thermal transfer)
NOTE: If "ribbon installed" is sent to the printer, but no
ribbon is installed, an error occurs. If "ribbon not
installed" is sent to the printer, but a ribbon is
installed, no error occurs.
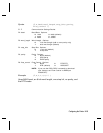
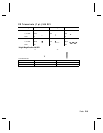
B4. feed_mode Feed Mode. Options:
0 Continuous operation (default)
1 On-demand mode
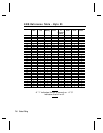
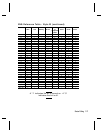
B5. supply_posn -300 - 300 in 1/203 inch. 0 is the default. Adjusts the
machine to print at the vertical 0,0 point on the supply. This
adjustment accounts for mechanical tolerances. The supply
position adjustment only needs to be made on the initial
machine setup. Increase the supply position to move print up,
decrease to move print down on the label. You can not
change the supply position while the printer is active.
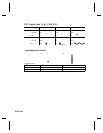
Changing the supply position affects the print position. Once
the supply position is set, use the print control packet to
adjust the print position.
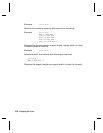
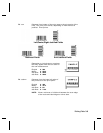
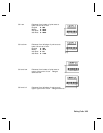
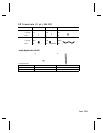
Example
{
I
,B,0,0,1,10
p
}
Indicates black mark and thermal direct stock has been loaded,
causes the printer to operate in on-demand mode, and feeds the
supply approximately .05 inches up before printing the format on
each label (10/203 inches).
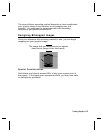
Configuring the Printer
2-9