!!%"#$
support.dell.com Rack Installation Guide 1-3
Installing the Rack Kit
NOTE: For instructions on installing your PowerVault storage system, see “Installing
the Storage System in the Rack” found later in this guide.
The following subsections include instructions for performing the following tasks for
PowerVault storage systems:
•
Removing the doors from the rack
•
Installing the slide assemblies in the rack
•
Installing the storage system in the rack
•
Replacing the rack’s front and back doors
Removing the Doors From the Rack
You must remove the doors from the rack to provide access to the interior of the rack
and to prevent damage to the doors while installing the storage system.
Removing the Doors From the Dell 42-U Rack
CAUTION: To prevent personal injury due to the size and weight of the
doors, never attempt to remove the doors by yourself.
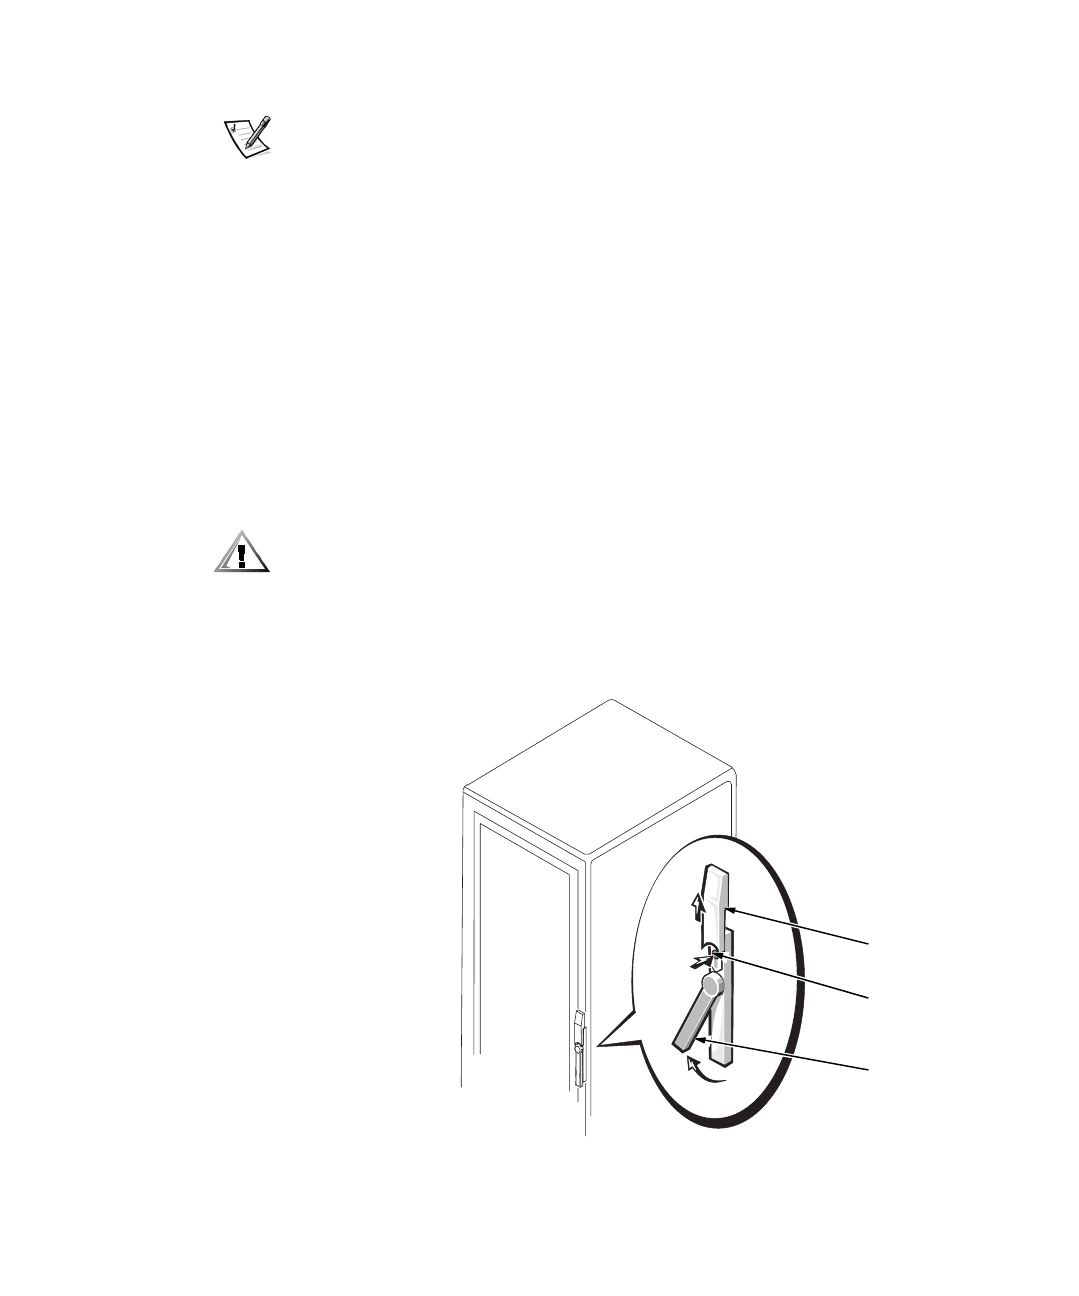
1. Open the latch on the front door (see Figure 1-2).
Slide the button cover up as far as it can go, press the push button, rotate the
handle clockwise until the latch releases, and then pull the door open.
Figure 1-2. Opening the 42-U Rack Door
push button
push-button
cover
handle


