


5
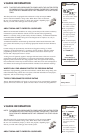
REAR PANEL
QuickTips
■
Make sure all cable
connectors are fully
seated on jacks.
See pages 11~12
before connecting
external video
equipment.
■
Cables are not
supplied for connect-
ing your external
equipment.
■
A solid Blue screen
with the word Video1
or Video2 displayed
means that the
Video/Game mode is
selected, but no signal
is being detected at the
Video jack. Check con-
nection, and turn on
external equipment.
■
Be sure batteries are
installed correctly.
■
Point the remote
control toward the
equipment you want to
operate. Objects
between the remote
control and the equip-
ment may cause
misoperation of the
remote control
function.
Need help?
Visit our Web site at
www.sanyoctv.com
or Call 1-800-877-5032
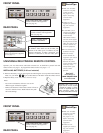
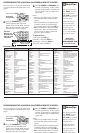
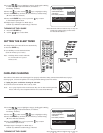
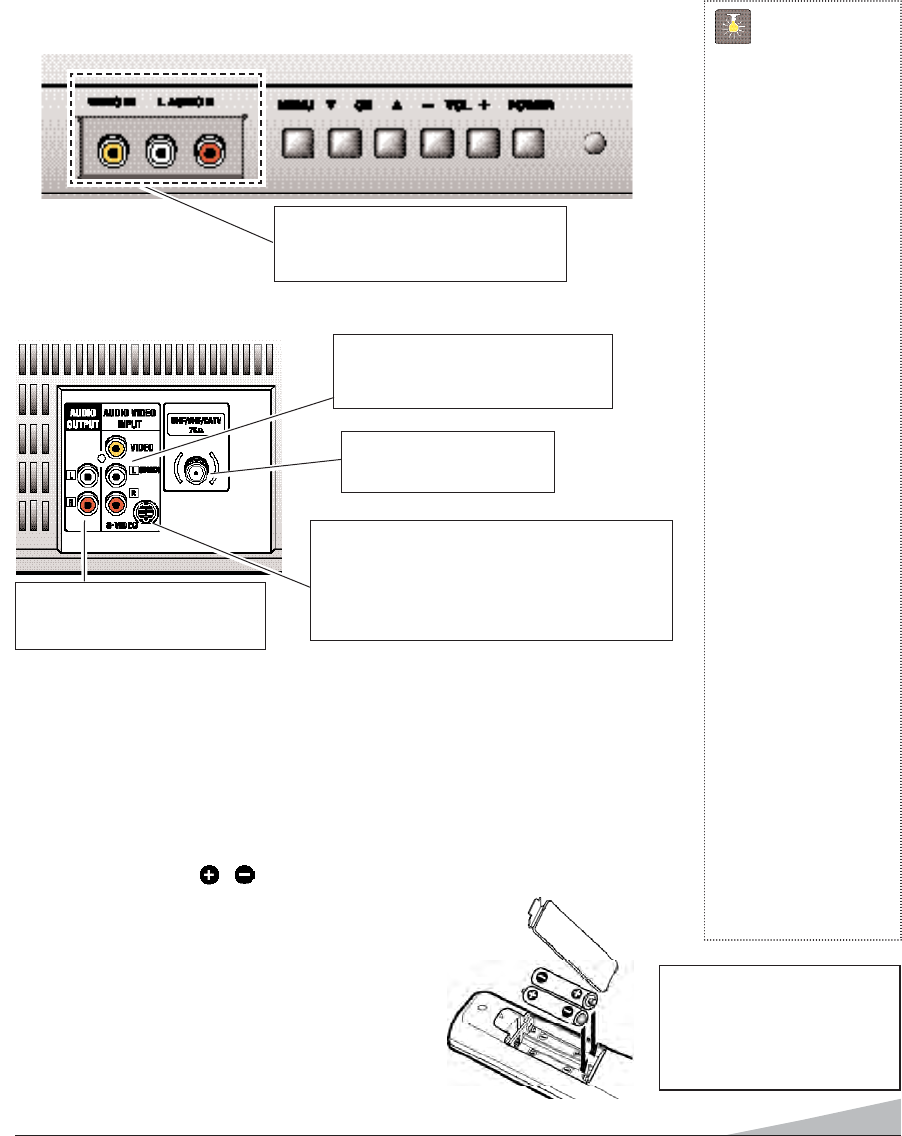
INSTALLING BATTERIES (2 AA not included)
1. Remove the battery cover by pressing the tab and tilting the cover upward. Insert batteries.
Make sure you match / signs on the batteries with marks inside the remote control.
2. Replace battery cover. The remote control is ready!
Notes:
– Do not mix old batteries with new ones or mix
different types of batteries together.
– Remove the batteries if the remote control will not be
used for a month or more. Weak batteries may leak
and cause damage.
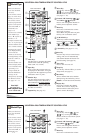
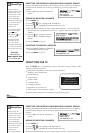
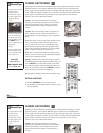
UNIVERSAL/MULTIMEDIA REMOTE CONTROL
Operates your TV, VCR, DVD, and Cable converter box. To familiarize yourself with this
remote control, see page 6. To program the remote control, see pages 7 ~ 8.
IMPORTANT NOTE: Spent or dis-
charged batteries must be recycled
or disposed of properly in compli-
ance with all applicable laws. For
detailed information, contact your
local County Solid Waste Authority.
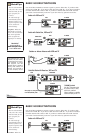
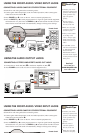
FRONT PANEL
Audio/Video Input Jacks (Video1)
Connect external video equipment
here (see page 11).
Cable / Antenna Input
Terminal (75 ohms)
Audio/Video Input Jacks (Video2)
Connect external video equipment
here (see page 12).
S-Video Input Terminal
To enhance video detail use the S-Video jack
instead of the Video jack, if available on your
external equipment. (S-Video connection will
override a connection to the rear Video jack.)
Audio Output Jacks
Connect external audio equipment
here (see page 11).
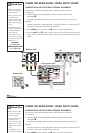
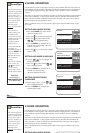
REAR PANEL
QuickTips
■
Make sure all cable
connectors are fully
seated on jacks.
See pages 11~12
before connecting
external video
equipment.
■
Cables are not
supplied for connect-
ing your external
equipment.
Aldl
FRONT PANEL
Audio/Video Input Jacks (Video1)
Connect external video equipment
here (see page 11).