


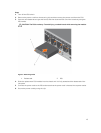
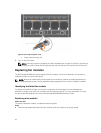
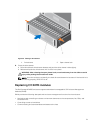
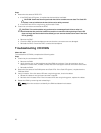
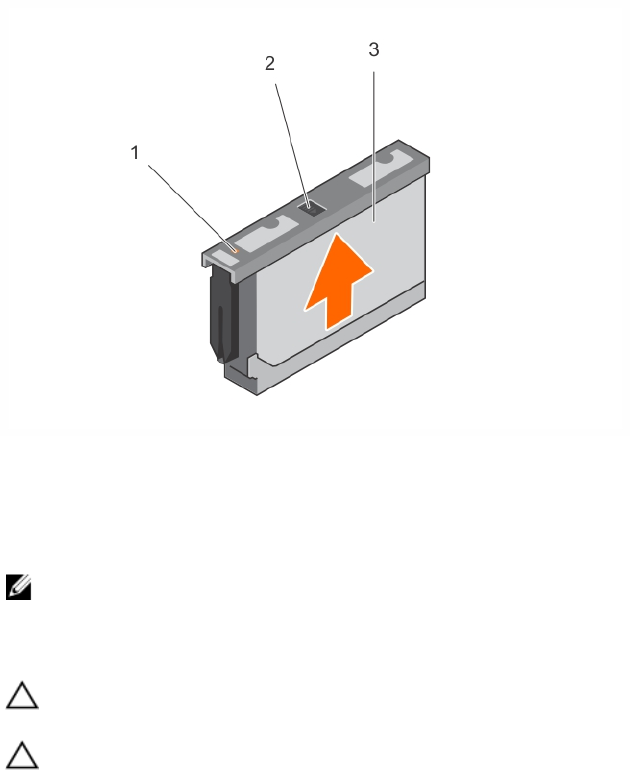
Figure 12. Removing a DDIC
1. Hard drive fault LED 2. Release button
3. DDIC
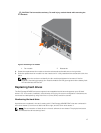
NOTE: Leave the hard drive in the carrier. The replacement hard drive will be in the carrier and
attempting to remove the carrier can cause the carrier to break.
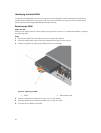
7. Slide the replacement DDIC into the slot, push and hold the DDIC down while sliding it toward the
back of the enclosure until the DDIC latches to the backplane.
CAUTION: If the DDIC fails to latch, do not use it and request a replacement. If a faulty DDIC
unlatches within a closed drive drawer then you will not be able to open the drive drawer.
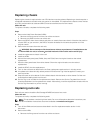
CAUTION: To maintain proper airflow, the drive drawers must be populated with hard drives
in whole rows at a time (there are three rows of 14 hard drives per drawer). The minimum
number of hard drives in an enclosure is 14 (one full, front row in the top drive drawer), the
number of populated rows between drive drawers must not differ by more than one. The
rows should be populated from the front to the rear of the enclosure.
20