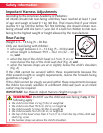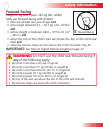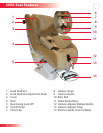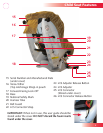
14
Lap-Shoulder Belt Installation
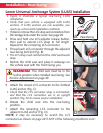
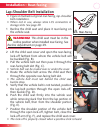
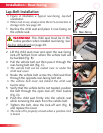
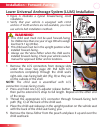
Figure A illustrates a typical rear-facing, lap-shoulder •
belt installation.
When not in use, always store LCS connectors in •
storage slots. See page 29.
Recline the child seat and place it rear-facing on 1
the vehicle seat.
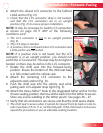
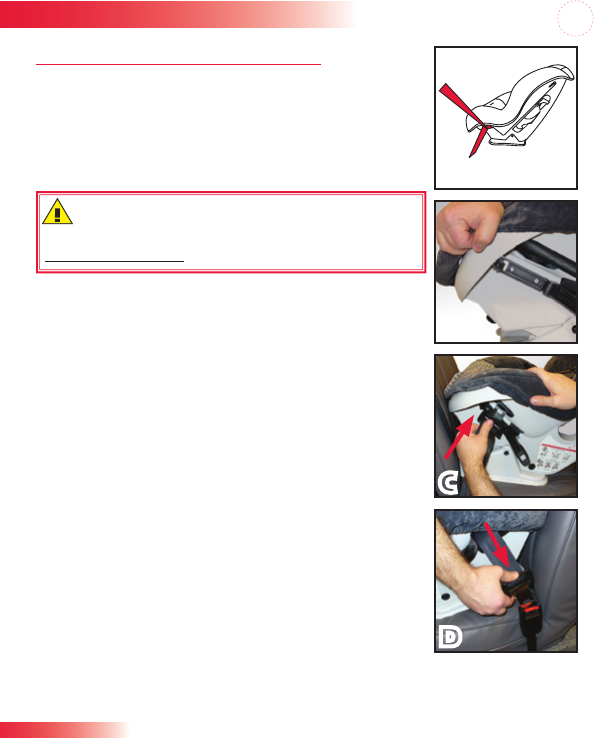
Lift the child seat cover and open the rear-facing 2
lock-off farthest from where the vehicle belt will
be buckled (Fig. B).
Pull the vehicle belt out then pass it through the 3
rear-facing belt slot (Fig. C).
Vehicle belt can be routed over or under the cover.•
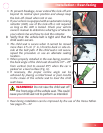
Route the vehicle belt across the child seat then 4
through the opposite rear-facing belt slot.
The vehicle belt must rest behind the child seat •
buckle strap.
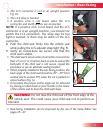
Verify that the vehicle belt is not twisted, position 5
the lap belt portion through the open lock-off,
then buckle (Fig. D).
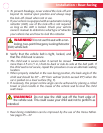
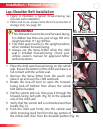
Push the child seat firmly into the vehicle seat 6
while removing slack first from the lap portion of
the vehicle belt, then from the shoulder portion
(Fig. E).
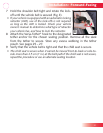
Position the shoulder portion of the vehicle belt 7
through the open lock-off, tighten belt, close the
lock-off arm (Fig. F), and replace the child seat cover.
The lock-off is properly closed when a positive click is heard.•
Installation : Rear-facing
D
b
C
WARNING! This child seat must be in the
recline position when installed rear-facing. See
Recline Adjustment on page 29.
A
Rear-Facing


