78-0013-4441-1-D 9
3M
™
One Pass Mini Fiber Pathway
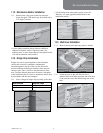
11.0 Mechanical Anchor Installation
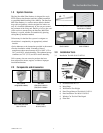
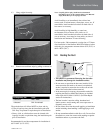
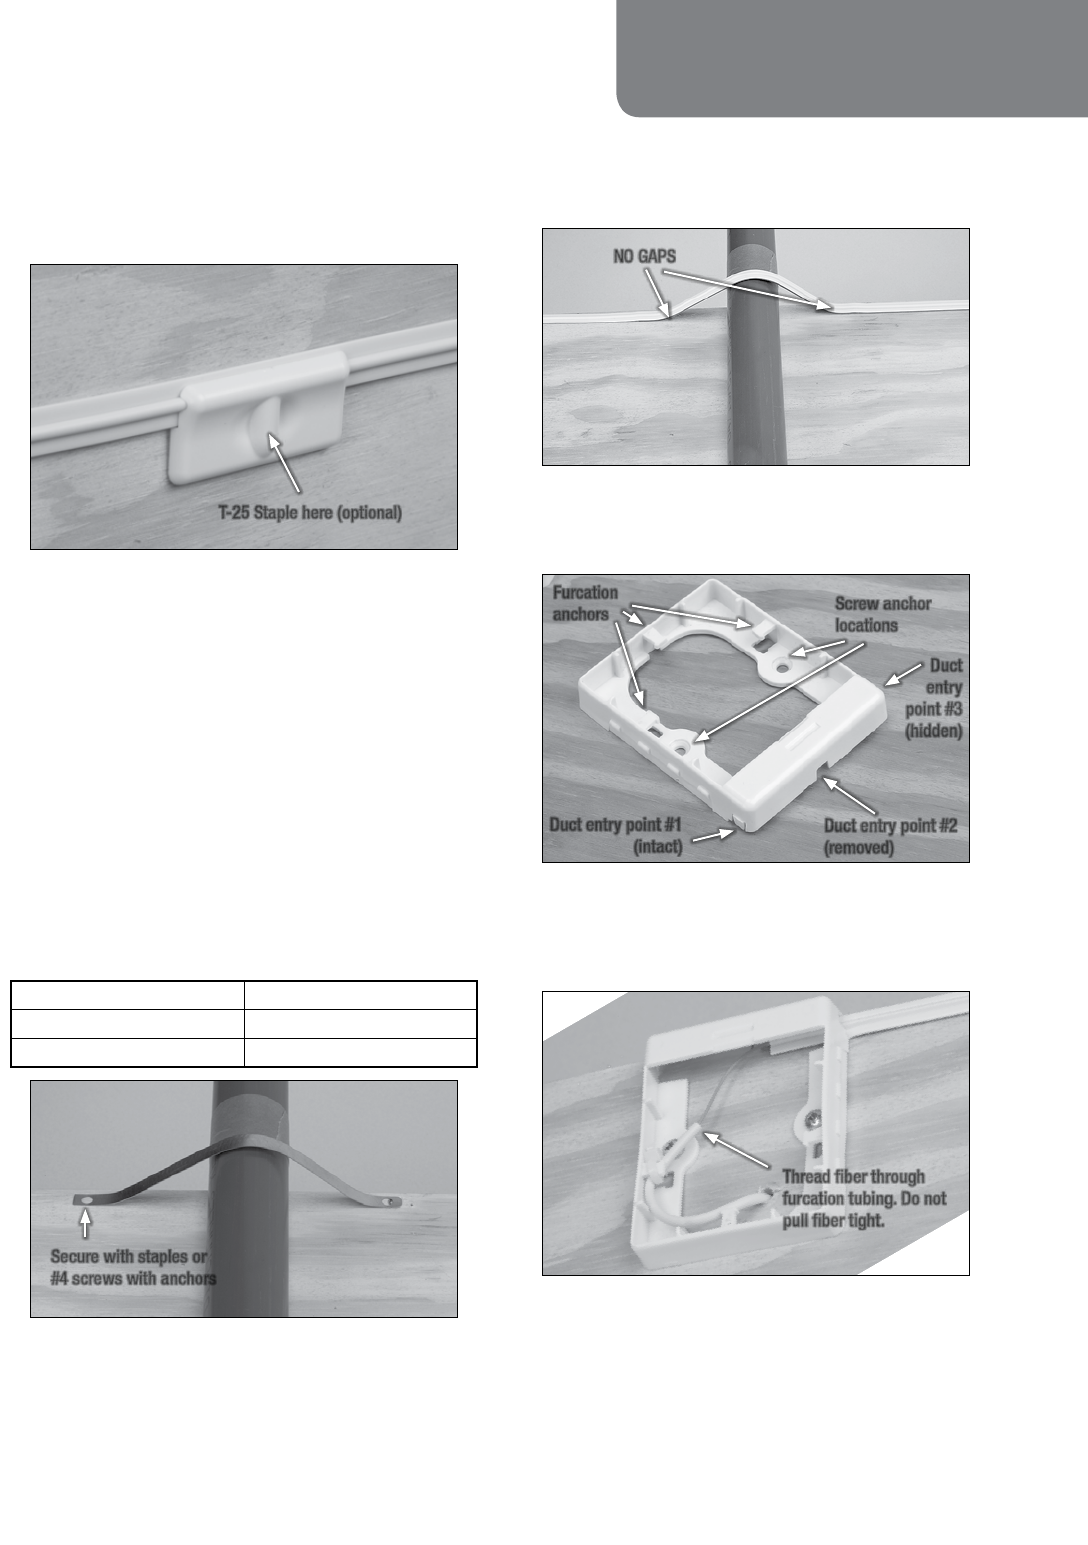
11.1 Remove liner, align groove with duct and press
firmly into place. The anchor may be secured with a
T-25 staple if desired.
T-25 Staple here (optional)
• Use the adhesive-backed anchor wherever additional
adhesion is required, such as: high stress areas, low
adhesion areas, or areas where duct has been pulled off the
wall and has taken the surface with it.
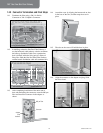
12.0 Bridge Strip Installation
Bridges are used to span disruptions in the installation
surface and to ensure a continuous, uninterrupted
installation path for the duct. They can also be used to
provide additional anchoring in locations where the wall
surface is poor. This is critical to the performance of the
duct. The duct adhesive must never encounter a disruption
in the installation path. If it does, a mechanical anchor must
be used before and after the disruption
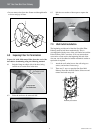
12.1 Select a length of bridge strip according to the chart.
Height From Wall Bridge Strip Length
less than 1" (25 mm) 6" (150 mm)
Up to 2" (51 mm) 12" (305 mm)
Secure with staples or
#4 screws with anchors
• Use the bridge strip when surface quality is poor for
adhesion, or to span gaps/holes/obstructions on the
installation surface.
NO GAPS
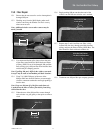
13.0 Wall Cover Installation
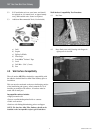
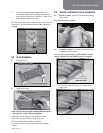
13.1 Remove the tab at the duct entry point as needed.
Duct entry point #1
(intact)
Duct entry point #2
(removed)
Duct
entry
point #3
(hidden)
Furcation
anchors
Screw anchor
locations
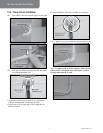
13.2 Fasten the cover to the wall after the duct is
installed. The cover helps secure the end of the duct
to the wall and covers the drilled living unit access
hole.
Thread fiber through
furcation tubing. Do not
pull fiber tight.


