Video
66
screen, select ( , ) the scene to
move.
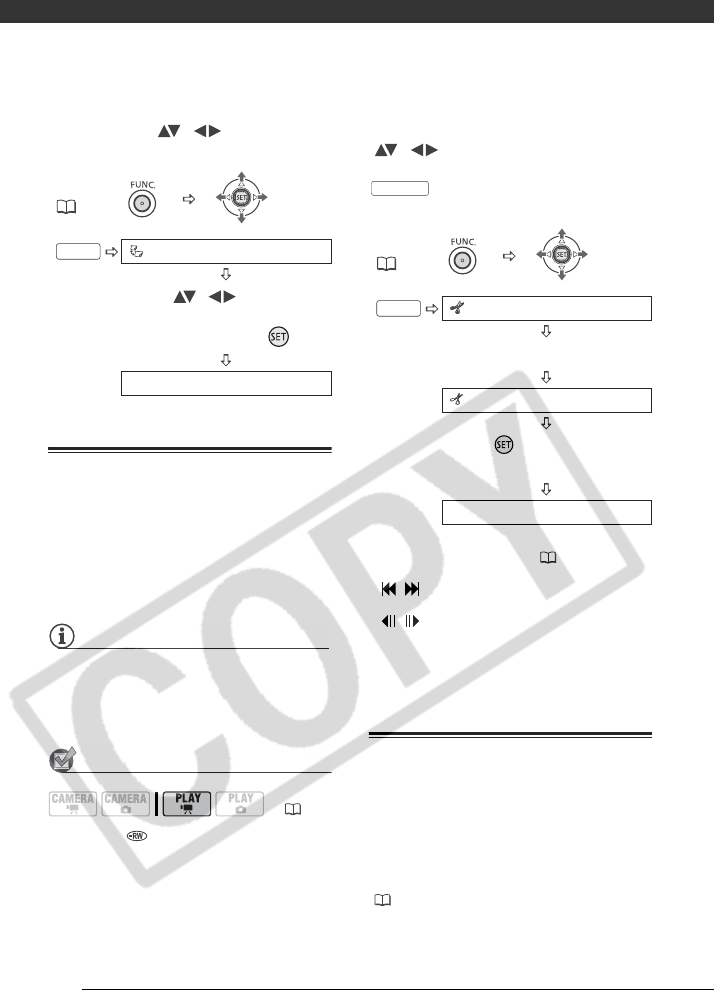
Dividing Scenes
You can divide scenes in order to leave
only the best parts and later cut out the
rest. Remember that when you divide
scenes in the playlist, you do not affect
your original recordings.
NOTES
• Original scenes recorded in HD quality
cannot be divided.
• Very short scenes (shorter than 1
second) cannot be divided.
POINTS TO CHECK
Disc type: DVD-RW
Disc quality: HD* or SD (VR mode only)
* Scenes in the playlist only.
From the original index screen, select
( , ) the scene to divide. To
divide a scene only in the playlist, press
first, and then select the
scene.
* You can use the following icons and the
special playback modes ( 42) to bring
the scene to a precise point.
/ : Skip to the beginning/end of the
current scene.
/ : Frame jump forward/backward.
The frame jump for SD-quality
scenes will be shorter than that for
HD-quality scenes.
Protecting the Disc
You can protect the whole disc to
prevent the accidental erasure of
important recordings. Follow the same
procedure to remove the protection of a
protected disc. Initializing the disc
( 67) will permanently erase all
scenes, even if the disc is protected.
FUNC.
( 27)
MOVE
Move ( , ) the orange
marker to the new position of
the scene and press ( ).
YES
( 26)
FUNC.
FUNC.
( 27)
DIVIDE
Playback of the scene begins.
DIVIDE
Press ( ) at the point where
you want to divide the scene.*
YES
PLAYLIST
FUNC.


