11
Notes
• Use the removable disk icon for the memory
card you are using.
• It may take a while for the removable disk
icons to appear.
• If the removable disk icons do not appear,
follow the steps under “Disconnecting the
Reader/Writer From the Computer” on
page 13 to disconnect the reader/writer, and
then wait at least 5 seconds before
reconnecting it.
If the [Safely Remove Hardware] icon
mentioned in step 1 of “Disconnecting the
Reader/Writer From the Computer” is not
displayed, skip the rest of the procedure and
immediately disconnect the reader/writer.
• Depending on your operating system and
the type of memory card you are using, the
reader/writer drives may be recognized as
“Local Disks” instead of “Removable
Disks,” but this will not affect their
operation.
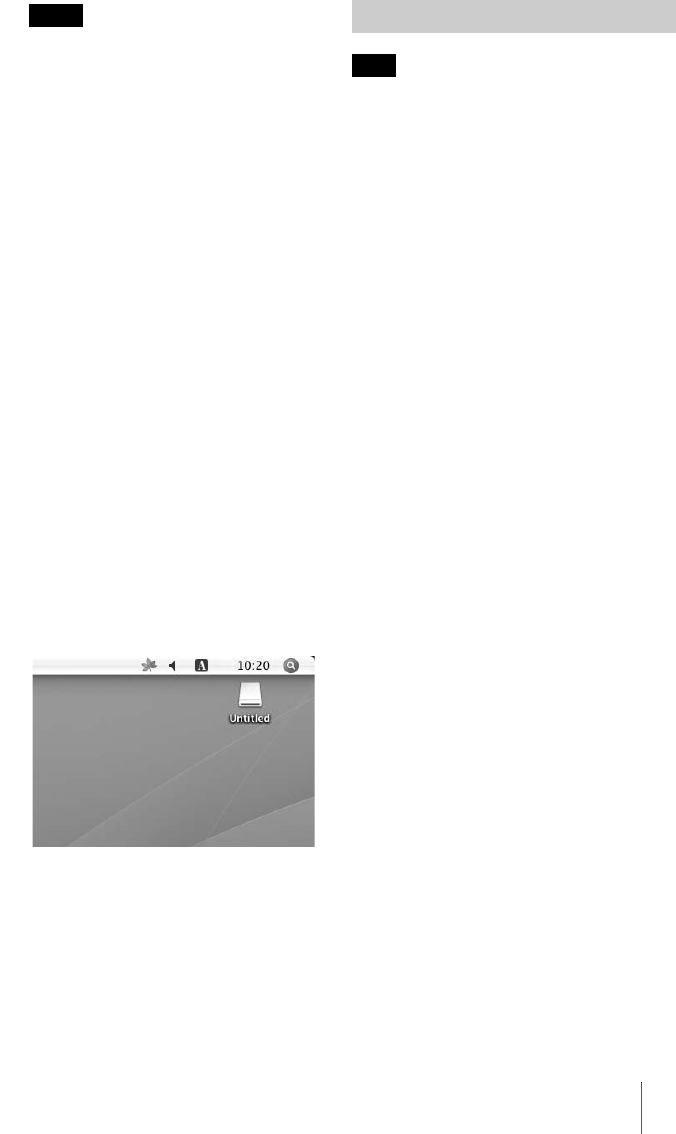
x For Macintosh
1 Insert a memory card into the
corresponding slot.
The removable disk icon appears on the
desktop.
When a volume label is assigned to the
memory card, the volume label will be
displayed together with the removable
disk icon.
2 Use the removable disk icon to
read or write data on the memory
card.
Note
Be sure to follow the steps described below.
Sony accepts no responsibility for any damage or
loss that results from removing a memory card
without following the procedure described below.
x For Windows
1 Make sure the access indicator
is not blinking.
2 Open [My Computer].
3 Right-click the removable disk
icon, and select [Eject].
4 Pull the memory card straight
out.
x For Macintosh
1 Close the files saved on the
memory card, and exit any
currently running applications.
2 Make sure the access indicator
is not blinking.
3 Drag the removable disk icon to
the [Trash].
Alternatively, select the removable disk
icon, access the [File] menu on the menu
bar, and select [Eject “Untitled”]*.
* Depending on the memory card, a different
label than “Untitled” may be shown.
4 Pull the memory card straight
out.
Removing a Memory Card


