


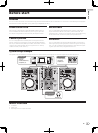


13
En
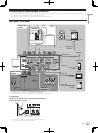
Operation
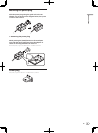
To start playback using the crossfader
1 Set [THRU, , ] (the crossfader curve selector
switch) j to [ ] or [ ].
2 Press the [CH-1] or [CH-2] button i in the fader start
section.
Turn the fader start function on.
3 Move the crossfader f.
Move the crossfader to the opposite edge from the channel for which
you want to use the fader start function.
4 Set the cue on the DJ player.
The DJ player pauses playback at the cue point.
5 Move the crossfader f.
Playback starts on the DJ player.
! If you set the crossfader back to the original position, the player
instantaneously returns to the cue point already set and pauses
playback (back cue).
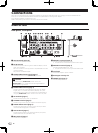
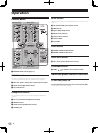
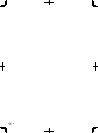
Monitoring the sound over
headphones (headphones section)
0
LEVEL
MASTERCUE
MIXING
HEADPHONES
CH-1 CH-2
PHONES
6
7
5
8
1 Connect headphones to the [PHONES] terminal.
For instructions on connections, see Connecting the input/output termi-
nals on page 7.
2 Press the [CH-1] or [CH-2] button 5 in the
headphones section.
Select the channel you want to monitor.
— [CH-1]: The sound of [CH-1] is monitored.
— [CH-2]: The sound of [CH-2] is monitored.
! This operation is not necessary to monitor the [MASTER 1] or
[MASTER 2] (master channel) sound.
3 Turn the [MIXING] control 6.
— When turned counterclockwise: The volume of [CH-1] and [CH-2]
becomes relatively louder.
— Center position: The volume of the [CH-1] and [CH-2] sound is
the same level as the [MASTER 1] and [MASTER 2] sound.
— When turned clockwise: The volume of [MASTER 1] and
[MASTER 2] become relatively louder.
4 Turn the [LEVEL] control 7 in the headphones section
clockwise.
Sound is output from the headphones.
! When the [CH-1] or [CH-2] button in the headphones section is
pressed again, monitoring is canceled.
! [MASTER 1] and [MASTER 2] monitoring cannot be canceled.
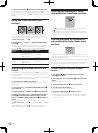
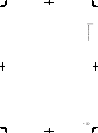
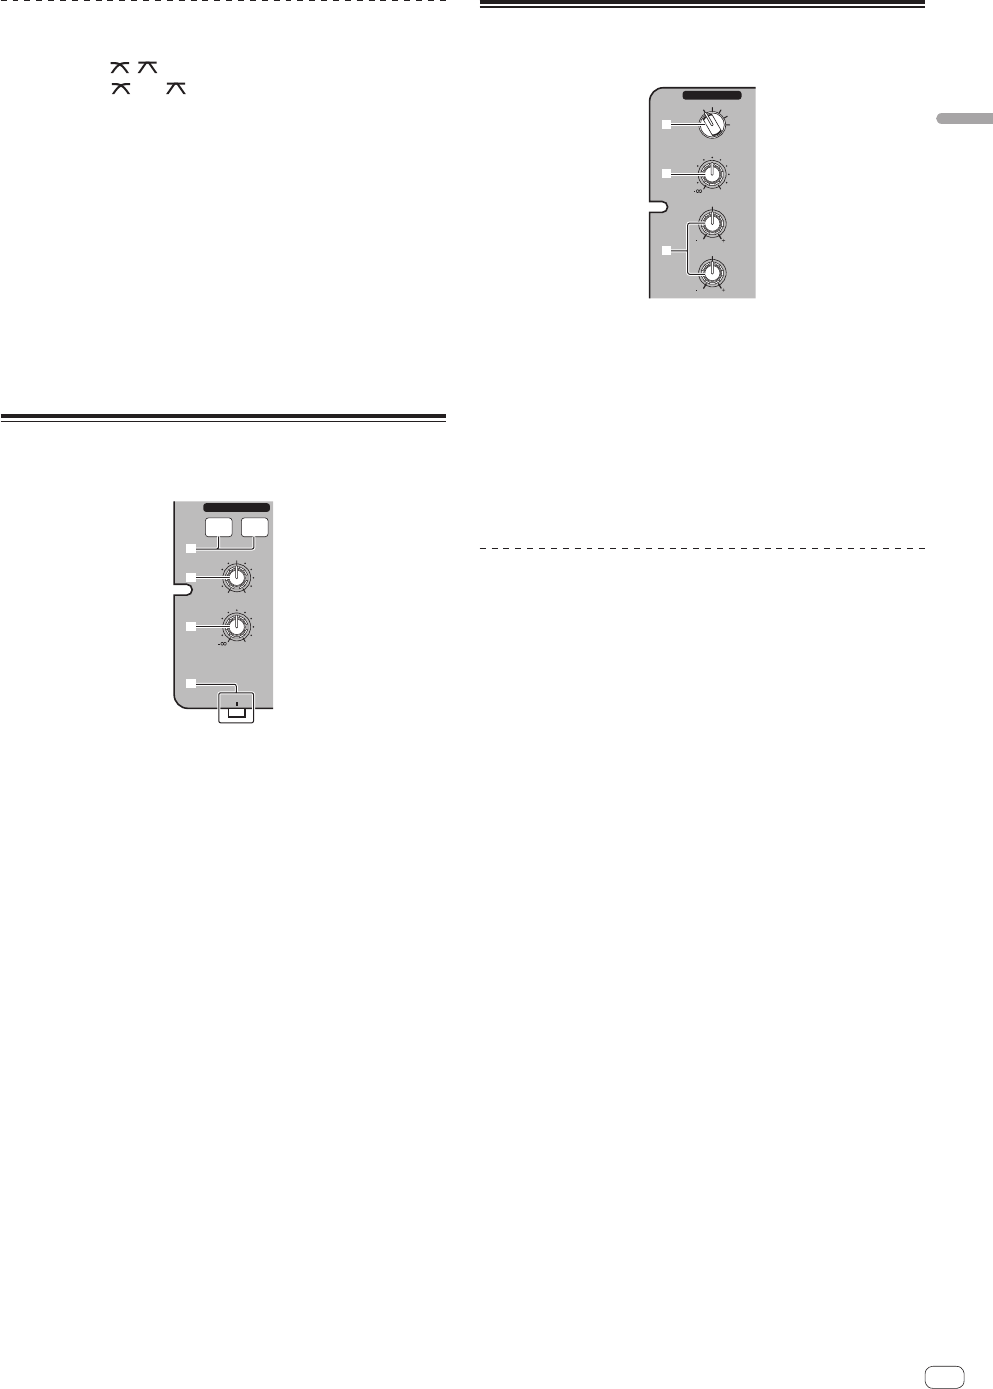
Using a microphone or external
device (MIC/AUX section)
0
LEVEL
1212
HI
1212
LOW
MIC/AUX
MIC
OFF
AUX 1
AUX 2
AUX 3
2
3
4
1 Switch the [MIC, OFF, AUX 1, AUX 2, AUX 3] input
selector switch 2.
— [MIC]: The microphone connected to the [MIC] terminal is
selected.
— [AUX1–3]: Selects the external device connected to the [AUX1–3]
terminals.
2 Turn the [LEVEL] control 3 in the MIC/AUX section
clockwise.
The sound of the microphone or external device is output from the
speakers.
Adjusting the sound quality
Turn the [HI] or [LOW] control 4 in the MIC/AUX section.
Refer to Specifications on page 15 for the range of sound that can be
adjusted by each control.